Why So Many Homeowners Need to Add a Circuit to Their Breaker Panel
Adding a circuit to a breaker panel is one of the most common — and most misunderstood — electrical projects homeowners take on. Done right, it safely powers a new room, appliance, or workspace. Done wrong, it can create serious fire and shock hazards.
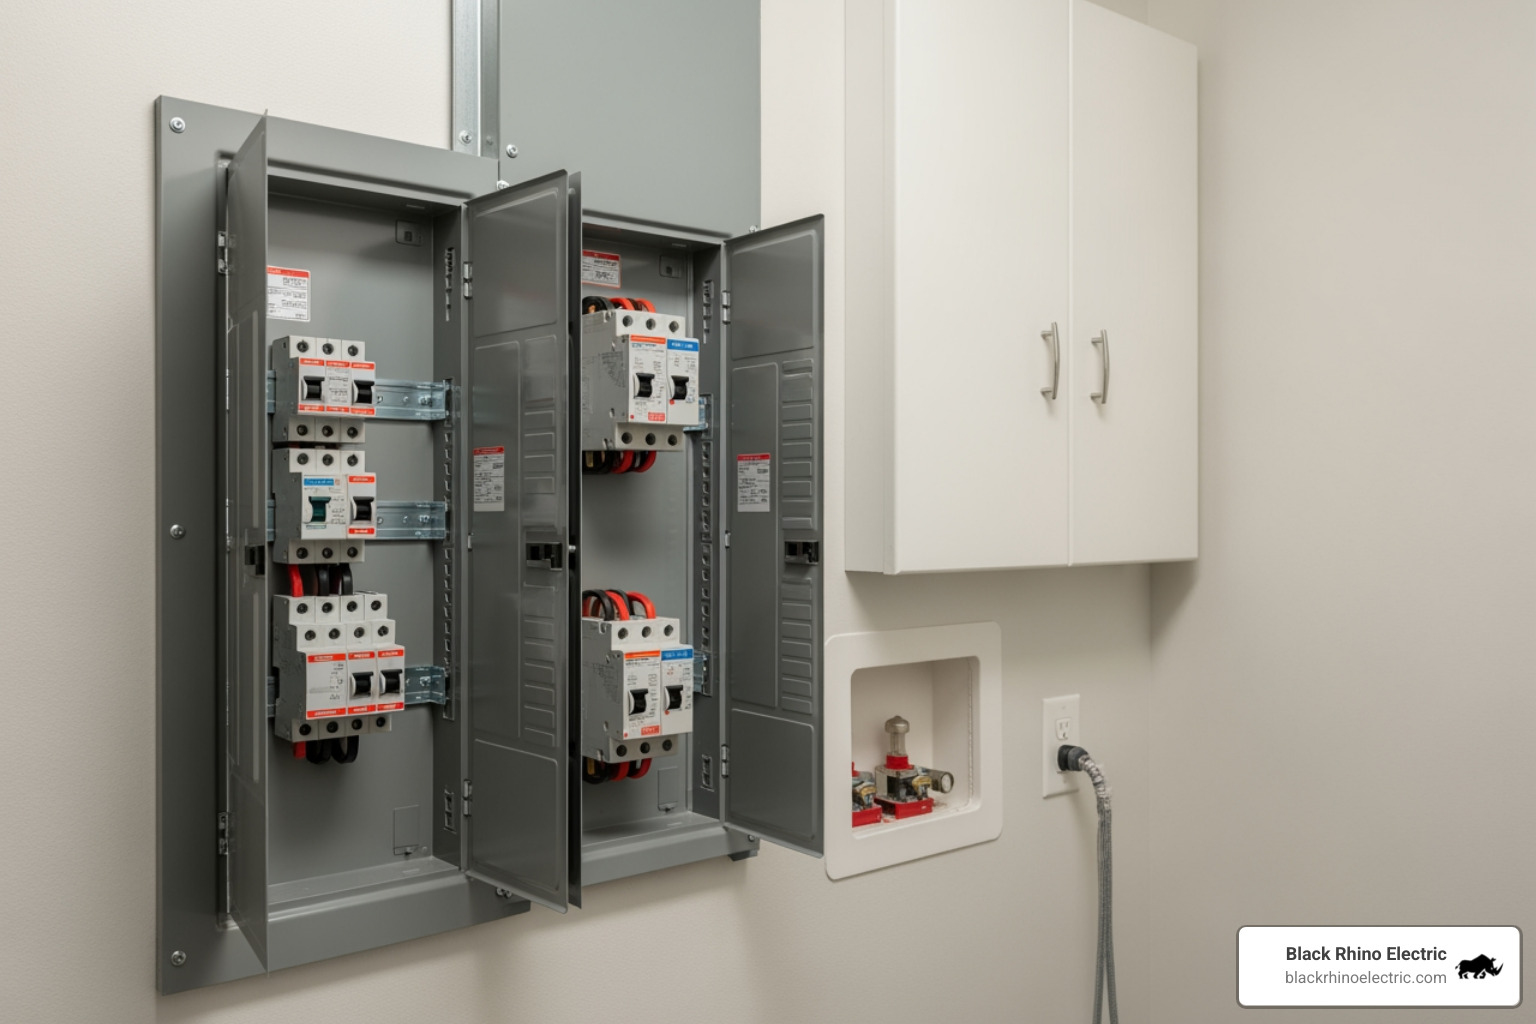
Here is a quick overview of how to add a circuit to a breaker panel safely:
- Check panel capacity — confirm your service panel has enough amperage headroom and an open breaker slot
- Select the right breaker and wire gauge — match breaker amperage and wire size to the intended load
- Gear up and de-energize — turn off the main breaker and verify no live voltage with a tester
- Run the cable — route NM-B cable from the new outlet or device location to the panel
- Connect the wires — ground first, then neutral, then hot wire to the new breaker
- Test and label — reinstall the cover, restore power, and test the circuit
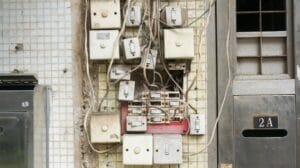
You know what? Modern homes demand a lot more electricity than they used to. Early homes were built with a single fuse box. Today, the average household runs HVAC systems, EV chargers, home offices, and high-draw appliances — often all at once.
Here’s the thing: your existing circuits were only designed to handle so much load. When demand grows beyond what those circuits can safely carry, breakers trip repeatedly — or worse, wiring quietly overheats.
That is why adding a dedicated circuit is often the right fix. Whether you are finishing a basement in Ogden, setting up a workshop in Layton, or wiring a new office space in Provo, a properly installed circuit keeps your electrical system safe and code-compliant.
Important: Even with the main breaker off, the large wires feeding power into your panel from the utility remain fully energized. This is not a beginner project — if you have any doubts, stop and call a licensed electrician.
Discover more about add a circuit to a breaker panel:
- adding a breaker to main panel
- changing a breaker in panel
- cost of installing a new electrical panel
Planning to Add a Circuit to a Breaker Panel: Capacity and Safety
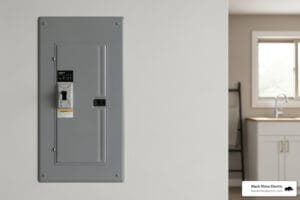
Before you touch a single screwdriver, you need to do your homework. Planning is where projects succeed or fail. Adding a physical breaker to an open slot does not mean your electrical service can actually handle the extra load.
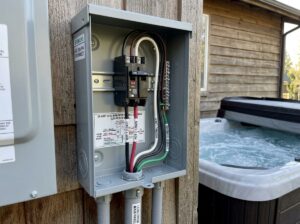
Let’s explain: your electrical panel has a maximum service rating (usually 100, 150, or 200 amps). If you overload this capacity, you risk overheating the main bus bars or constantly tripping the main breaker. This is why the National Electrical Code (NEC) requires a load calculation before adding significant new demands like a hot tub or an EV charger.
If you want a deeper dive into panel layouts and bus bars, check out this more info about adding new breakers to the main panel.
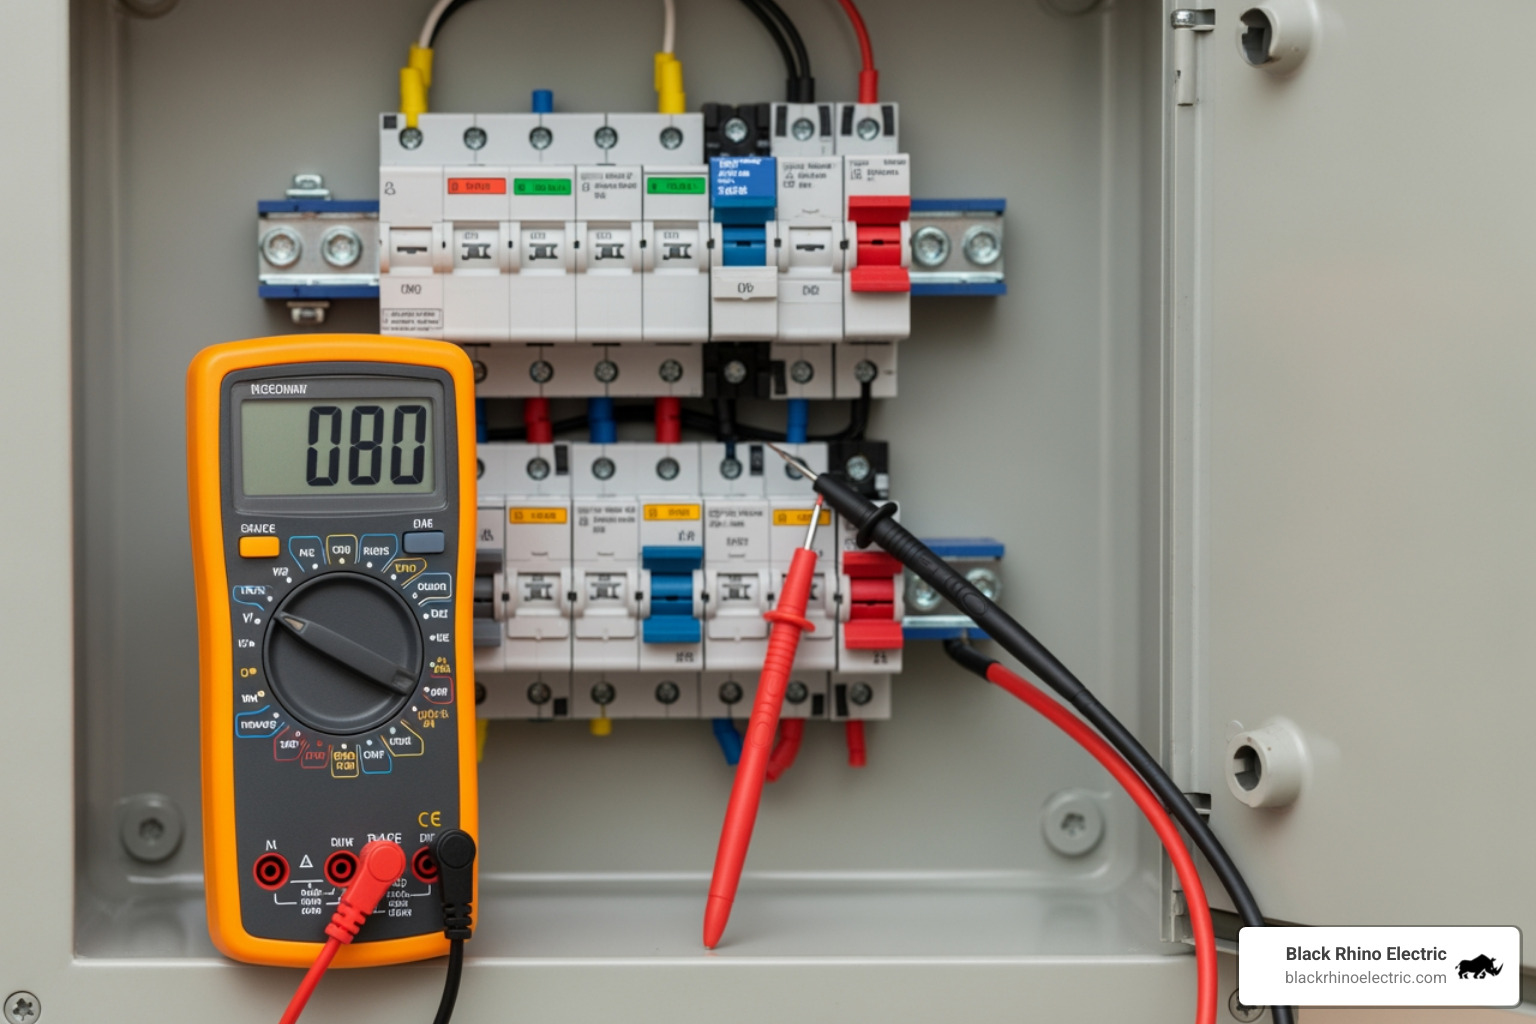
To help you understand where your home stands, here is a quick breakdown of common residential service capacities:
| Service Capacity | Common Era | Suitability for Expansion |
|---|---|---|
| 100 Amps | Pre-1990s | Minimal. Adding high-draw appliances (EV chargers, hot tubs) usually requires a panel upgrade. |
| 150 Amps | 1990s–2000s | Moderate. Can handle standard room additions, but close monitoring of total load is required. |
| 200 Amps | Modern Standard | Excellent. Ample headroom for hot tubs, smart home upgrades, and dedicated circuits. |
Step 1: Determine Capacity Before You Add a Circuit to a Breaker Panel
Honestly, the biggest mistake DIYers make is assuming an empty slot in the panel means “free real estate.” Space and electrical capacity are two entirely different things.
First, look at the main breaker (usually at the very top or bottom of your panel) to identify your home’s total amperage load limit. Next, perform a basic load calculation. Add up the wattages of your existing major appliances and compare them against your panel’s rated limit. If you have a 100-amp panel in an older home in Bountiful or West Haven, you might already be running close to the maximum.
If your calculation shows you are maxed out, you will need to look into an upgrade. Read our guide for more info about upgrading your electrical panel or learn the practical steps of How To Add Circuit Breaker To Panel Safely.
Step 2: Select the Correct Breaker and Wire Size
Once you have verified your panel has the capacity, you must select the correct breaker and matching wire gauge. You cannot just buy any breaker off the shelf. Breakers are not universally interchangeable; you must use a breaker that is explicitly approved by the manufacturer for your specific panel brand and model (e.g., Square D, Siemens, GE, or Cutler-Hammer).
Additionally, you must match the breaker amperage to the correct wire gauge:
- 15-Amp Breaker: Requires 14 AWG copper wire (ideal for general lighting and standard outlets).
- 20-Amp Breaker: Requires 12 AWG copper wire (required for kitchens, bathrooms, and workshops).
- 30-Amp Breaker: Requires 10 AWG copper wire (typically used for 240V appliances like water heaters).
If your panel is completely full, you might consider tandem breakers (which fit two circuits into a single slot), but check your panel’s schematic first to see if tandem breakers are permitted. For a detailed breakdown of breaker mechanisms, see this guide on How to Install a Circuit Breaker.
Step 3: Prepare the Panel and Safety Gear
Safety is not just a buzzword here; it is a lifesaver. Before opening your panel, gather your safety gear: safety glasses, rubber-soled shoes, a headlamp (since the power will be off!), and insulated hand tools.
To start:
- Shut down all sensitive electronics and computers in the house.
- Flip the main service disconnect breaker to the “OFF” position.
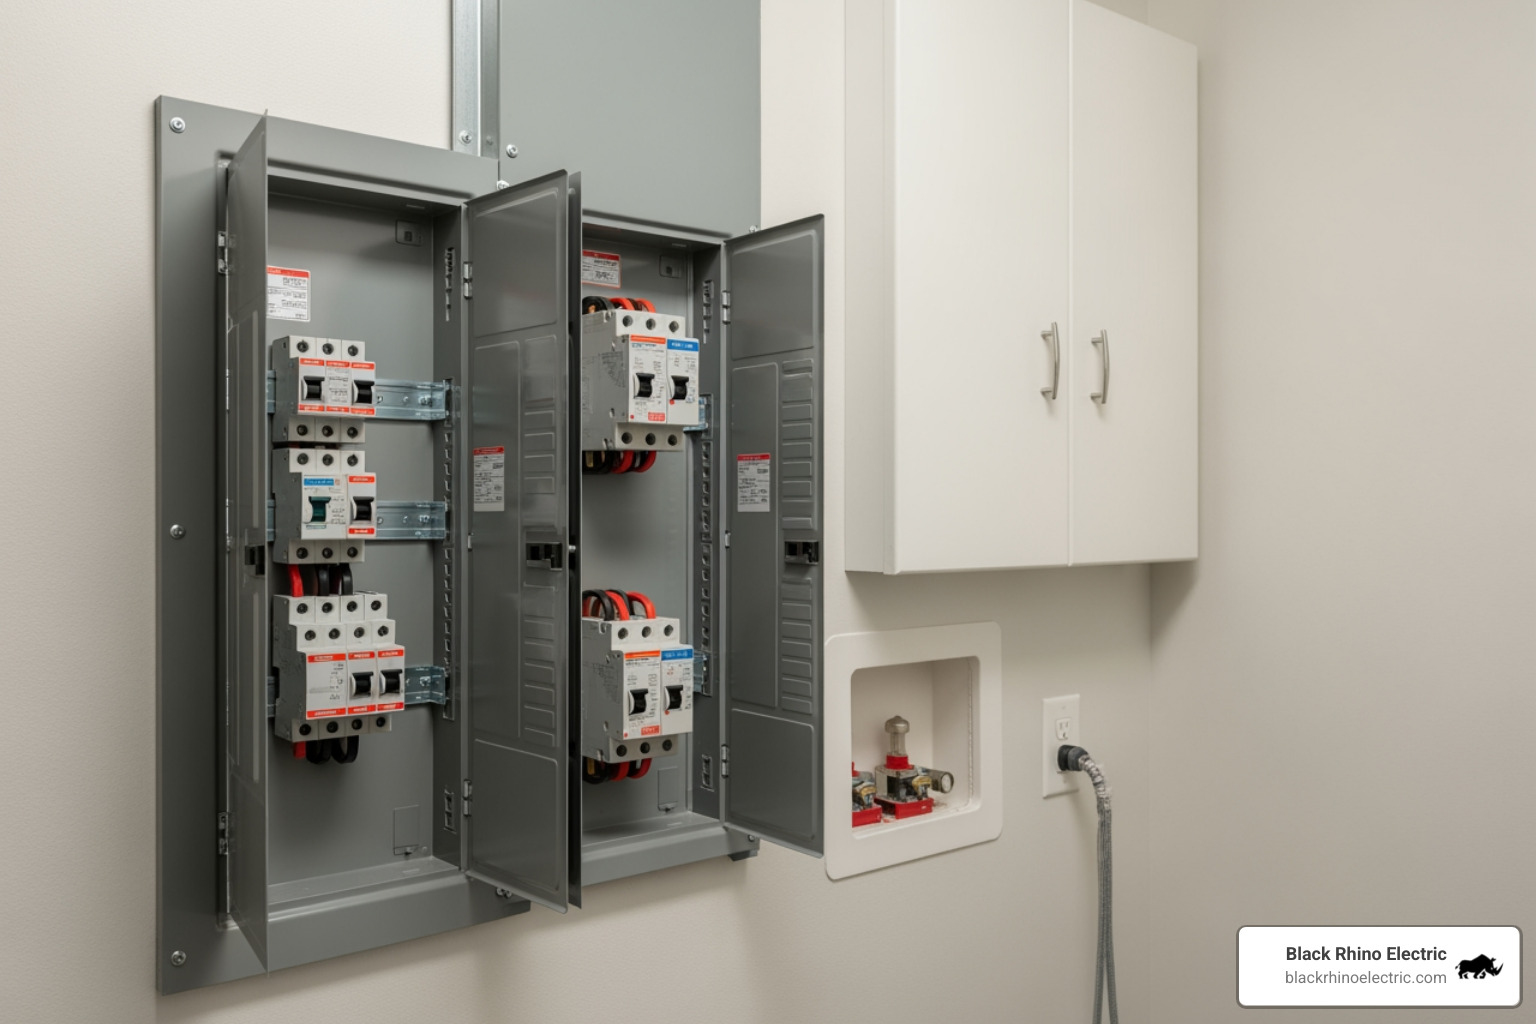
- Carefully unscrew the panel cover while supporting it so it does not fall onto the breakers.
- Use a reliable, non-contact voltage tester to verify that all the branch breakers are completely de-energized.
Remember: The main lugs where utility power enters the panel are still live! Avoid touching them or the thick cables connected to them under any circumstances. For step-by-step safety protocols, read more info about changing a breaker safely.
Step 4: Run the Cable and Install Clamps
With the panel safely de-energized, it is time to route your new NM-B (Romex) cable from your new outlet or appliance location back to the panel box.
Locate an unused knockout plate on the top, bottom, or side of the electrical panel. Use a screwdriver and pliers to pop the knockout plate out. Never run bare wire directly through the metal hole; you must install an approved plastic or metal Romex connector (cable clamp) in the knockout. This clamp secures the cable and prevents the sharp metal edges of the panel from cutting into the wire insulation over time. Pull the cable through, leaving about 8 to 12 inches of excess wire inside the panel for clean routing.
Step 5: How to Safely Add a Circuit to a Breaker Panel
Now we are at the heart of the project: making the actual connections. Strip back the outer plastic sheath of the NM-B cable to expose the individual conductors (black, white, and bare copper).
Follow this specific, code-approved order to connect your wires:
- Ground Wire (Bare/Green): Route this neatly along the outer edges of the panel box and connect it to the ground bus bar. Tighten the terminal screw firmly.
- Neutral Wire (White): Route this to the neutral bus bar and secure it. Note: If you are installing an AFCI, GFCI, or smart breaker, the white wire connects directly to the breaker itself, and the breaker’s pre-installed curly white wire connects to the neutral bar.
- Hot Wire (Black): Connect the black wire directly to the terminal screw on your new circuit breaker.
Once the wires are secured, align the hook on the back of the breaker with the mounting rail in the panel, then firmly press the breaker down until it snaps securely onto the hot bus bar. For those looking to integrate modern automation, learning How to Wire a Smart Breaker can provide excellent energy-monitoring benefits for your home.
Step 6: Reinstall the Cover, Test, and Label
You are almost at the finish line! Before putting the panel cover back on, use pliers to remove the matching metal knockout tab on the cover plate so the new breaker can stick through.
Position the cover carefully, reinstall the screws, and ensure no wires are pinched. Turn off your newly installed breaker, flip the main service breaker back to “ON,” and then switch your new breaker to “ON.” Use your voltage tester or a plug-in receptacle tester at the new outlet to confirm everything is wired correctly. Finally, update the panel’s circuit directory so everyone knows exactly what this new breaker controls.
Conclusion: When to Call a Professional Electrician
While learning how to add a circuit to a breaker panel is a fantastic way to understand your home’s electrical system, it is not a project for everyone. Working inside a live panel carries real risks of arc flash and severe electrical shock. Furthermore, performing unpermitted electrical work can violate local building codes in Weber and Davis counties, potentially complicating future home sales or even voiding your homeowner’s insurance.
If you open your panel and feel overwhelmed, or if your load calculations show you need a full service upgrade, it is time to call in the professionals. At Black Rhino Electric, we specialize in essential EV charger installations, hot tub wiring, panel replacements, and comprehensive whole home or business wiring services throughout Weber County, with expert coverage in Ogden and surrounding Utah areas.
Whether you need to pull local permits, schedule city inspections, or simply want the peace of mind that comes with a code-compliant installation, we are here to help. For more details on budgeting, check out more info about the cost to upgrade an electrical panel or explore our commercial services with more info about electrical panels and meters.
Ready to make your next home upgrade safe and stress-free? Give us a call at 801-810-4292 or online to Request a Free Quote today!