Learning how to add breaker to main panel units is a common goal for homeowners looking to expand their electrical capacity. Whether you’re powering a new appliance or finishing a basement, understanding the safety protocols is the first step toward a successful project. Honestly, while it looks simple, the stakes are high when dealing with your home’s power source.
Why Safety Comes First When Adding Circuit Breakers
Adding a breaker to your main panel can feel like one of the most intimidating electrical tasks a homeowner faces—but understanding the basics and knowing when to call in the pros can make all the difference. Whether you’re renovating a mid-century home in Ogden or expanding your small business in Salt Lake City, adding a new circuit breaker safely is essential for meeting modern electrical demands.

Here’s what you need to know about adding a breaker to your main panel:
- Turn off the main breaker to cut power to the entire panel before starting any work
- Check panel capacity – your panel must have physical space and enough amperage to support the new circuit
- Match breaker size to wire gauge – use 15-amp breakers with 14 AWG wire, or 20-amp breakers with 12 AWG wire
- Follow the 80% rule – never load your panel beyond 80% of its total capacity (e.g., 160 amps on a 200-amp service)
- Test for voltage before touching any wires, even after shutting off the main breaker
- Connect wires in order – ground first, neutral second, hot wire last
- Call a professional if you’re unsure, working with older panels, or if local codes require permits and inspections
Here’s the thing: even with the main breaker switched off, certain parts of your electrical panel remain live and can deliver a lethal shock. The main lugs and incoming cables are always energized—meaning one wrong move could result in serious injury or death.
That’s why professional electricians treat every panel as if it’s live, using insulated tools, voltage testers, and protective equipment at all times. According to industry research, voltages as low as 50V can be fatal, and residential panels typically carry 120/240V.
Before you open that panel cover, ask yourself:
- Do I have the right tools, including a non-contact voltage tester and insulated screwdrivers?
- Am I confident identifying which parts of the panel remain energized?
- Does my local jurisdiction require permits or inspections for adding circuits?
- Is my panel in good condition, or does it show signs of rust, corrosion, or outdated wiring?
If you answered “no” to any of these questions, it’s time to call a licensed electrician. In Weber County and throughout Utah, electrical work must meet strict code requirements—and Black Rhino Electric can help ensure your installation is safe, compliant, and built to last.
Let me explain: adding a breaker isn’t just about snapping a new switch into place. It involves calculating electrical loads, balancing phases, selecting the correct wire gauge, and understanding AFCI or GFCI requirements for different areas of your home. Getting it wrong can lead to overloaded circuits, fire hazards, or tripped breakers that leave you in the dark.

Basic add breaker to main panel terms:
How to Add Breaker to Main Panel Safely
When you decide to add breaker to main panel units, you aren’t just making a physical connection; you are managing the lifeblood of your home’s energy. At Black Rhino Electric, we’ve seen many DIY attempts gone wrong because the installer ignored the “80% Rule.” This rule states that branch electrical circuits should be loaded at no more than 80% of their over-current protection rating. This provides a safety buffer that prevents the wires from overheating.
To help you plan, we’ve put together a quick reference for standard residential circuit capacities:
| Breaker Amperage | Max Theoretical Load | Safe Load (80% Rule) | Wire Gauge (Copper) |
|---|---|---|---|
| 15 Amps | 1,800 Watts | 1,440 Watts | 14 AWG |
| 20 Amps | 2,400 Watts | 1,920 Watts | 12 AWG |
| 30 Amps | 3,600 Watts | 2,880 Watts | 10 AWG |
If you plan to run a high-wattage appliance like a space heater or a high-end gaming PC, you must ensure that the total wattage of all devices on that circuit doesn’t exceed the safe load. For example, if you have 14 lamp holders on a 15-amp circuit, you’ve reached your limit. Honestly, if you’re adding something heavy like a hot tub or an EV charger, you should follow the Circuit Breaker Installation: How To Add a Breaker to Your Electrical Panel guide and consult with us to ensure your panel can handle the surge.
Determining Capacity to Add Breaker to Main Panel
Before buying parts, you must verify that your panel has both the physical space and the electrical capacity. Typical modern homes in Ogden and Roy have panels sized at 100, 150, or 200 amps.
- 100 Amps: Small to medium homes (Up to 1,500 sq. ft.)
- 150 Amps: Medium homes (1,500 to 2,500 sq. ft.)
- 200 Amps: Large homes (2,500+ sq. ft.) or those with high electricity needs like EV chargers.
Look at your circuit directory. Is there a blank space? If so, does that space align with a “knockout” on the panel cover? You also need to consider phase balancing. Your panel has two “legs” of power; you want to distribute the load evenly between them to keep the system efficient. If your panel is already packed, you might need a panel upgrade rather than just a new breaker. We recommend aiming for at least 25% spare breaker capacity to future-proof your home. For more details, check out our info about electrical panel installation basics.
Essential Tools and Safety Precautions
Working with electricity requires more than just a standard toolkit. You need specialized gear to protect yourself from arc flashes and electrocution.
- Non-contact voltage tester: To verify the power is off.
- Insulated screwdrivers: Rated for 1,000V.
- Wire strippers: For clean terminations.
- LED Headlamp: Because when the main breaker is off, the lights go out!
- PPE: Rubber-soled shoes, safety goggles, and no jewelry (metal conducts!).
You know what? Even if you’ve done this before, always test your meter on a known live circuit first to ensure it’s working. This is a critical step in Scientific research on safety terms regarding residential electrical work.
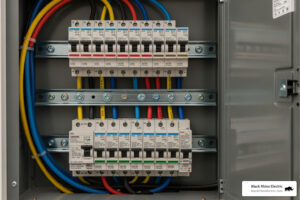
Step-by-Step Guide to Add Breaker to Main Panel
- Shut off the Main Breaker: This is usually the large switch at the top. The terminals above this switch are still live!
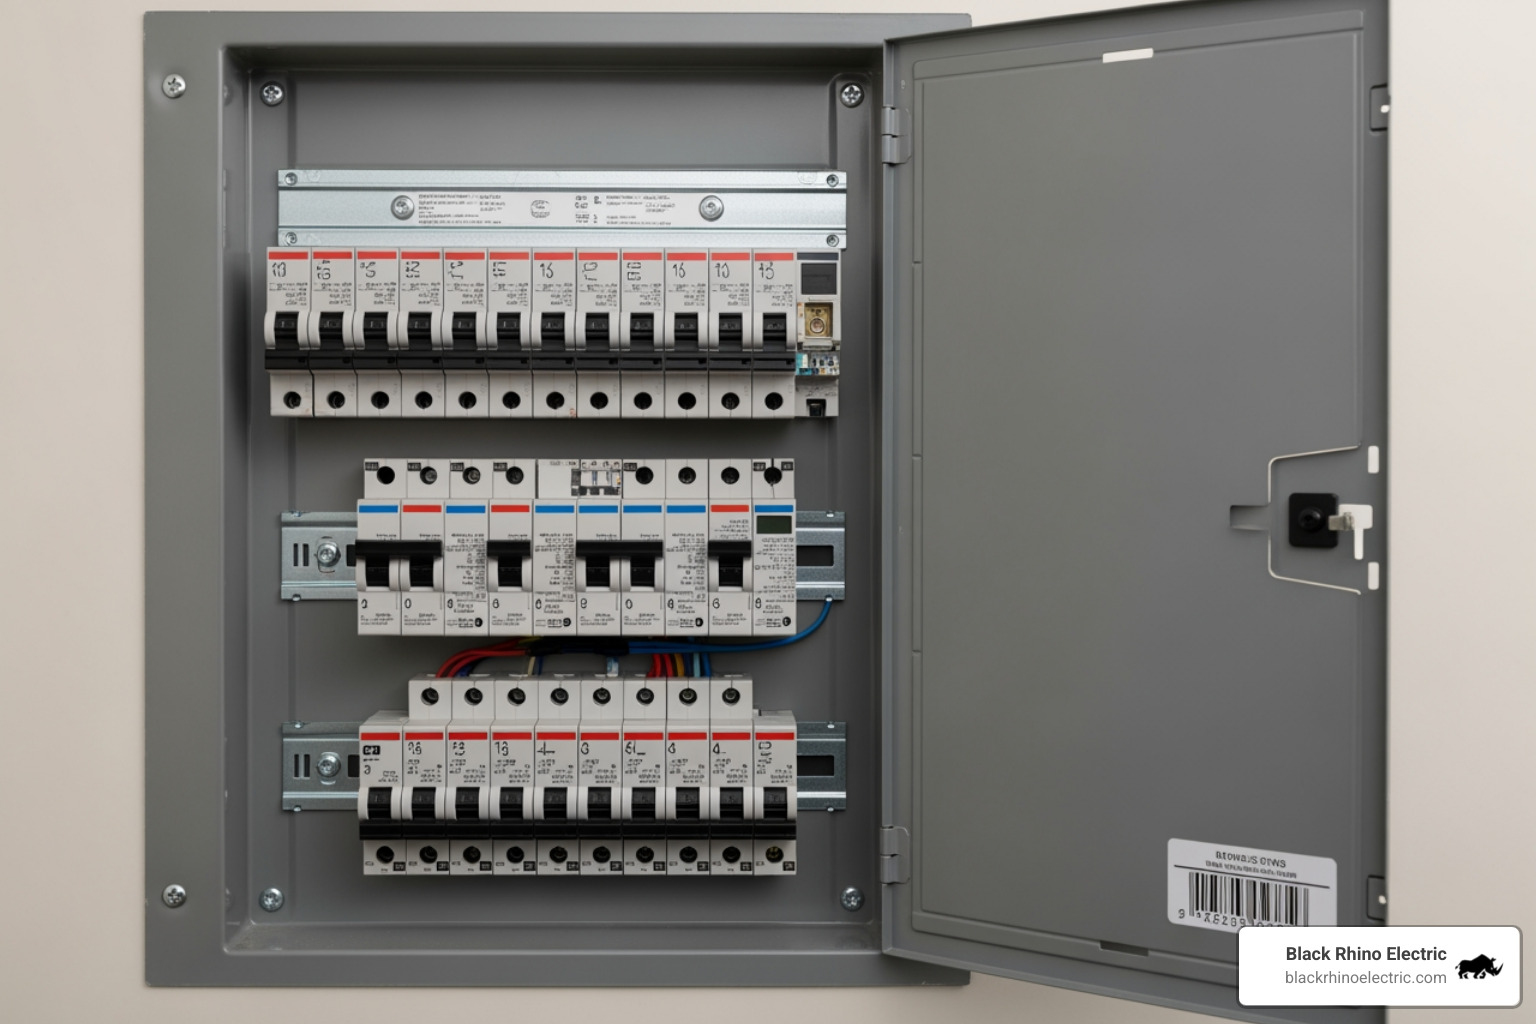
- Remove the Panel Cover: Unscrew the corners carefully. We recommend holding the cover firmly while removing the last screw to prevent it from falling onto the internal components.
- Verify Power is Off: Use your voltage tester on the bus bars (the metal tabs where breakers clip in).
- Prepare the Knockout: Use pliers to remove the metal tab on the panel cover that corresponds to your new breaker’s position.
- Install the Breaker: Following Replacing a Breaker in Your Panel protocols, hook the breaker onto the plastic mounting rail first, then firmly press it onto the bus bar until you hear or feel a “click.”
Wiring Connections: Hot, Neutral, and Ground
Now comes the precision work. You must use the correct wire gauge: 14 AWG for 15-amp and 12 AWG for 20-amp circuits.
- Ground (Bare/Green): Connect this to the ground bus bar first.
- Neutral (White): Connect this to the neutral bus bar. If you are using an AFCI breaker (required for most living areas by modern code), the white wire connects directly to the breaker, and the breaker’s “pigtail” goes to the neutral bar.
- Hot (Black/Red): Connect this to the terminal on the new breaker.
Ensure you strip about 1/2-inch to 5/8-inch of insulation. For more guidance, see our ultimate electrical panel installation checklist. Use a torque screwdriver if your panel specifies inch-pound requirements to ensure the connection won’t loosen over time due to thermal expansion.
Testing and Troubleshooting
Once the wires are secure and the cover is back on, it’s time for the moment of truth.
- Stand to the side: Never stand directly in front of the panel when flipping the main breaker or a new branch breaker.
- Restore Power: Flip the main breaker on, then the new breaker.
- Test the Circuit: Use a multimeter or a plug-in tester at the new outlet. If it’s an AFCI/GFCI breaker, press the “TEST” button to ensure it trips correctly.
If the breaker trips immediately, you likely have a short circuit or a ground fault. Turn the power back off and inspect your wiring. Did a hot wire touch the metal box? Is the neutral wire pinched?
Common Mistakes and Older Panel Considerations
Honestly, some panels shouldn’t be touched by anyone but a pro. If you see rusted bus bars, moisture damage, or brands like Federal Pacific or Zinsco, you are looking at a fire hazard. These older panels often fail to trip, leading to catastrophic overheating.
Common DIY mistakes include:
- Loose Connections: These cause arcing and fires.
- Mismatched Breakers: You must use breakers approved by the panel manufacturer. Using a Square D breaker in a GE panel might “fit,” but it violates code and can damage the bus bar.
- Aluminum Wiring: If your home was built in the 60s or 70s, you might have aluminum wiring, which requires special connectors (CO/ALR).
If your lights flicker when the AC kicks on, or if you’re out of space, it’s probably time for a full upgrade to your electrical panel.
Conclusion: Expert Help for Your Electrical Upgrades
At Black Rhino Electric, we specialize in essential EV charger installations, hot tub wiring, panel replacements, and comprehensive whole home or business wiring services throughout Weber County, with expert coverage in Ogden and surrounding Utah areas. Whether you’re a homeowner in Ogden preparing for electric vehicle ownership with seamless EV charger setups, a family in North Ogden wiring up a backyard hot tub for safe enjoyment, a business manager in Roy needing urgent panel replacements to prevent outages, or a property owner in Ogden undertaking full rewiring for modern efficiency, our expert team delivers tailored solutions with precision and care.
As fully licensed electricians and insured electrical contractors, we prioritize your safety and satisfaction with every project—from strategic EV charger installations that future-proof your driveway to reliable panel replacements to upgrade capacity and reliability. For more information, explore our page on electrical panels and meters.
You know what? If you ever feel unsure about working inside your service box, it is always better to call a professional to ensure your home remains safe and up to code. Contact our expert team today at 801-810-4292 or Request a Free Quote.