Fixing a damaged cord or connection doesn’t have to be intimidating—and learning how to *fix a broken wire safely can save you money, time, and potential headaches.
With the right tools, a bit of patience, and a safety-first mindset, you can repair many everyday wire issues at home while avoiding common electrical hazards.*
Contents
Quick Guide: How to Fix a Broken Wire Safely
When a lamp stops working or your phone charger suddenly quits, the culprit is often a damaged wire. Knowing how to fix a broken wire can restore your devices to working order and save you from costly replacements. Whether it’s a frayed cord, a severed connection, or exposed copper, this guide will show you the safest and most effective repair methods.
Here’s what you need to know right away:
- Disconnect the power – Unplug the device or turn off the circuit breaker before touching any wires
- Assess the damage – Look for cuts, fraying, exposed copper, or melted insulation
- Strip the wire ends – Remove about 1/4 to 1/2 inch of insulation using wire strippers
- Choose your connection method:
- Wire nuts – Best when you have plenty of wire slack and space
- Butt splice connectors – Ideal for tight spaces or limited wire length
- Soldering – Creates the strongest mechanical and electrical connection
- Insulate the repair – Use heat shrink tubing or electrical tape to cover all exposed wire
- Test the repair – Check for continuity with a multimeter before putting the device back in service
Why Wire Repair Matters for Your Home and Safety
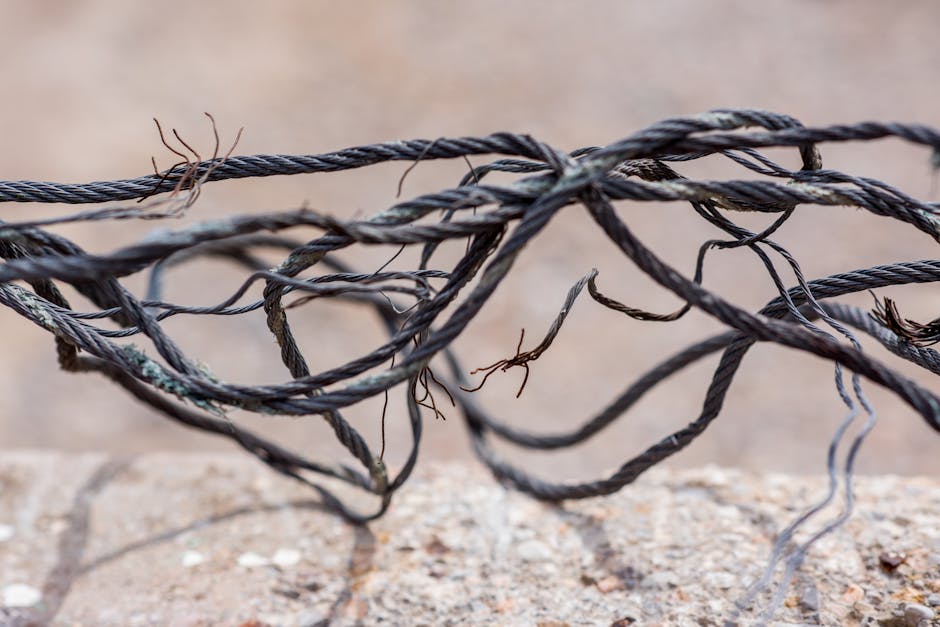
Here’s the thing: damaged wires aren’t just an inconvenience—they’re a genuine safety hazard. Exposed wires can cause electrical shock or fire. A severed wire cuts off power, while damaged insulation creates dangerous exposed sections.
The most common causes of wire damage include:
- Normal wear and tear over time.
- Fraying from repeated bending, especially at connection points.
- Animals, like rodents, chewing through insulation.
- Chemical exposure causing insulation to dry out and crack.
- Overheating from overloaded circuits, leading to melted insulation.
- Pinching from furniture or during installation.
Wires inside appliances, vehicles, and even your walls can fail without warning. A broken wire is one of the most common causes of appliance malfunctions. The good news? Many wire repairs are straightforward DIY projects if you follow proper safety protocols. You know what makes the difference between a quick fix and a fire hazard? Understanding which repair method works best and knowing when to call a professional.

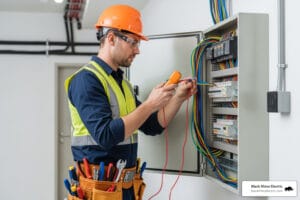
Before You Begin: Safety First and Tool Prep
Before you even touch a wire, it’s crucial to prioritize safety and gather the right equipment. Honestly, skipping this step is the biggest mistake you can make. Let me explain why it’s so important.
Essential Safety Precautions
Your top priority should always be safety. Electricity is powerful, and a careless mistake can have severe consequences.
- Power Disconnection is Non-Negotiable: Always unplug the device completely. For hardwired items, turn off the power at the circuit breaker and place a note on the panel so no one turns it back on.
- Verify No Power: Use a non-contact voltage tester to confirm the wires are “dead” before you touch them. This simple step can prevent a nasty shock.
- Understand the Risks: An improper repair can lead to shock, fire, or electrocution. Exposed wires are a serious fire hazard.
- Work in a Safe Environment: Ensure your workspace is dry, well-lit, and clear of clutter.
- When in Doubt, Call a Pro: We cannot stress this enough. If you’re uncomfortable, unsure, or the repair involves high-voltage household wiring, it’s always best to call a licensed electrician. For complex electrical issues, professional expertise is key. Learn more about Why You Should Always Hire a Licensed Electrician.
Gathering Your Toolkit
Having the right tools makes all the difference. Here’s what we recommend for your wire repair toolkit:

- Wire Strippers: To remove insulation without damaging the copper strands.
- Crimping Tool: For a secure connection with crimp connectors.
- Heat Gun (or Lighter): To apply heat-shrink tubing for a professional seal.
- Multimeter: To test for continuity and verify your repair is successful.
- Connectors: Wire nuts, butt splices, or lever connectors depending on the job.
- Heat Shrink Tubing: Provides excellent insulation and protection for the repaired joint.
- Electrical Tape: A classic for insulating connections, best as a secondary layer.
- Soldering Iron and Solder (Optional): For the strongest, most durable connection, especially for electronics.
How to Fix a Broken Wire: A Step-by-Step Guide
With your tools ready and the power safely off, you’re ready to tackle the repair. The key is to create a connection that is both mechanically strong and electrically sound.
Step 1: Preparing and Stripping the Wire
Precision matters here. A good strip is the foundation of a good repair.

- Assess and Trim: Cut away any burnt, frayed, or corroded sections for a fresh start.
- Strip the Insulation: Use the correct gauge setting on your wire strippers to remove about 1/4 to 1/2 inch of insulation from each end.
- Avoid Damage: The goal is to remove only the insulation, leaving the copper conductor intact. If you nick the copper, cut it back and try again. Lightly twist stranded wires to keep them neat.
Step 2: Choosing Your Connection Method
Now, let’s make the connection! The best method to fix a broken wire depends on the wire type, location, and space.
| Method | Ease of Use | Mechanical Strength | Electrical Strength | Cost | Best Application |
|---|---|---|---|---|---|
| Wire Nuts | Easy | Good | Good | Low | Joining multiple wires in junction boxes, household wiring. |
| Butt Splices | Moderate | Very Good | Very Good | Low-Medium | Tight spaces, automotive wiring, inline repairs. |
| Lever Connectors | Very Easy | Good | Very Good | Medium-High | Quick connections, reusable setups where space allows. |
| Soldering | Requires Skill | Excellent | Excellent | Medium | Electronics, high-vibration areas, maximum reliability. |
- Wire Nuts: Hold stripped ends together and twist the nut on clockwise until it’s tight, ensuring no bare copper is visible.
- Butt Splices: Slide a heat shrink tube onto one wire first. Insert a wire end into the splice and crimp it firmly. Repeat for the other wire.
- Lever Connectors: Simply lift the lever, insert the stripped wire, and push the lever down to secure it.
- Soldering: For the strongest bond, twist the wires together. Use a soldering iron to heat the wires, then apply solder until it flows smoothly into the joint. Let it cool naturally.
For more information on professional electrical repairs, check out our residential electrician services.
Step 3: Insulating and Protecting Your Repair
Once connected, you must insulate the repair for safety and durability.
- Heat Shrink Tubing: This is the professional choice. Slide the tubing over the repair so it covers the bare wire completely. Use a heat gun to shrink it tightly, creating a durable, waterproof seal.
- Electrical Tape: For a quick fix, wrap electrical tape tightly around the connection, overlapping each turn. It’s effective but less durable than heat shrink.
- Strain Relief: To prevent future breaks, consider adding strain relief. Moldable glues like Sugru can be formed around the repair area to create a new, flexible support, just like the original cord had.
- Moisture Protection: For outdoor or wet applications, apply silicone sealant around the connection for an extra layer of defense.
After the Fix: Testing, Troubleshooting, and When to Call a Pro
You’ve made the connection, but how can you be sure it’s safe? A quick test is essential. It’s also important to recognize when a repair isn’t the right solution.
How to test your fix a broken wire repair
Never assume your repair is perfect without testing.
- Continuity Test with a Multimeter: With the power still off, set your multimeter to the continuity setting (it looks like a Wi-Fi symbol). Touch one probe to each end of the repaired wire. A beep or a reading near zero means you have a good connection. If you get “OL” (open loop), the connection has failed. You can learn more in our guide to Electrical Wiring Repair.
- Functional Test (with Caution): Once continuity is confirmed, restore power. If the device works, carefully feel the repaired section after a few minutes. If it’s warm or hot, unplug it immediately. Heat indicates a poor connection and a serious fire hazard.
Repair or Replace? Knowing when to fix a broken wire is not enough
Sometimes, a wire needs to be replaced entirely. The risks of a bad repair—shock, fire, or electrocution—are too high.
Replace the wire if you see:
- Severe Damage: The wire is extensively burnt, corroded, or has multiple breaks.
- Degraded Insulation: The insulation is brittle, cracked, or crumbling along the wire’s length.
- Wrong Gauge: You don’t have a replacement wire of the exact same thickness (gauge). Using a smaller wire is a fire hazard.
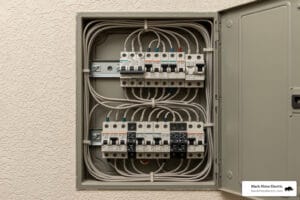
When to Call a Professional
- In-Wall Wiring: Any splicing of wires inside walls must be done in an accessible junction box to meet electrical code. This is a job for a pro.
- Lack of Confidence: If you’re unsure about any step or don’t have the right tools, call an expert.
- Recurring Issues: If the same wire or appliance keeps failing, it points to a deeper problem that needs professional diagnosis.
- High Voltage: We strongly advise against DIY repairs on any high-voltage household circuits.
While many wire repairs are manageable DIY projects, some situations demand professional expertise for your safety and to ensure compliance with electrical codes. If you encounter extensive damage, signs of burning, or are dealing with wiring inside your walls in the Ogden area, it’s time to call in the experts. For safe, swift, and superior service, call us at 801-810-4292 or Request a Free Quote online.