Figuring out the budget for a major home project can be stressful, especially when it comes to your electrical system. Let’s be honest, trying to pin down the cost to upgrade electrical panel can feel like a shot in the dark, but we’re here to clear things up. The final price depends on a few key factors, but we can give you a solid starting point.
Contents
- 1 Your Quick Guide to Electrical Panel Upgrade Costs
- 2 Why an Upgrade Is More Than Just a Number
- 3 Decoding Your Quote: Materials, Labor, and Permits
- 4 Hidden Factors That Can Bump Up Your Upgrade Cost
- 5 The Upgrade Process From Start to Finish
- 6 How to Get an Accurate and Trustworthy Quote
- 7 Common Questions About Electrical Panel Upgrades
Your Quick Guide to Electrical Panel Upgrade Costs
Upgrading your electrical panel isn’t just a repair; it’s one of the smartest investments you can make in your home’s safety and future. So, let’s break down the typical price ranges for the most common upgrades homeowners like you are considering.
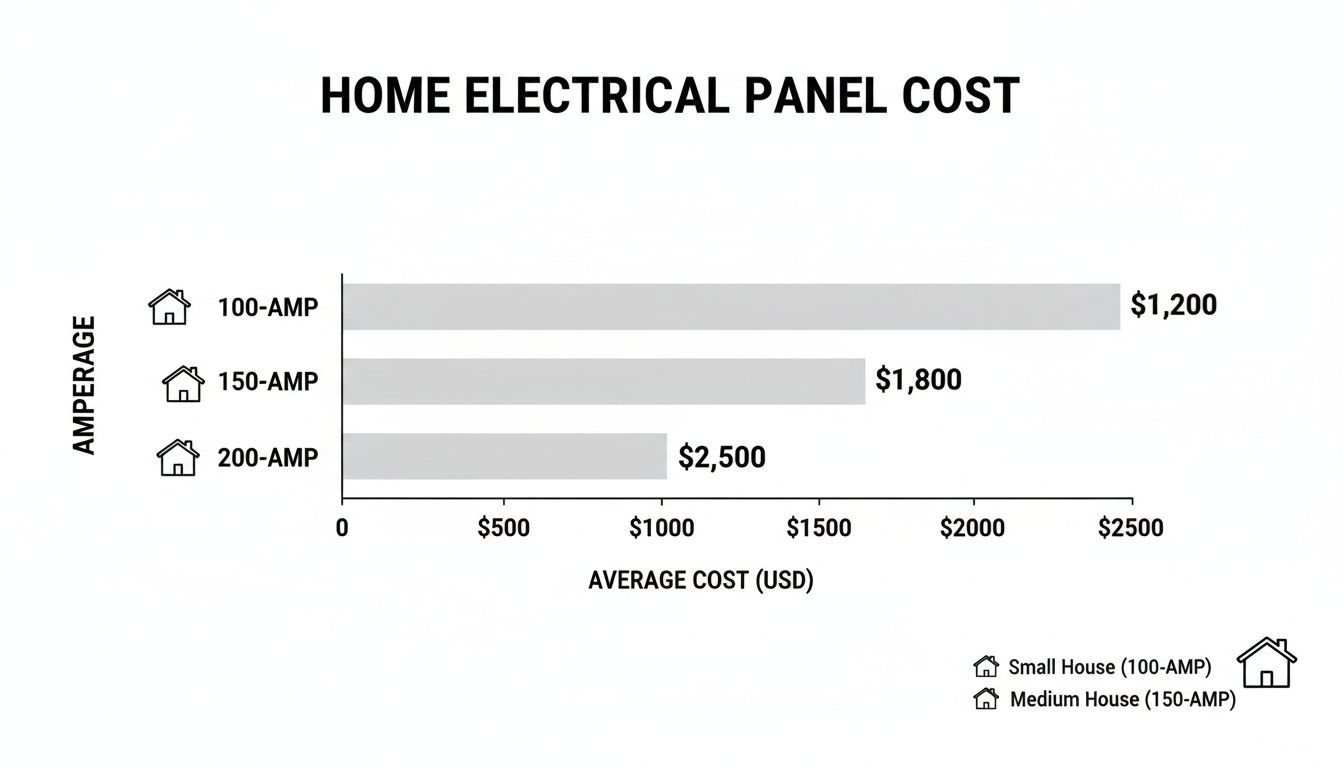
These projects tend to fall into clear cost brackets based on the amperage—the amount of electrical power the panel can handle. For 2025, a basic 100-amp panel swap usually runs between $800 and $1,500. The far more common 200-amp service upgrade, which is what most modern homes need, costs from $1,500 to $3,000.
For larger homes with heavy electrical loads like hot tubs, workshops, or multiple EV chargers, stepping up to 300-400 amps can push the cost to $5,000 or more.
The chart below gives you a quick visual of the average costs for these popular residential panel sizes.
Here’s a quick table to help you see how these numbers line up with typical household needs.
Estimated Cost to Upgrade Electrical Panel by Amperage
| Panel Size (Amperage) | Typical Cost Range | Best For |
|---|---|---|
| 100-Amp | $800 – $1,500 | Smaller homes (<1,500 sq. ft.) with gas appliances and minimal power needs. |
| 150-Amp | $1,300 – $2,500 | Mid-sized homes, or smaller homes adding one major electric appliance. |
| 200-Amp | $1,500 – $3,000 | The modern standard for most homes, supporting EVs, hot tubs, and A/C. |
| 300-400 Amp | $3,000 – $5,000+ | Large luxury homes with multiple high-demand systems or extensive shops. |
As you can see, the price climbs with the amperage. It’s not just the panel itself; bigger services require beefier wiring, more robust components, and often more labor to install correctly and safely.
If you’re scratching your head wondering which size is right for your home, don’t worry. Our team can help you figure it out with our professional breaker and panel services. We’ll look at what you have now and what you plan to add later to make sure you get exactly what you need.
Why an Upgrade Is More Than Just a Number
Thinking about the cost to upgrade an electrical panel can make any homeowner hit the brakes. You’re probably asking yourself, “Is this really necessary right now?” Let me explain why this upgrade is one of the most critical investments for your home—it goes way beyond a price tag and straight into safety, capability, and genuine peace of mind.
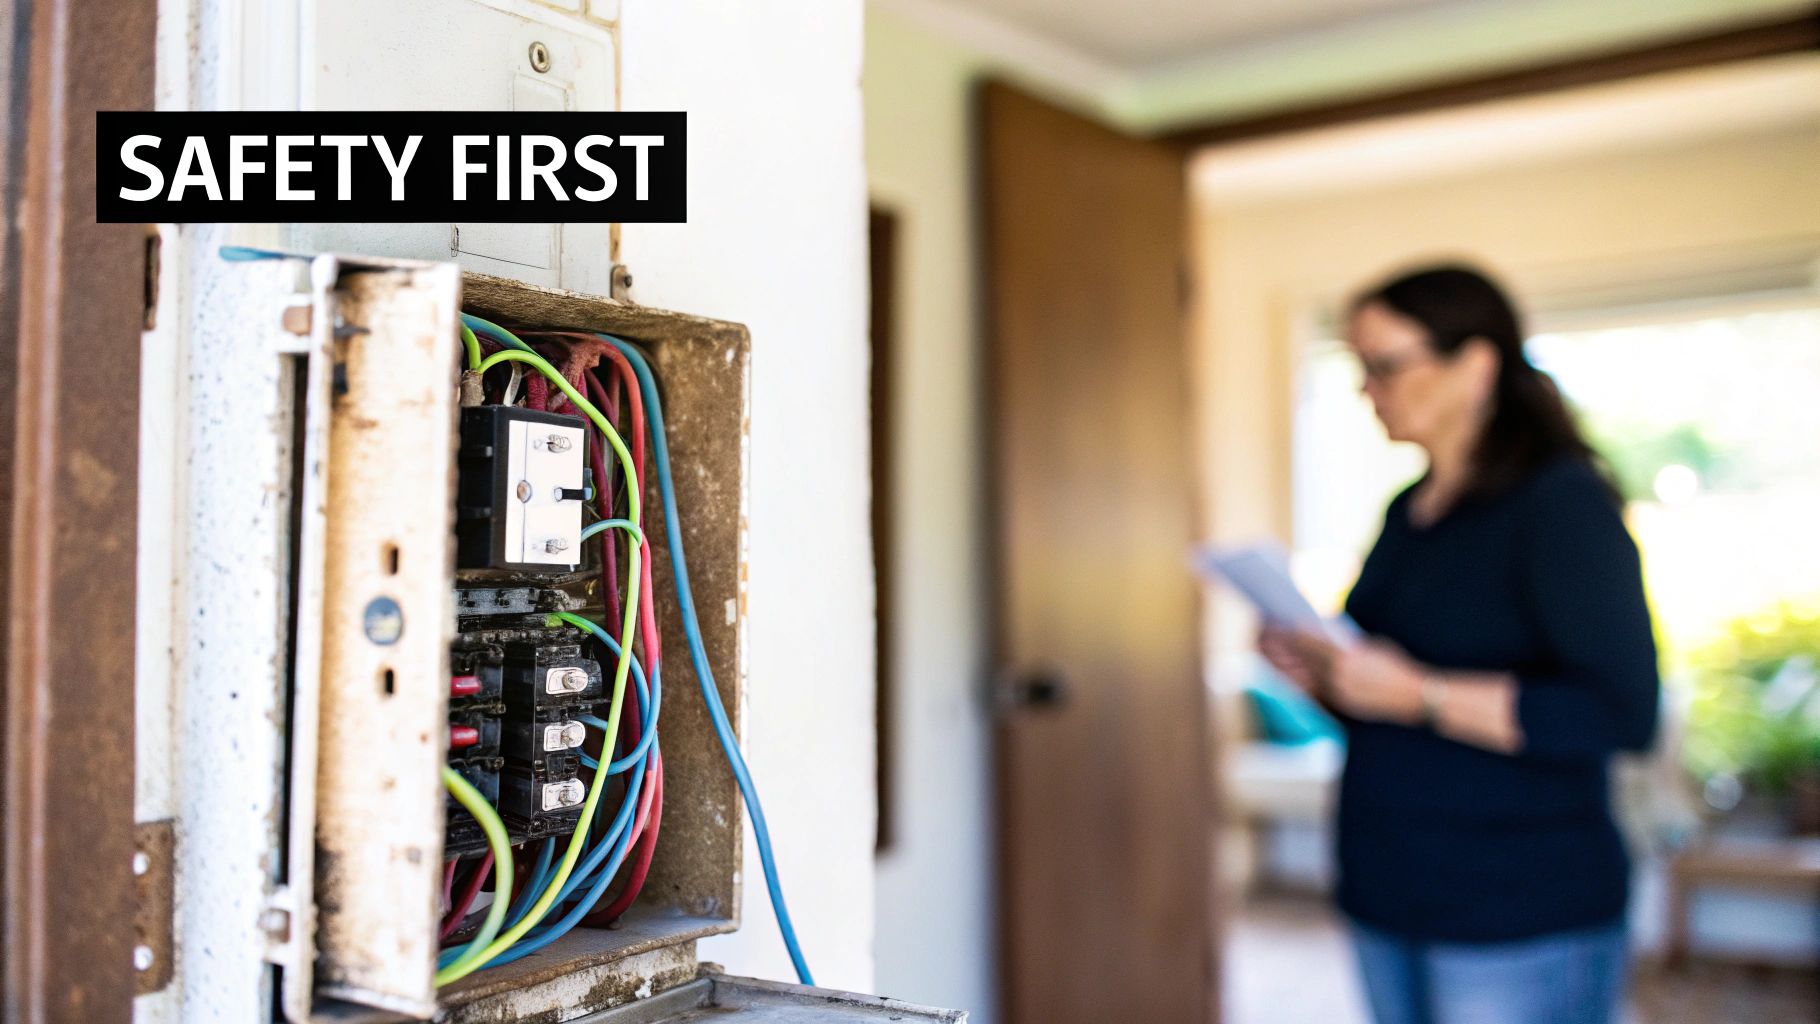
Honestly, your electrical panel is the heart of your home’s entire electrical system. It’s the central hub that safely pumps power to every light, outlet, and appliance you own. When that heart is old or overworked, it just can’t keep up, and you’ll start seeing some serious—and often dangerous—symptoms around the house.
Recognizing the Warning Signs of an Overloaded Panel
Are you dealing with frustrating electrical quirks? These aren’t just minor annoyances; they are urgent signals that your electrical system is under serious strain. Don’t ignore them.
Here’s what to look out for:
- Frequently Tripping Breakers: A breaker tripping once in a while is no big deal. But if you have to march to the panel every time you run the microwave and the toaster at the same time, your panel is screaming for help.
- Flickering or Dimming Lights: Do your lights dip every time the air conditioner kicks on? That’s a classic sign your panel can’t handle the sudden power demand from your bigger appliances.
- A Persistent Burning Smell: If you ever catch a sharp, burning odor coming from your panel, this is a critical emergency. It usually means wires are overheating and could easily start a fire. Shut off the main breaker if it’s safe to do so and call a licensed electrician immediately.
- Crackling or Buzzing Sounds: Your electrical panel should be completely silent. Any audible sounds like buzzing or crackling are serious red flags that point to loose wiring or a failing breaker.
An outdated or overloaded electrical panel is a leading cause of residential electrical fires. Upgrading is not just about convenience; it’s a fundamental safety measure to protect your family and your property from preventable disasters.
Keeping Up with Modern Electrical Demands
You know what? The way we use electricity has changed dramatically. Homes built in the 1980s or even the early 2000s simply weren’t designed for today’s high-tech lifestyle. Their 100-amp panels were plenty for a fridge, a stove, and some lights, but they really struggle under modern loads.
Think of your electrical panel’s capacity (amperage) like lanes on a highway. A 100-amp panel is a two-lane road, which was fine for yesterday’s traffic. A 200-amp panel is a four-lane superhighway, built to handle the rush hour of modern life without getting congested.
Today, your home’s electrical “traffic” includes a lot more than it used to:
- Electric Vehicle (EV) Chargers: A Level 2 EV charger is a massive power draw, similar to adding another central AC unit to your home.
- Smart Home Technology: Countless devices, from smart speakers and security cameras to automated blinds, add a constant, cumulative load.
- High-Powered Kitchen Appliances: Modern refrigerators, induction cooktops, and high-wattage air fryers all demand a significant amount of power.
- Home Office Setups: Multiple computers, monitors, and printers create a steady electrical demand that just didn’t exist a decade ago.
Trying to run all this on an old panel is like forcing rush-hour traffic down a quiet country lane—it just leads to backups (tripped breakers) and dangerous conditions (overheating). Upgrading ensures your home’s electrical system can support your life today and whatever amazing technology comes next.
Decoding Your Quote: Materials, Labor, and Permits
When you get a quote for a panel upgrade, it can feel like one big, opaque number. So, where does all that money actually go? Honestly, the final cost to upgrade an electrical panel is a combination of three distinct parts: the physical stuff, the expert’s time, and the official paperwork.
Here’s the thing: understanding this breakdown is the key to seeing the true value in the work. Let me pull back the curtain on each part so you can read any electrician’s estimate with confidence and know exactly what you’re paying for.
The Cost of Materials: The Panel, Breakers, and Wires
First up are the materials—the tangible hardware that will become the new heart of your home’s electrical system. This isn’t just one item; it’s a collection of critical parts that have to work together perfectly and safely for decades.
The main components you’ll see itemized are:
- The Electrical Panel (Load Center): This is the metal box itself. The price varies based on its amperage (a 200-amp panel costs more than a 100-amp one) and the brand. Trusted names like Square D, Siemens, or Eaton might have a higher upfront cost, but they’re known for reliability. It’s a smart investment.
- Circuit Breakers: Every circuit in your home needs its own breaker. The number and type you need will affect the price. Specialized breakers like Arc Fault Circuit Interrupters (AFCIs) or Ground Fault Circuit Interrupters (GFCIs) are more expensive but are required by modern electrical codes to prevent fires and shocks.
- Wiring and Conduit: Upgrading your service almost always means running new, thicker service entrance (SE) cables from the meter to the new panel. These heavy-gauge copper wires are a significant material cost on their own.
- Miscellaneous Hardware: This covers all the other essentials—grounding rods, clamps, connectors, and fasteners—needed to complete a safe, code-compliant job.
Think of it like this: opting for a high-quality panel and breakers is like choosing a top-tier engine and transmission for your car. It’s the core of the system, and investing in quality here ensures safety and performance for decades to come.
Labor Costs: The Price of Expertise and Safety
Next is labor, which honestly makes up the largest slice of the total cost—often 50-70% of the final bill. Why so much? Because you’re not just paying for a person’s time; you’re paying for years of training, specialized knowledge, and the expertise to handle a high-stakes job without putting your home at risk.
A licensed electrician’s labor covers several crucial stages:
- System Assessment and Planning: Before a single wire is touched, a pro evaluates your existing system, calculates your home’s electrical load, and maps out the entire upgrade.
- Safe Disconnection and Removal: This involves coordinating with the utility company to shut off power and safely dismantling the old, energized equipment. You don’t want mistakes here.
- Installation and Wiring: The electrician meticulously installs the new panel, connects every single circuit, and ensures all connections are torqued down correctly to prevent fire hazards.
- Testing and Verification: Once installed, the entire system is tested to confirm it’s operating correctly and safely.
The complexity of the job is a huge factor. A straightforward swap in an accessible basement will cost less than relocating a panel from a closet to the garage, which requires extensive—and time-consuming—rewiring.
Permits and Inspections: The Non-Negotiable Step
Finally, let’s talk about permits and inspections. It can be tempting to see this as just bureaucratic red tape, but it’s an absolutely essential part of the process. A permit is your official green light from the local municipality, ensuring the work is done to the latest safety standards set by the National Electrical Code (NEC).
Here’s what this part of the cost covers:
- Pulling the Permit: Your electrician files the necessary paperwork with your city or county. Permit fees typically range from $50 to $300, depending on your location.
- The Inspection: After the installation is complete, a third-party city inspector visits your home. They meticulously review the work to verify that every detail—from the wire gauges to the grounding—is correct and safe.
- Final Approval: Once the work passes inspection, the project is officially signed off. This approval is crucial for your homeowner’s insurance and for the future sale of your home.
This process is your ultimate assurance that the job was done right. It protects you from shoddy work and gives you documented proof that your home’s electrical system is safe. Research shows the typical cost to upgrade electrical panel services can range widely, with a common project like a 200-amp upgrade running from $1,300 to $3,000, heavily influenced by these labor and permitting variables. Discover more insights about these electrical project costs and how location plays a role.
Hidden Factors That Can Bump Up Your Upgrade Cost
Getting a quote for your project is a great first step, but honestly, that initial number doesn’t always tell the whole story. When you’re dealing with something as complex as a home’s electrical system, surprise issues can pop up, changing the final cost to upgrade your electrical panel. Knowing about these potential budget-busters ahead of time helps you avoid sticker shock and have a much clearer conversation with your electrician.
Let me explain. Older homes, in particular, are notorious for hiding electrical quirks that only show up once the walls are open and the work begins. These aren’t mistakes by your electrician; they’re just the reality of bringing a decades-old system up to modern safety standards.
When Your Home Needs More Than Just a New Panel
Sometimes, swapping out the panel box is only half the job. The infrastructure feeding it might also be outdated, unsafe, or just not big enough for the new power you’re adding. This is where those unexpected costs often creep in.
Here are a few of the most common “add-on” jobs we run into:
- Main Service Drop Upgrade: The thick wire running from the utility pole to your house is called the service drop. If you’re upgrading to 200 amps but that wire is only rated for 100 amps, it will need to be replaced by the utility company. This adds another layer of coordination and potential cost.
- Meter Base Replacement: The meter base is the metal box on the outside of your house that holds the electric meter. If it’s old, corroded, or not rated for the new amperage, it has to be replaced to ensure a safe, solid connection.
- Dealing with Ungrounded Wiring: Many older homes were built with two-prong outlets and wiring that lacks a ground wire. Modern electrical codes demand proper grounding for safety. If your home’s wiring needs to be updated to support the new panel, this will add significant labor and material costs to the project.
It’s a fact that our power needs have skyrocketed over the years, making panel upgrades a necessity, especially for homes built in the mid-to-late 20th century. Homes constructed before 1980, for instance, often need 15–25% more investment for an upgrade simply to fix old issues like outdated wiring or a total lack of grounding. You can learn more about these historical home wiring trends and see how they impact today’s projects.
Code Compliance and Relocation Headaches
You know what? Sometimes the biggest hidden cost has nothing to do with the wires themselves, but where the panel is located. Over the years, the National Electrical Code (NEC) has put strict rules in place about panel placement to keep things safe and accessible.
A common problem we find in older homes is an electrical panel tucked away in a spot that’s no longer code-compliant—like a bathroom, a clothes closet, or a tiny, cramped pantry. If your panel is in one of these forbidden zones, it has to be moved.
Relocating a panel is a major undertaking. It’s not just about moving the box; it means extending every single circuit from the old spot to the new one. This process requires a ton of new wire and labor, which can easily add $1,000 to $2,500 or more to the final bill, all depending on the distance and complexity.
To give you a clearer picture of how these extra services can affect your budget, I’ve put together a quick table of common add-ons we see.
Common Add-Ons and Their Potential Cost Impact
This table breaks down some of the extra work that might be needed during your upgrade. It’s a good way to anticipate what could come up and plan for a more realistic budget.
| Additional Service | Typical Added Cost | Why It Might Be Needed |
|---|---|---|
| Panel Relocation | $1,000 – $2,500+ | The existing panel is in a location that violates current safety codes (e.g., a closet or bathroom). |
| Meter Base Replacement | $400 – $800 | The existing meter socket is damaged, corroded, or not rated for the new, higher amperage. |
| Whole-House Surge Protection | $300 – $700 | You want to protect all your sensitive electronics from power surges originating from the grid. |
| Subpanel Installation | $500 – $1,200 | You need to power a detached garage, workshop, or a specific area with many circuits, like a large kitchen. |
Understanding these potential variables is the key to creating a realistic budget. It also helps you have a much more productive discussion with your electrician about the true scope of your project, so there are no surprises on the final invoice.
The Upgrade Process From Start to Finish
Knowing exactly what to expect during a panel upgrade makes the whole thing a lot less stressful. Honestly, a clear timeline takes the mystery out of the project and gives you confidence that everything is being handled professionally. The final cost to upgrade an electrical panel is tied directly to this structured process, which ensures safety and code compliance from start to finish.
Let me explain. A proper upgrade isn’t just a one-day job; it involves careful planning, official oversight, and meticulous work.
Step 1: Initial Consultation and Quote
The journey kicks off with a licensed electrician visiting your home for an in-person assessment. This is a critical first step. During this visit, the electrician will:
- Evaluate your current panel: They’ll check its amperage, age, brand, and overall condition. Is it a known problematic brand? Is it maxed out?
- Discuss your power needs: Planning to add an EV charger, a hot tub, or a new kitchen? This conversation helps determine if a 200-amp service is the right move for you.
- Inspect the surrounding system: The electrician will look at the service drop, meter base, and grounding system to spot any other issues that need to be brought up to code.
Based on this thorough evaluation, you’ll get a detailed, itemized quote. A trustworthy quote will clearly separate the costs for materials, labor, and permits, so there are absolutely no surprises.
Step 2: Permitting and Utility Coordination
Once you give the green light, your electrical contractor handles all the necessary paperwork. This isn’t just a formality; it’s a crucial step for safety and legality.
The contractor will submit plans to your local city or county building department to pull an electrical permit. This officially registers the job and guarantees it will be inspected when complete. At the same time, they’ll coordinate with your local utility company to schedule the power disconnection and reconnection on the day of the installation.
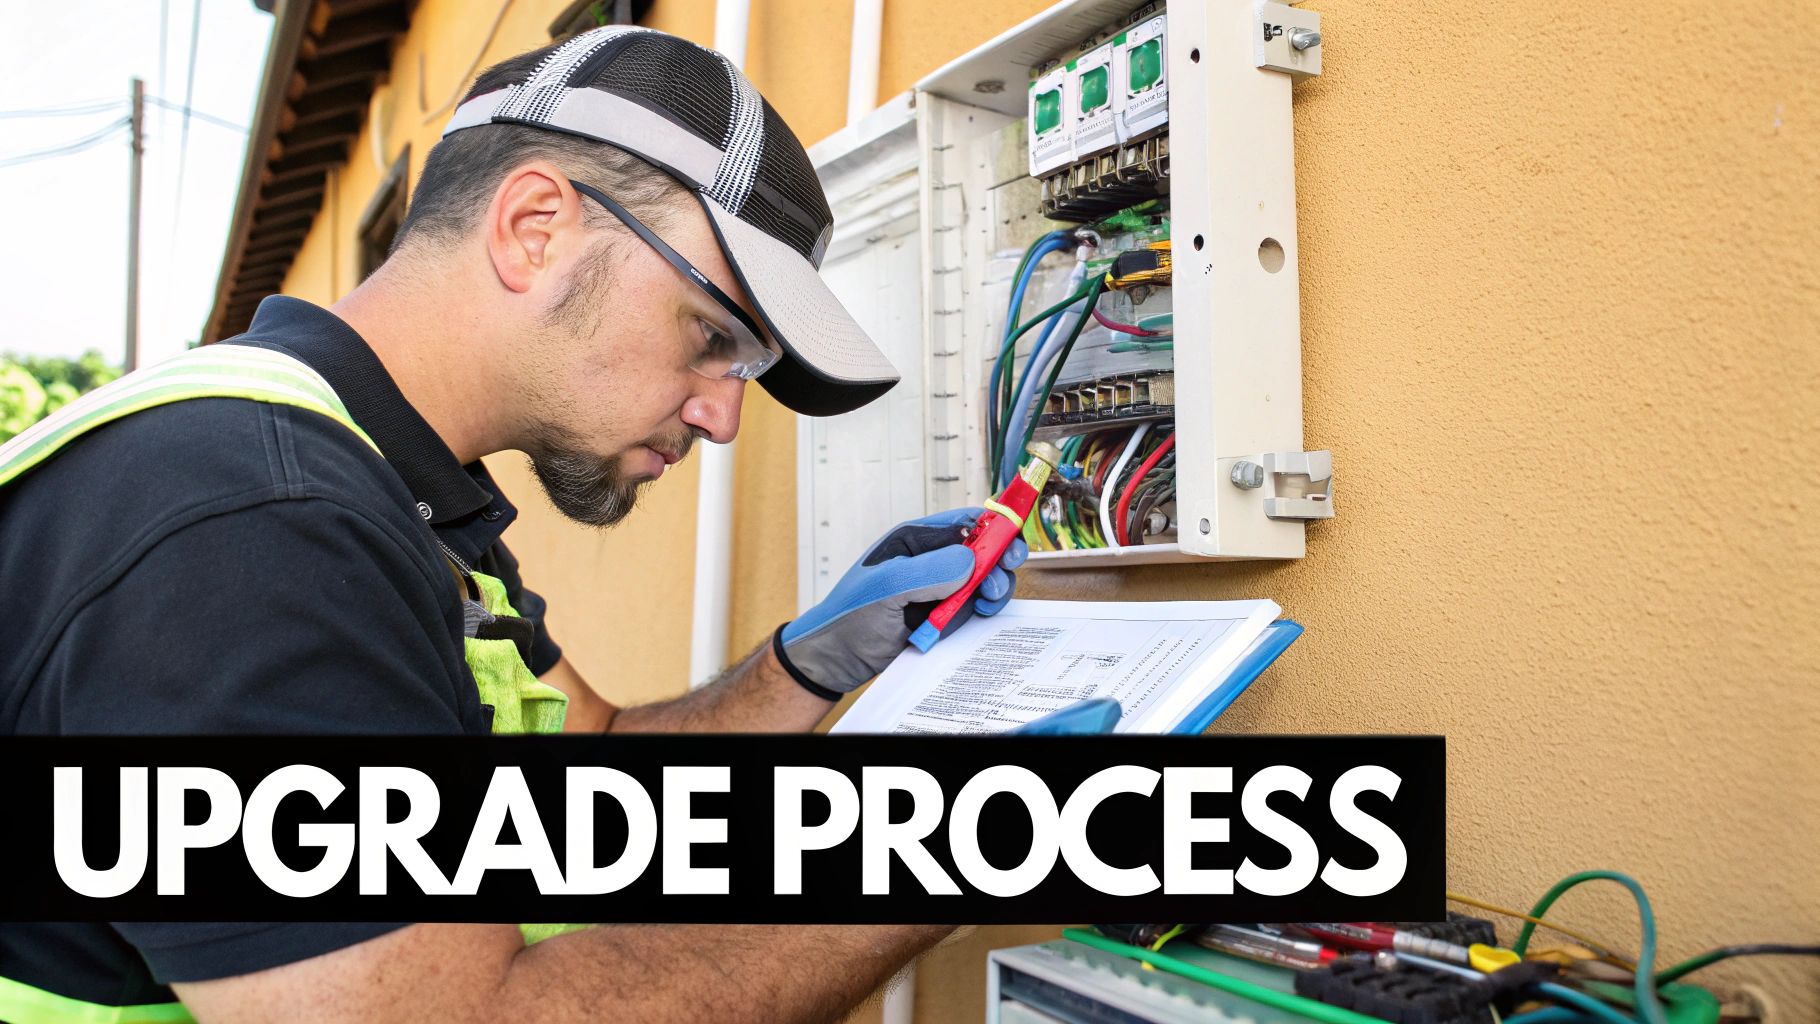
Step 3: The Day of the Installation
This is where the real work happens. You know what? The most important thing to prepare for is a planned power outage. You can expect the electricity to your entire home to be shut off for anywhere from 4 to 8 hours.
During this time, the electrical team will follow a precise procedure:
- Power Disconnection: The utility company arrives to safely cut the main power feed to your home at the service drop.
- Old Panel Removal: The electricians will carefully label every circuit, disconnect them, and remove the old, tired panel from the wall.
- New Panel Installation: They will mount the new, higher-capacity panel, install the new main breaker, and connect the new service entrance wires coming from the meter.
- Circuit Reconnection: Each circuit from your home is methodically reconnected to the appropriate new circuit breaker in the new panel. Tidy and clean.
- System Grounding: A new grounding and bonding system is installed to meet modern safety codes, which is absolutely vital for protecting your family and electronics from electrical faults.
Throughout the installation, a professional team works efficiently to minimize your downtime. It’s a good idea to charge your phones and laptops beforehand and plan your day around the scheduled outage.
Step 4: Final Inspection and Power Restoration
After the new panel is fully installed, the job isn’t quite done. The final, non-negotiable step is the official inspection.
A city inspector will visit your home to meticulously review the electrician’s work. They’ll verify that the installation meets all National Electrical Code (NEC) standards for safety, from the wire gauges used to the proper labeling of circuits.
Once the inspector signs off on the work, the utility company is cleared to reconnect your power. The electricians will then power up your home, test every circuit, and make sure everything is working perfectly before they consider the job complete.
How to Get an Accurate and Trustworthy Quote
You know what? A generic online cost calculator is a decent starting point, but a real, accurate quote for your specific home is what truly matters. Getting a reliable estimate ensures you understand the real cost to upgrade an electrical panel without hidden fees or surprises. This all starts with a professional, in-person inspection.
Let me explain. An experienced electrician needs to see your existing setup with their own eyes. They can spot complexities that an online form would miss, like an outdated meter base or a panel located in a non-compliant area like a closet, which we discussed earlier. This hands-on assessment is the only way to get a quote that reflects the true scope of your project.
Preparing for Your Consultation
To help your electrician give you the most accurate quote possible, it’s a great idea to have some key information ready. Honestly, the more details you can provide, the better.
Come prepared to discuss:
- The age of your home: This gives the electrician clues about the type of wiring and potential code issues they might encounter.
- Your current and future power needs: Be upfront about your plans. Mention if you’re thinking about an EV charger, a hot tub, a kitchen remodel, or a workshop in the garage.
- Any problems you’ve noticed: Are your breakers tripping constantly? Do the lights flicker when the AC kicks on? These details are crucial for a proper diagnosis.
This isn’t just about getting a number; it’s about starting a conversation to ensure the final solution fits your life perfectly.
What to Look for in a Quality Quote
Once you receive an estimate, how can you tell if it’s a good one? A trustworthy quote from a reputable company like Black Rhino Electric will be clear, detailed, and transparent. It should never feel like you’re trying to solve a puzzle.
A quality quote is always itemized. It should clearly break down the costs for labor, the specific materials being used (like the panel brand and breakers), and any permit fees. This transparency is the hallmark of a professional who stands behind their work.
Look for a quote that explicitly outlines the entire scope of the project, including any necessary add-ons like relocating the panel or replacing the meter base. It should state what is included and, just as importantly, what isn’t. This detailed approach prevents misunderstandings and ensures you are paying for a safe, code-compliant installation performed by a qualified expert.
If you’re ready to move beyond estimates and get a firm price for your project, you can easily request a professional quote from Black Rhino Electric to schedule your in-home consultation.
Common Questions About Electrical Panel Upgrades
We get a lot of questions about this whole process. Honestly, it’s a big project, and you deserve to have all the facts before you decide on the final cost to upgrade an electrical panel. It’s completely understandable to want clear answers.
We’ve gathered the most common questions we hear from homeowners right here. Think of it as a final checklist to give you peace of mind about this important home investment.
How Do I Know If I Really Need a 200 Amp Panel?
Great question. You likely need a 200-amp upgrade if you’re planning for any major electrical additions. This isn’t just about what you have now, but what you might want in the future.
Consider a 200-amp service essential if you’re thinking about:
- Installing a Level 2 electric vehicle (EV) charger.
- Adding central air conditioning to your home.
- Planning a major kitchen renovation with new, high-powered appliances.
- Building a home addition or finishing your basement.
Even if none of those are on your immediate radar, frequently tripping breakers or lights that flicker when the fridge kicks on are clear signs your current panel is struggling. A 200-amp panel is the modern standard, providing a safe buffer for whatever comes next.
Can I Save Money By Doing the Upgrade Myself?
While the temptation to DIY is understandable, this is one job you should always leave to a licensed professional. Upgrading an electrical panel is complex and extremely dangerous work.
Let me be clear: a single mistake during a panel installation can lead to electrocution, a devastating house fire, or catastrophic damage to your appliances. It’s simply not worth the risk to save a few dollars on labor.
On top of that, most municipalities require this work to be performed by a licensed electrician and pass a formal inspection to ensure it meets strict safety codes. The cost of a professional is a direct investment in your family’s safety, your home’s compliance, and your own peace of mind.
How Long Will My Power Be Out During the Upgrade?
This is a very practical concern, and it’s smart to plan ahead. For a standard electrical panel replacement, you can expect the power to your entire home to be shut off for approximately 4 to 8 hours.
The electrician coordinates with the utility company to disconnect the main power feed before work begins and reconnect it after the inspection is complete. They work as efficiently as possible to minimize the disruption. It’s a good idea to charge your devices beforehand and maybe plan an outing for that day. For more answers to questions like this, you can always check out our complete electrical services FAQ page.
Will a New Electrical Panel Increase My Home Value?
Absolutely. While it might not be as glamorous as a new kitchen, an upgraded electrical panel is a significant selling point that smart buyers look for. It signals that the home is safe, modernized, and ready for future demands.
Think about it from a buyer’s perspective. An old, outdated panel is a major red flag that an inspector will point out, representing a potential $2,000-$3,000 expense they’ll have to deal with. Having an updated 200-amp service already installed removes that objection, makes the selling process smoother, and helps justify your asking price.
Ready to ensure your home’s electrical system is safe, reliable, and ready for the future? The experienced, licensed electricians at Black Rhino Electric are here to provide a transparent, no-obligation quote for your panel upgrade. Contact us today to schedule your in-home consultation.