Honestly, changing breaker in panel units is a task that many homeowners find intimidating, but it’s often a necessary part of maintaining a safe and functional electrical system. Have you ever wondered if your home’s safety switches are actually ready to protect you in an emergency? Let me explain what’s involved—and what you need to know before you start to keep your family safe.
Contents
Introduction
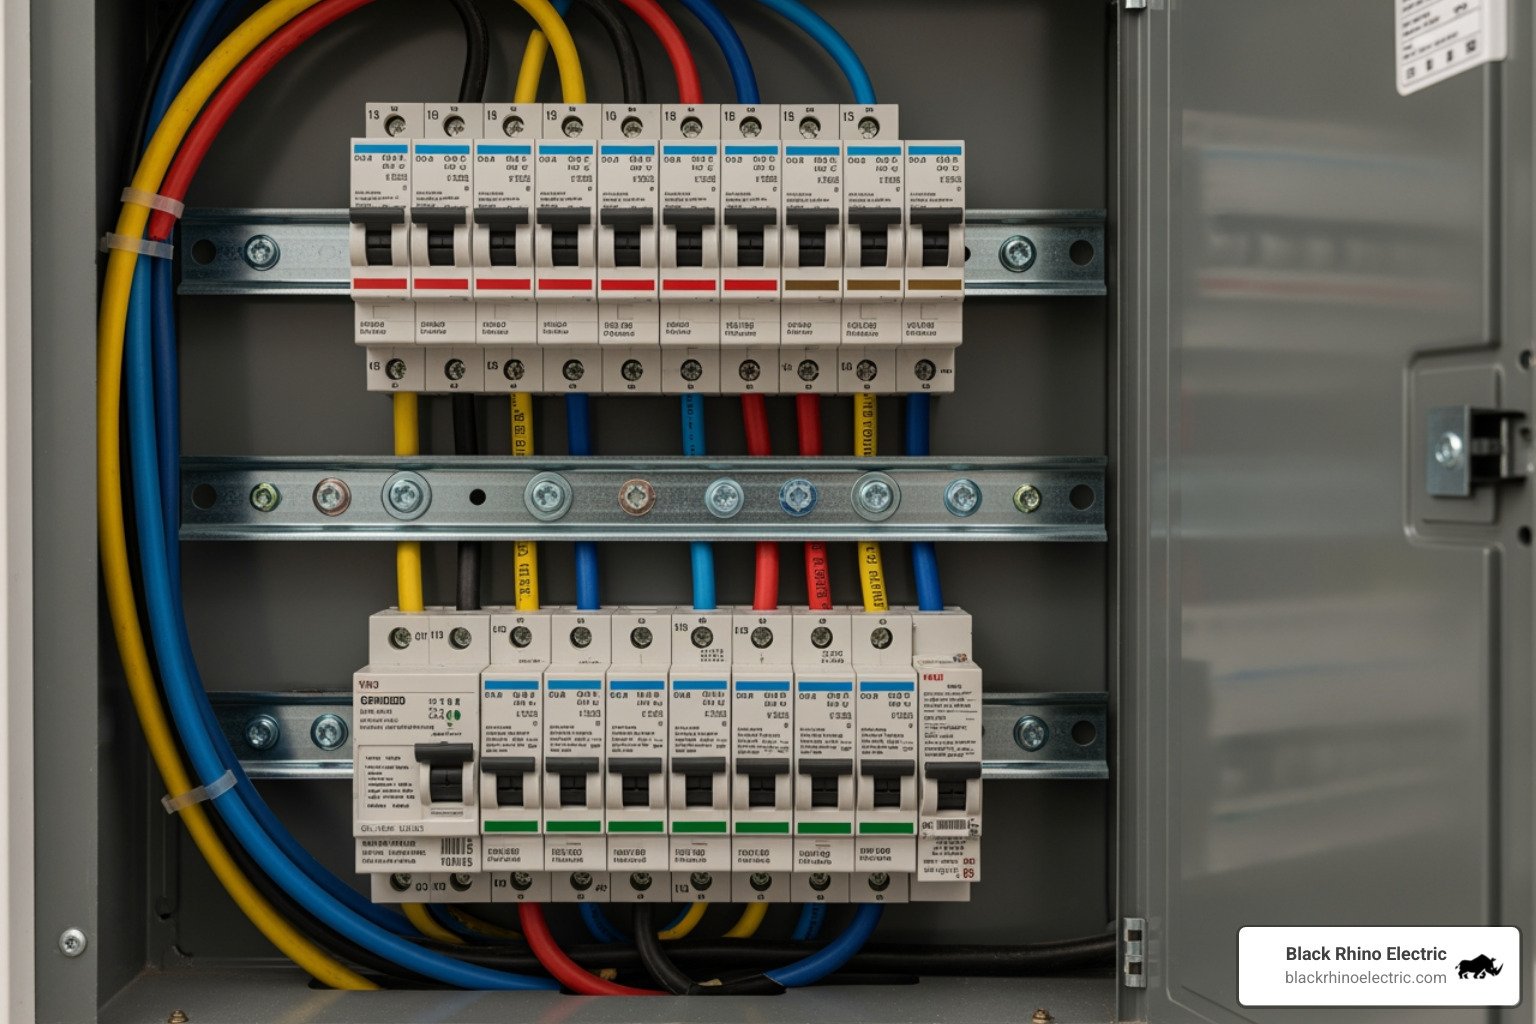
When we talk about your home’s electrical system, the panel is the heart of the operation. It distributes power to every light, appliance, and outlet in your house. At the center of this system are circuit breakers—safety switches designed to “trip” or shut off when an electrical circuit becomes overloaded. This simple action prevents wires from overheating, which is the primary cause of electrical fires.
According to industry statistics, circuit breakers typically last between 30 to 40 years, but environmental factors like humidity in a basement or the high heat of a garage can shorten that lifespan. Furthermore, a breaker that has tripped frequently due to a recurring overload can eventually weaken, losing its ability to stay reset even when the load is normal.

Following Electrical Safety Basics is non-negotiable. While the process of changing breaker in panel units is mechanically simple—often involving just a single screw and a pivot motion—the environment is high-risk. You are working inches away from “live” bus bars that carry enough current to be fatal. That is why we emphasize E-E-A-T standards (Experience, Expertise, Authoritativeness, and Trustworthiness) in every guide we produce. We want you to feel empowered, but also aware of exactly where the danger zones lie.

The Step-by-Step Process for changing breaker in panel Units
Before you even touch a screwdriver, you need to prepare your workspace. Ensure the floor is dry and you have plenty of light. If the panel is in a dark utility room, wear a headlamp so your hands remain free.
Signs Your Breaker is Failing
How do you know if the breaker is actually the problem? Sometimes a trip is just doing its job because you plugged in too many holiday lights or a high-wattage space heater. However, if you’ve shed the load and the breaker still won’t stay in the “on” position, it’s likely faulty.
| Symptom | What it Means | Action Required |
|---|---|---|
| Burning Smell | Plastic or insulation is melting inside the panel. | Immediate replacement/inspection. |
| Hot to Touch | High resistance or internal failure is creating heat. | Replace breaker immediately. |
| Buzzing Sound | Internal components are vibrating or arcing. | Replace breaker immediately. |
| Frequent Tripping | The breaker has weakened or there is a short circuit. | Diagnose load; replace if load is normal. |
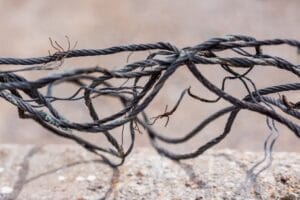
| Visible Damage | Scorch marks, rust, or cracked casing. | Replace breaker immediately. |
| Age (30+ Years) | Components have reached the end of their service life. | Proactive replacement recommended. |
If you notice flickering lights on just one circuit, or if a breaker feels “springy” and won’t click firmly into the OFF or ON position, those are classic signs of mechanical failure.
Essential Tools for changing breaker in panel Safely
You cannot perform this job safely with a standard kitchen junk-drawer screwdriver. Using the right gear is the difference between a successful DIY project and a trip to the emergency room.
- Non-contact voltage tester: This is your most important tool. It tells you if a wire is “hot” without you having to touch it.
- Insulated screwdrivers: These have a rubber coating over the shaft to prevent accidental contact with live parts.
- Safety glasses: To protect against potential sparks or “arc flashes.”
- Flashlight or Headlamp: Since you’ll be turning off the main power, you’ll be working in the dark.
- Rubber-soled shoes: To provide a layer of insulation between you and the ground.
- Multimeter: Useful for testing continuity. In the OFF position, a breaker should read “0L” (open loop), and in the ON position, it should read “0” ohms.
For those interested in the deeper science of how these devices protect your home, you can find various Technical Articles on Circuit Protection that explain the physics of thermal-magnetic tripping.
Removing the Old Breaker
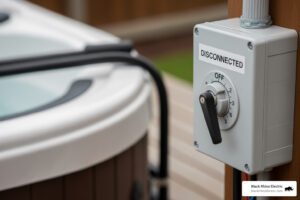
Let’s get to work. First, turn off all the individual branch breakers one by one. This prevents a massive power surge when you eventually turn the main power back on. Next, flip the large Main Breaker to the OFF position.
Warning: Turning off the main breaker does NOT de-energize the entire panel. The “service lugs”—the large terminals where the utility wires enter the panel—remain live with deadly voltage.
- Remove the Panel Cover: Carefully unscrew the “dead front” (the metal cover). Hold the cover steady as you remove the last screw so it doesn’t fall inward and hit the breakers.
- Verify Power is Off: Use your non-contact voltage tester on the wires connected to the breakers. It should not beep or light up.
- Disconnect the Wire: Locate the faulty breaker. Use your insulated screwdriver to loosen the terminal screw and pull the black (hot) wire out.
- Pivot the Breaker: Most North American breakers are friction-fit. Grip the end of the breaker where the wire was attached and pull it firmly toward the outer edge of the panel. It should “snap” or pivot off the bus bar.
If you are unsure about the specific layout of your box, consulting a Residential Breakers & Panels Electrician is a smart move to avoid damaging the bus bar.

Installing the New Replacement
Here is a golden rule: The replacement breaker must match the panel brand and type exactly. You cannot put a Square D breaker in a GE panel just because it “looks like it fits.” Using an incompatible brand is a code violation and a significant fire hazard because the tension on the bus bar won’t be correct.
- Check Amperage: Ensure the new breaker has the same amp rating (usually 15 or 20 amps for standard household circuits) as the old one. Per electrical codes, #12 wire requires a maximum 20-amp breaker, while #14 wire requires a 15-amp breaker.
- Position the Breaker: Ensure the new breaker is in the OFF position. Hook the mounting tab of the breaker onto the plastic rail on the outer edge of the panel.
- Snap it In: Align the breaker with the bus bar and press firmly until it snaps into place. It should be flush with the other breakers.
- Wire it Up: Insert the black wire into the terminal and tighten the screw. Refer to the breaker’s packaging for “torque specs”—this tells you exactly how tight the screw should be to prevent loose connections, which cause heat.
- Special Breakers: If you are installing an AFCI (Arc-Fault) or GFCI breaker, you will also need to connect the white “pigtail” wire to the neutral bus bar.
Troubleshooting After changing breaker in panel
Once the breaker is installed and the cover is back on, it’s time for the moment of truth. Stand to the side of the panel (never directly in front of it) and flip the Main Breaker back to ON. Then, flip your new breaker to the ON position.
If the new breaker trips immediately, you likely have a short circuit or a ground fault in the wiring of your home, not a bad breaker. This means a hot wire is touching a neutral or ground wire somewhere in an outlet or appliance.
You know what? This is where a multimeter comes in handy. You can check for continuity to see if the circuit is grounded out. If you’re seeing persistent tripping, you might need to look into More info about panel upgrades or load redistribution. Sometimes, modern appliances simply draw more power than an old 15-amp circuit can provide.
When to Hire a Professional
While changing breaker in panel units is a manageable DIY task for some, there are times when you should put the tools down and call us at Black Rhino Electric. Electrical work carries inherent risks of shock and fire if not done perfectly.
Here’s the thing: some older panels are “dead on arrival.” If you have a Zinsco or Federal Pacific Electric (FPE) panel, these are documented fire hazards. They often fail to trip even during a massive overload. In these cases, we don’t recommend just changing a breaker; we strongly advise a full panel replacement for the safety of your home.
We also suggest calling a professional if:
- You see rust or corrosion inside the panel (this indicates water entry).
- The bus bar is charred or melted.
- You need to upgrade the amperage of a circuit (this requires new, thicker wiring).
- You are uncomfortable working around live electricity.
At Black Rhino Electric, we handle everything from Commercial Electrical Panels and Meters to residential hot tub wiring and EV charger installations. We serve the entire Weber County area, including Ogden, Roy, and North Ogden. We know the local codes inside and out, ensuring your home remains compliant and safe.
Conclusion: Keeping Your Home Powered Safely
Maintaining your electrical panel is one of the most important things you can do for your home’s longevity. By changing breaker in panel units when they show signs of wear, you are actively preventing electrical fires and ensuring your modern electronics have a steady, safe flow of power.
Always remember to index your panel correctly. If you replaced a breaker, make sure the label on the door reflects what that circuit actually powers. This saves a lot of headaches for you (or the next homeowner) down the road.
Honestly, your safety is our top priority—after all, is saving a few dollars worth risking an electrical fire? If you’re ever unsure about the state of your electrical system or if that new breaker just won’t stay on, it’s always better to reach out to the experts at Black Rhino Electric. For expert assistance in Ogden and surrounding Utah areas, call us at 801-810-4292 or Request a Free Quote today.