Upgrading your home’s lighting can feel like a huge win, but are you prepared for the small details that make or break the final look? Knowing how to install recessed lighting trim is what separates a frustrating weekend project from a stunning, professional-grade finish. This is the last 10% of the job, and it’s where all your hard work pays off for that satisfying, clean look.
Understanding Your Recessed Lighting Trim
Alright, before we grab any tools, let's talk about the hardware. You know what? Picking the right recessed lighting trim is half the battle. It's the only part anyone really sees, so getting this choice right defines the whole look and feel of your room.
But it’s about more than just looks. Here's the thing: the trim you choose has to work with the function of the room and, just as importantly, it needs to be compatible with your recessed cans. Whether you have 4-inch or 6-inch housings, remodel-style cans, or new construction ones, the trim has to be designed for that specific housing. If it’s not, it will never sit flush, and you'll be left with frustrating gaps.

Matching Trim Function to Your Space
Every room has a job, and your lighting should help it do it. A living room needs a completely different kind of light than a kitchen workspace or a steamy shower. Let me explain the most common options we see on the job and where they really shine.
Recessed Lighting Trim Types and Their Best Uses
Choosing the right trim style can feel overwhelming with all the options out there. This quick comparison should help you match the perfect trim to each room in your home.
| Trim Type | Primary Function | Best For | Average Cost (Per Trim) |
|---|---|---|---|
| Baffle Trim | Reduces glare | Living rooms, hallways, bedrooms, general ambient lighting | $10 – $25 |
| Gimbal Trim | Directs light | Highlighting artwork, sloped ceilings, task lighting | $20 – $45 |
| Reflector Trim | Maximizes brightness | Kitchens, workshops, rooms with high ceilings | $15 – $30 |
| Shower Trim | Seals out moisture | Bathrooms, showers, outdoor eaves (wet-rated) | $25 – $50 |
Ultimately, a simple baffle trim is a workhorse for general lighting, while gimbals and reflectors solve specific problems. For any wet area, a shower trim isn't a suggestion—it's a safety requirement.
- Baffle Trim: This is the go-to for most situations. Those little grooves inside the trim (the baffles) are there to absorb stray light and cut down on glare, resulting in a soft, comfortable glow that's perfect for living rooms and bedrooms.
- Gimbal (Adjustable) Trim: Gimbals are all about control. They pivot and tilt, letting you aim the beam exactly where you need it. As experienced electricians, we recommend these all the time for washing a fireplace wall with light or getting focused task lighting right over a kitchen island.
- Reflector Trim: With its smooth, mirror-like interior, a reflector trim is designed to do one thing: push out as much light as possible. It’s an excellent choice for rooms with high ceilings or any space where you need bright, powerful illumination.
- Shower Trim: This one is non-negotiable for bathrooms. Shower trims are "wet-rated," meaning they have a protective lens and a gasket that creates a seal to keep moisture out. It's a critical safety feature that prevents short circuits and protects the fixture from corrosion.
Seeing how different trims work in a real space can make the decision easier. Checking out some modern kitchen lighting ideas can give you a better feel for how your choice will fit the room's overall vibe. Proper lighting can completely change a space, and you can get more inspiration from our guide on residential lighting.
Style, Compatibility, and Market Trends
Beyond function, you have a world of styles to pick from. Finishes like brushed nickel, matte black, oil-rubbed bronze, and classic white let you match your lighting to the hardware in your home for a cohesive look. This attention to detail is part of why the U.S. residential lighting market continues to grow, driven by homeowners like you upgrading to better-looking and more efficient fixtures.
Expert Tip: When you go to pick out your trim, take a sample of your wall paint or a piece of existing hardware with you. Holding the trim finish next to your actual colors in good lighting can save you from a mismatch that just looks "off" once everything is installed. This is a small step we take at Black Rhino Electric to ensure our clients are thrilled with the final result.
Preparation: Tools, Materials, and Safety
Ask any electrician, and they'll tell you that good prep is 90% of the job. Having the right gear on hand isn't just about making the work easier—it's about doing it safely. Honestly, the biggest mistake we see homeowners make is getting too casual with electricity. It’s an avoidable risk, and it all starts with one non-negotiable step: turning off the power to the circuit you're working on.
The Safety-First Checklist
Don’t just flick a breaker and cross your fingers. You have to be 100% certain the circuit is dead. This simple check is what separates a weekend project from a trip to the emergency room.
- Cut the Power: Head to your electrical panel and shut off the breaker for your recessed lights. If the panel isn't labeled (a common headache, trust us), you'll need to turn the lights on, then flip breakers one by one until they go dark.
- Lock It Out (A Pro Move): Stick a piece of electrical tape over the breaker you just flipped. It's a simple way to stop someone from accidentally turning the power back on while you’re mid-task.
- Test, Then Test Again: This is the most important part. Grab a non-contact voltage tester and stick the tip inside the can, near the socket and any visible wires. If that tester lights up or beeps, the circuit is still hot. Go back to the panel and find the right breaker.
Let me be crystal clear on this: NEVER assume the power is off just because the light switch is down. As trusted professionals, we always—and I mean always—verify with a voltage tester before our hands go anywhere near that housing.

Your Tool and Material Rundown
With the power safely off, it's time to gather your supplies. Having everything you need within arm's reach saves you from making a dozen trips up and down the ladder. It just makes the whole process smoother.
| Tool/Material | Why You Need It |
|---|---|
| Non-Contact Voltage Tester | To confirm the power is dead before you start. This is not optional. |
| Sturdy Ladder or Step Stool | So you can work comfortably and safely at ceiling height. |
| Safety Glasses | To keep drywall dust, insulation, and debris out of your eyes. |
| The New Recessed Trim | Make sure you have the right style and size for your housing. |
| Screwdriver or Pliers | Handy for persuading stubborn clips or springs. |
The good news is that most modern LED retrofit trims are designed for a tool-free install. Still, it never hurts to have a basic toolkit nearby. You never know when you’ll hit a snag like a bent housing clip that needs a little extra muscle.
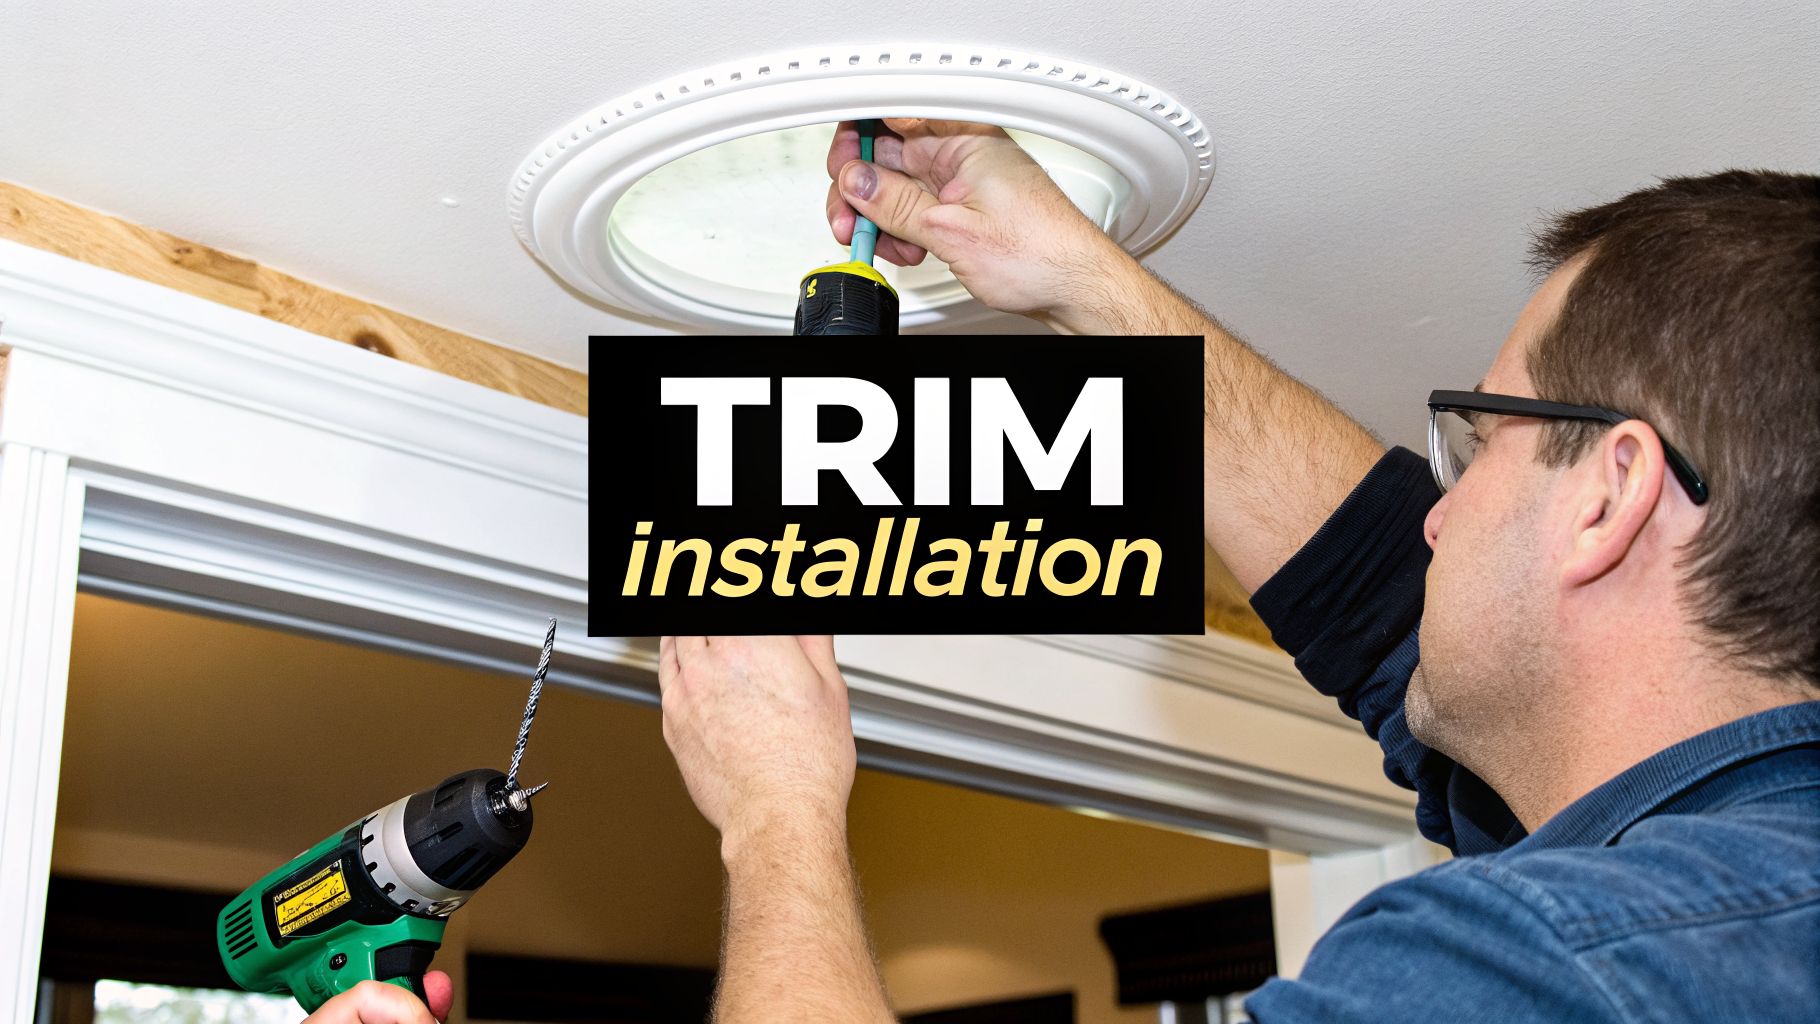
Step-by-Step Installation Process
Alright, with the prep work squared away and your area safe, we’re at the main event. This is where you finally get to see your new lighting come to life. Let’s walk through exactly how to get that trim installed for the clean, seamless look you’re after.
Prepping the Housing and Connecting the Light
Before you can just pop the trim in, you need to get the recessed can ready and connect your LED module. The good news is, most modern LED retrofit kits make this incredibly simple.
- First, take the screw-in adapter from your LED kit and thread it snugly into the socket, just like a lightbulb.
- Next, find the other end of that wire and plug it into the back of your LED trim. It should give a firm click to let you know it's connected.
- Gently tuck all the wiring up into the can, ensuring nothing is pinched or left dangling.
Just like that, your new light is connected and ready to be secured.
Engaging the Springs and Securing the Trim
This is the step that can trip up DIYers, but it's straightforward once you understand the mechanics. The most common frustration is getting the trim to sit perfectly flush, and it almost always comes down to how you handle the springs. Most trims use one of two methods: torsion springs or friction clips. Let me explain.
For Torsion Springs (the V-shaped wires):
- Look inside your recessed can for the C-shaped brackets.
- Squeeze the two "legs" of one torsion spring together with your fingers.
- Hook those legs into the bracket on one side of the can.
- Repeat on the other side with the second spring.
- Now, gently push the whole trim assembly upward until it sits flat against the ceiling. The tension from the springs is what holds it securely in place.
Expert Tip: If the trim isn't sitting flush, it's almost always because a spring isn't fully seated in its bracket. Don't force it. Gently pull the trim back down, check the spring placement, and try again. A little wiggling is usually all it takes.
For Friction Clips (the flat metal prongs):
These are even simpler. Just carefully align the trim with the opening and push it straight up into the can. The clips will expand and grip the inside walls of the housing, holding it tight.
Achieving a Flush Fit and Sealing for Efficiency
A seamless finish is the whole point. If you see a gap between your trim and the ceiling, it’s usually because of an obstruction, a misaligned clip inside the housing, or just an uneven drywall cutout. Carefully check for these issues and make small adjustments.
Finally, if you're installing an airtight-rated trim, double-check that the gasket is seated properly around the rim. That seal is crucial for preventing air leakage between your living space and the attic, which will make a real difference in your home's energy efficiency. Once the trim is secure and flush, you can head back to the circuit breaker, restore power, and test out your new light.
Troubleshooting Common Installation Issues
Look, even the most straightforward DIY project can hit a snag. What do you do when the trim won't sit flush or the light starts to flicker? Before you get frustrated, let's walk through the most common hiccups and get your project back on track.

The Trim Won't Sit Flush
This is the big one. You push the trim up, and it leaves an annoying gap.
- Check for Obstructions: Gently pull the trim back down and feel around inside the housing. A stray bit of insulation, a forgotten screw, or a wire that isn't tucked away properly can easily block the trim.
- Adjust the Housing Clips: Look inside the can at the clips where the springs attach. Sometimes they get bent. A quick, gentle bend with a pair of pliers can give the springs the leverage they need to pull the trim up tighter.
- Inspect the Drywall Cutout: If the hole in the drywall is jagged or uneven, it can prevent the trim from laying flat. You might need to carefully shave off a sliver of drywall with a utility knife to create a cleaner surface.
Solving Trim Sag or Gaps
A trim that sags or pops down is almost always a spring issue.
A sagging trim is often a sign of "spring fatigue" or an installation miss. Based on our experience, ensuring the torsion springs are hooked completely into their brackets is key. If they still feel loose, you can sometimes bend the springs a bit to create more tension.
This is especially common in older homes where ceilings are rarely perfectly level. The goal is to make the gap disappear visually. If you run into more serious issues, our guide on troubleshooting electrical problems can help you decide when to call a pro.
What to Do About Flickering Lights
You finish the job, flip the switch, and the light strobes. Before you panic, it's usually one of two things.
| Problem Source | How to Fix It |
|---|---|
| Loose Connection | Turn the power back off at the breaker. Pull the trim down and double-check the plug that connects the LED module to the adapter. Make sure it's clicked in all the way. |
| Dimmer Incompatibility | If the flickering only happens when you dim the light, your dimmer switch is likely the culprit. Older dimmers aren't built for LEDs. You'll need to swap it for a modern LED-rated dimmer. |
By checking these common issues, you can solve most installation headaches and get that clean, professional finish you were aiming for.
Knowing When to Call a Professional Electrician
Swapping out a single recessed lighting trim can be a satisfying DIY project. But there’s a line where confidence meets reality, and it’s important to know where that line is. Some situations go way beyond a simple trim swap and are firmly in "call an expert" territory.
If you see wiring that’s crumbly or frayed, that's your cue to stop. The same goes if your plan involves cutting new holes for recessed cans. That’s a job that involves navigating ceiling joists, running fresh wire, and getting it all secure and up to code. This is where our expertise as licensed electricians becomes invaluable. For more complex projects, consider consulting our home improvement electrical services.
Every town has its own rulebook, and local electrical standards must be followed. Here’s the thing: those rules aren’t just red tape; they’re there to keep your family safe. A licensed electrician from an authoritative company like Black Rhino Electric knows the local codes cold and understands exactly when a permit is needed, ensuring your home is compliant and safe.
Red Flags That Demand a Professional
Some signs are non-negotiable. If you see or hear any of these, stop what you’re doing and call for help.
- Buzzing or Hissing Sounds: Electricity should be silent. Buzzing is a classic sign of a loose connection or a component that’s about to fail.
- Frequently Tripping Breakers: If a breaker trips the second you flip the switch, you could be looking at a short circuit or an overloaded system.
- Signs of Heat or Melting: Any scorched plastic, discoloration, or a smoky smell around the housing is an immediate fire hazard. Shut the power off.
For peace of mind on your project, you can always request a free quote or give our team at Black Rhino Electric a call.
Frequently Asked Questions
A few questions always pop up, which means you’re thinking through the details. Here are the most common ones we hear from homeowners.
Can I Install Any Trim in Any Recessed Light Housing?
No, you absolutely cannot mix and match trims and housings at random. It’s critical that the trim's size (like 4-inch or 6-inch) and its type (new construction vs. remodel) are built for your specific housing can. A mismatch can lead to gaps, exposed wiring, and a genuine safety hazard. Always check the manufacturer’s compatibility sheet for both the housing and the trim.
How Long Does It Take to Install a Single Recessed Lighting Trim?
For just swapping an old trim for a new one, a seasoned DIYer can knock it out in about 15-30 minutes, including safety steps. If this is your first one, give yourself extra time.
Our Experience: On a job site, an electrician can swap a trim in under 15 minutes, but that’s with years of practice. The extra time for a homeowner is usually spent getting the feel for the spring clips. That’s time well spent.
What Is the Difference Between Baffle and Reflector Trim?
It all comes down to how you want the light to feel in the room.
- Baffle Trim: Have grooved interiors to absorb stray light and cut down on glare. This creates a softer, more comfortable glow perfect for living rooms, hallways, and bedrooms.
- Reflector Trim: Have a smooth, shiny interior that acts like a mirror, bouncing as much light as possible down into the room. It’s what you want for bright, focused light in kitchens or home offices.
Do I Need a Special Trim for My Bathroom or Shower?
Yes, you do. Any light that’s going to see moisture must have a "wet-rated" or "shower-rated" trim. These trims are specifically built with gaskets and sealed lenses to keep water away from the wiring. Using a standard "dry-rated" trim in a bathroom is a serious code violation and safety risk.
When a simple trim swap turns into something more, or you hit a snag that feels over your head, don’t guess. The team at Black Rhino Electric has the expertise to handle everything from tricky retrofits to ensuring your project is 100% safe and up to code. For reliable results you can trust, call us at 385-396-7048 or request a free quote online today.