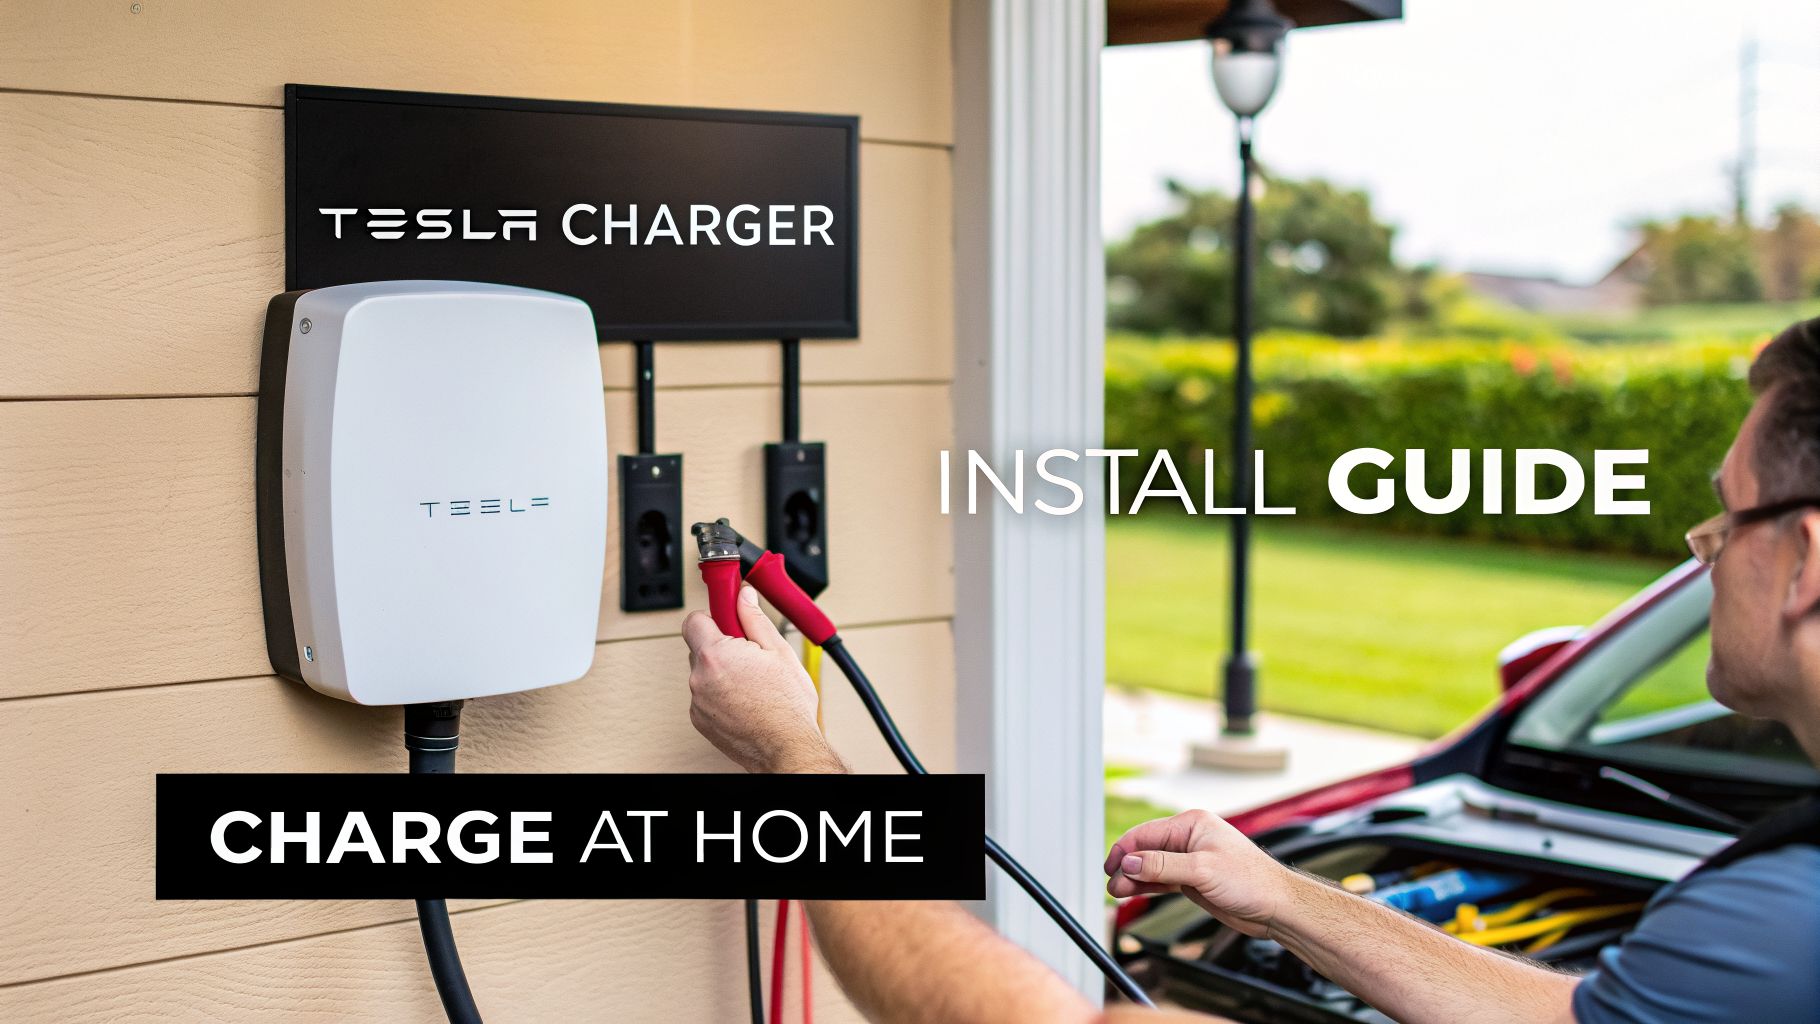
Are you ready to enjoy the convenience of waking up to a fully charged Tesla every morning? A professional tesla wall connector installation is the key to unlocking the fastest, most reliable home charging experience. It’s a game-changing upgrade that transforms how you use your EV, making range anxiety a distant memory.
Contents
The Ultimate Upgrade for Your Tesla
Imagine pulling into your garage, plugging in without a second thought, and waking up to a fully charged car. Every. Single. Morning. That's the reality with a hardwired Tesla Wall Connector. You know what? It completely changes the ownership experience compared to wrestling with the standard mobile connector that comes with the car.

Let me explain. The mobile connector is a Level 1 charger that plugs into a regular 120V wall outlet. It’s useful in a pinch, but it's slow, typically adding only about 3-5 miles of range per hour. That might cover a short daily commute, but what if you have an unexpected trip or just plain forget to plug in? You could find yourself scrambling for a public Supercharger.
Maximizing Speed and Convenience
The Tesla Wall Connector is a Level 2 charger, which means it's hardwired directly into your home’s electrical system on a dedicated circuit. This professional setup unlocks charging speeds that the mobile connector can't touch. When we configure it to its maximum 48-amp output on a 60-amp circuit, it can deliver up to 11.5 kW of power.
That translates to adding as much as 44 miles of range per hour, depending on your specific Tesla model. Here’s a quick comparison to put that power into perspective.
| Charging Method | Typical Power Output | Miles of Range Added Per Hour |
|---|---|---|
| Mobile Connector (120V) | 1.4 kW | 3 – 5 miles |
| Mobile Connector (240V) | 7.6 kW | ~30 miles |
| Tesla Wall Connector | Up to 11.5 kW | Up to 44 miles |
The difference is clear: A Wall Connector can fully recharge your vehicle overnight, even from a nearly empty battery. It ensures you always start your day with maximum range, eliminating last-minute charging stops and providing ultimate freedom.
Beyond raw speed, a dedicated home charger offers incredible convenience. There are no adapters to mess with or heavy cables to lug around. The integrated 24-foot cable is lightweight and easy to manage, making your daily plug-in routine effortless. A proper tesla wall connector installation by a licensed electrician ensures this upgrade is not only powerful but also perfectly safe and integrated into your home's electrical system.
Planning Your Installation: A Homeowner's Checklist
Before a single wire gets pulled for your tesla wall connector installation, a little bit of planning is what separates a smooth project from a frustrating one. Let's walk through the first, most important decisions you'll need to make, starting with where the charger will actually live.
Where you decide to mount your Wall Connector is more than just a matter of convenience. It directly impacts how you'll use it every day, what it'll cost, and how well it holds up over time. You need to think about your daily habits. Do you always pull into the garage nose-first? Or do you back in?
The goal is to place the connector where the 24-foot cable can easily reach your Tesla’s charge port without being stretched tight, creating a trip hazard, or getting in your way.
Site Assessment and Placement
When you’re picking the perfect spot, think through these factors:
- Parking Orientation: Park your car exactly where you normally do. Get a tape measure, pull out 24 feet, and see how comfortably it reaches the charge port from a few potential mounting spots. Don't guess.
- Proximity to Your Electrical Panel: This is a big one. The shorter the distance from your main panel to the charger, the less you'll spend on materials and labor. Longer runs of heavy-gauge wire add up fast.
- Weather Exposure: If you're planning an outdoor install, try to find a spot with some cover from the brutal sun, rain, and snow. The Wall Connector is rated for the outdoors (NEMA 3R), but less direct weather abuse will always help it last longer.
- Daily Workflow: Is the cable going to be draped across a walkway or block access to your tool bench? A well-placed charger should blend into your routine, not become a daily obstacle course.
Honestly, this is where a lot of ambitious DIY projects start to go sideways. A professional site assessment doesn't just confirm the best spot. We spot things you can't see, like plumbing or structural framing hidden inside the wall that could turn a simple job into a major headache.
Why Electrical Load Calculations Are So Critical
Now for the single most important part of planning: your home’s electrical capacity. A Tesla Wall Connector is a heavy-duty appliance that puts a big continuous load on your system. You can't just slap it onto a spare breaker and hope for the best.
Here’s the thing: an electrical load calculation is something a licensed electrician does to figure out the total demand on your home's power. We account for your lights, HVAC, all your appliances, and then add the new EV charger into the mix. This is what tells us if your current electrical service (like 100A, 150A, or 200A) can actually handle it.
Overloading your panel is a serious fire hazard. That’s why this step is absolutely non-negotiable. If the math shows your panel is already running near its limit, an upgrade will be necessary before that charger can be installed safely.
As you get started, a good resource like this guide to electric car home charging station installation can give you a solid overview of costs and what's involved. It helps put the whole project into a broader context.
Bringing in a licensed electrician from Black Rhino Electric right at this planning stage is the safest, smartest move you can make. As experienced electricians, we perform accurate load calculations, check the condition of your panel, and tell you straight up if your home is ready for a Tesla Wall Connector. This kind of expert review prevents dangerous guesswork and expensive surprises down the road.
Getting the Technicals Right
Let's get into the nuts and bolts of what powers your Tesla Wall Connector. This isn't just a suggestion list; getting these details right is a non-negotiable part of a safe, reliable installation. The charger itself is just one piece of the puzzle—the entire electrical system has to be up to the task.
This is the basic roadmap any good electrician follows. It’s all about planning ahead.

Starting with a solid site assessment and an electrical check ensures your home is actually ready for this kind of power upgrade before we even touch a wire.
The Dedicated Circuit: Your Charger’s Lifeline
The absolute heart of a good installation is the dedicated circuit. Why is this so critical? A dedicated circuit means your Wall Connector gets its own breaker in the panel and its own wiring running straight to the unit.
It doesn’t share power with anything else—no garage outlets, no shop lights, nothing. This is purely for safety, preventing overloads that can lead to tripped breakers or, far worse, a fire hazard.
To get the fastest charge your Wall Connector can deliver, you’ll want to max out its potential. Tesla’s specs put the Gen 3 Wall Connector at a powerful 11.5 kW or 48 amps, which translates to roughly 44 miles of range added for every hour of charging. To hit that number, an electrician needs to install a 60-amp circuit breaker.
But hold on—it’s not as simple as matching a 60-amp wire to a 60-amp breaker. This is where a crucial safety rule comes into play.
The 80% Rule and Why It Matters for EV Charging
The National Electrical Code (NEC) classifies EV charging as a "continuous load." In simple terms, this means it’s an appliance that can pull maximum power for three hours or more straight. Think about it—your Tesla might be charging all night long.
To prevent the wiring and breaker from dangerously overheating during those long sessions, the circuit has to be "derated." This means it can only handle a load equal to 80% of the breaker's total rating.
For a 60-amp breaker, the math is straightforward:
60 Amps (Breaker Rating) x 80% = 48 Amps (Maximum Continuous Load)
And just like that, you see why a 60-amp circuit is the perfect match for the Wall Connector’s 48-amp maximum output. A licensed electrician knows this isn't optional; it's a mandatory code requirement for a safe install.
Matching the wire gauge is just as important. For a 60-amp circuit, this typically demands 6-gauge copper wire (specifically, THHN/THWN type). Using a wire that's too small for the amperage is one of the most dangerous mistakes you can make in any electrical project. If you're curious about the guts of your home's power system, you can learn more about why professional breaker and panel work is so critical.
To put this all into perspective, take a look at how different charging methods stack up. The difference is pretty stark.
Tesla Charging Speeds Compared
| Charging Method | Typical Power Output | Miles of Range Added Per Hour |
|---|---|---|
| Tesla Wall Connector (60A Circuit) | 11.5 kW | ~44 miles |
| Tesla Wall Connector (40A Circuit) | 7.7 kW | ~30 miles |
| Tesla Mobile Connector (NEMA 14-50) | 7.7 kW | ~30 miles |
| Tesla Mobile Connector (Standard 120V Outlet) | 1.4 kW | ~3-5 miles |
As you can see, the Wall Connector on a properly sized 60-amp circuit is in a league of its own, giving you the fastest and most convenient home charging experience possible.
Conduit and Mounting Options
The final piece of the technical puzzle is how we run the wire and mount the charger itself. The best method really depends on your garage’s construction and where you want the unit.
- Surface Mounting with Conduit: This is the most common scenario for existing garages with finished drywall. We run the wiring inside a protective metal or PVC tube, called conduit, along the surface of the wall. It’s a clean, safe, and code-compliant way to protect the wiring from damage.
- In-Wall Wiring: If you're building a new home or have a garage with open studs, we can run the wire inside the wall before the drywall goes up. This gives you the cleanest possible look with no visible conduit.
- Outdoor or Pedestal Mounting: Need to install the charger on the side of your house or in a parking spot away from a wall? No problem. All wiring must be run through weatherproof conduit to protect it from the elements. We can also mount the Wall Connector on a sturdy metal pedestal for a freestanding installation.
Each of these approaches requires specific materials and know-how to meet electrical codes and stand up to years of use. Understanding these details helps you see the value a professional electrician from Black Rhino Electric brings to your installation—ensuring it’s safe, reliable, and done right the first time.
Permits, Inspections, and Why They Matter
When it comes to a major electrical project like a Tesla Wall Connector installation, the idea of skipping permits and inspections can be tempting. It seems like a quick way to save a few bucks and some time, but it’s one of the riskiest shortcuts you can take. Honestly, this isn't just about red tape; it's a safety system built to protect your home and family.
Think of it this way: a permit is your official green light from the local municipality—whether you're in Salt Lake, Davis, or Weber County—to start the electrical work. It’s the city’s way of acknowledging a significant project is happening at your property and that it needs to be done right.
The Permitting Process Explained
Here’s the thing: the process is more straightforward than you might imagine, especially when a pro is running the show. A licensed and insured contractor like Black Rhino Electric handles all of this for you. We manage the paperwork, draw up the plans, and make sure everything gets filed correctly with your local building department.
- Application Submission: We put together and submit the electrical permit application on your behalf. This paperwork details the scope of work, including the new 60-amp circuit, wire gauge, and the Tesla Wall Connector's specs.
- Plan Review: Sometimes, the city wants to review the plan to make sure it lines up with local codes before they issue the permit. This is pretty standard stuff.
- Permit Issuance: Once everything is approved, the permit is issued, and we can legally get to work. That official document is usually posted right at the job site.
Trying to navigate this alone can get confusing, as the rules can change slightly from one city to the next. Having an expert who deals with these municipalities every day just cuts through the noise and ensures compliance from the get-go.
Why the Final Inspection Is Not Optional
After the installation is finished—but before the new circuit is powered up and the wall is sealed—the real moment of truth arrives: the final inspection. This is when a city or county inspector comes to your home to personally check that the work meets all the safety standards required by the National Electrical Code (NEC) and any local rules.
This isn't a quick once-over. Inspectors are meticulous because they are the final line of defense against unsafe electrical work.
A passed inspection is your official, third-party validation that the job was done correctly. It provides documented proof that your installation is safe and code-compliant, which is invaluable for your home’s insurance and future resale value.
So, what are they actually looking for? Based on our experience working all over Northern Utah, inspectors zoom in on several key things.
| Inspector's Checklist Item | What They Are Verifying |
|---|---|
| Correct Breaker Sizing | Ensuring a 60-amp breaker is used for a 48-amp continuous load, following the NEC's 80% rule. |
| Proper Wire Gauge | Confirming the wire (e.g., 6-gauge copper) is thick enough to handle the amperage without overheating. |
| Secure Mounting | Checking that the Wall Connector is securely fastened to the wall structure and can't be accidentally pulled loose. |
| Proper Grounding | Verifying that the system has a solid ground connection, which is critical for preventing electrical shock. |
| Conduit and Protection | Making sure all wiring is properly protected in conduit, especially in exposed areas or outdoors. |
When you hire a licensed contractor, you’re paying for an expert whose reputation is on the line with every single inspection. It gives you complete confidence that your high-powered EV charger is not just working, but fundamentally safe for your home.
Why This Isn't a Weekend DIY Project
Look, I get it. The internet is full of "how-to" videos for just about everything, and it's tempting to save a few bucks by tackling your tesla wall connector installation yourself. But this isn't like hanging a new light fixture or replacing a switch. This is a major electrical upgrade, and the stakes are incredibly high.
When you're dealing with this kind of power, a small mistake can do more than just trip a breaker. It can damage your brand-new Tesla, your charger, or even worse, create a serious fire hazard inside your garage wall. Let’s be honest: your family's safety is worth more than the money saved on a DIY attempt.
This Is High-Voltage Work, Period.
Your Tesla Wall Connector runs on a 240-volt circuit. That’s double the power of a standard outlet and it demands respect. A licensed electrician doesn’t just watch a video and hope for the best; they bring years of training and hands-on experience to make sure the job is done right, and safely.
Here’s what that expertise actually looks like on the job:
- Working Safely in the Panel: We know how to properly de-energize your electrical panel to install the new 60-amp double-pole breaker. This isn't just about flipping the main; it's about testing and verifying to prevent a dangerous arc flash or shock.
- Getting the Torque Just Right: Every single screw on the breaker and inside the Wall Connector has a specific torque spec. Too loose, and you get a loose connection that heats up and can melt wires. Too tight, and you risk damaging the equipment. We use a calibrated torque screwdriver to get it perfect every time.
- Correct Polarity and Grounding: Getting the hot, neutral, and ground wires in the right place is non-negotiable. One mix-up can fry your charger, damage your car's sensitive electronics, or create a life-threatening shock risk.
An electrician isn't just following a manual. They're applying a deep knowledge of electrical theory and safety codes to protect your home and your investment. It’s about doing the job so you can sleep at night without worrying about what’s happening in your garage.
There's More to EV Chargers Than Just Black and Red Wires
Installing an EV charger is a specialized skill. The rapid growth of electric vehicles—with residential installs projected to jump over 60% in the U.S. from 2023-2025—has led to new, specific rules in the electrical code. A pro stays on top of these changes, from the Gen 3 Wall Connector's 11.5 kW output to its Wi-Fi commissioning process. You can learn more about the Tesla Wall Connector specifics and its features right from the source.
A certified electrician who specializes in EV chargers brings critical knowledge:
- Understanding Continuous Loads: This is a big one. The National Electrical Code requires derating the circuit to 80% for a continuous load like an EV charger. It's a crucial safety rule that DIY installers almost always miss, leading them to use undersized wires that can dangerously overheat.
- Mastery of Local Codes: An electrician who works in Northern Utah every day knows the specific requirements enforced by inspectors in Weber, Davis, and Salt Lake counties. This means your installation will pass inspection the first time, with no delays or costly rework.
- Real-World Troubleshooting: What happens if the charger won’t connect to your Wi-Fi, or it keeps tripping the breaker? A pro can quickly diagnose the problem, whether it's a wiring fault, a setting in the Tesla app, or an issue with your home’s main panel.
Hiring a professional from a trusted local company like Black Rhino Electric turns a risky project into a reliable, code-compliant home upgrade. You get the full speed and convenience of your new charger, with the absolute peace of mind that it was installed to the highest safety standards.
Why Hire a Local Pro for Your Tesla Charger in Northern Utah?
So, you’re ready to get the full at-home charging experience for your Tesla, without the guesswork or safety risks. A professional Tesla Wall Connector installation isn't just about convenience; it's about doing it right so you can plug in and forget it. Frankly, this is one job you don’t want to leave to a handyman or a DIY video.

At Black Rhino Electric, our licensed electricians are the local crew you call for safe, code-compliant EV charger installs. We live and work here, serving homeowners all across Northern Utah—including Weber, Davis, and Salt Lake counties. We handle the whole nine yards, from the first look at your panel to the final inspection sign-off.
What “Local and Licensed” Really Gets You
Hiring an electrician who knows the lay of the land in your specific city matters. We’ve done this work in hundreds of homes, from Ogden bungalows to modern builds in Salt Lake, so we know exactly what local inspectors are looking for.
Here's what that means for your project:
- Smart Site Assessments: We’ll help you find the best spot for the charger, balancing the reach of the 24-foot cable with the most efficient route from your electrical panel.
- Panel Upgrades When Needed: If your panel is already crowded or undersized, we manage seamless upgrades to give your home the capacity it needs for a new, high-powered circuit.
- Permits and Inspections Sorted: We handle all the paperwork and coordinate directly with your city’s building department. No headaches for you.
- Work We Stand Behind: Our installations are clean, safe, and built to last. You get the peace of mind that comes from knowing it was done right.
And it's not just for homes. We’re seeing more and more businesses add EV charging to attract customers. With Tesla's Powerhub program making it easy to manage billing, it’s a real draw. In fact, 2024 J.D. Power surveys found that businesses offering charging can see foot traffic jump by 20-30%. We manage these commercial projects from the ground up. You can read more about how businesses are using Tesla Powerhub on teslamotorsclub.com.
Frequently Asked Questions
A professional Tesla Wall Connector installation is a big step up for your home, so it's natural to have a few questions before you move forward. We get calls from homeowners all over Northern Utah with the same great questions. Getting clear, honest answers is the first step toward a safe, smooth installation.
How Much Does a Tesla Wall Connector Installation Typically Cost?
This is always the first question, and the honest-to-goodness answer is: it depends. The price tag is tied directly to the complexity of your home's current electrical setup. A simple job in a garage with a modern, nearby electrical panel might just be a few hundred dollars in labor plus materials.
But a few things can definitely increase the price:
- Distance to the Panel: The farther your charger is from the main panel, the more you'll spend on materials and labor. A long run of heavy-duty 6-gauge copper wire adds up fast.
- Panel Upgrades: If your home has an older 100-amp panel or one that’s already jam-packed, you might need to upgrade to a 200-amp service. This is a more involved project and will be a significant part of the cost.
- Tricky Installation Paths: Running conduit through finished walls, attics, or basements is a lot more labor-intensive than a straightforward surface-mount install in an unfinished garage.
That's why we always provide a detailed, transparent quote after we’ve had a chance to do a thorough site assessment. No guesswork.
Can I Install a Tesla Wall Connector Myself?
You can find a DIY tutorial for just about anything online, but we strongly advise against this one for a few critical reasons. A Tesla Wall Connector runs on a high-voltage 240V circuit and pulls a continuous load of 48 amps. That's a serious amount of power.
An incorrect installation isn't just a code violation—it's a very real fire hazard and can fry thousands of dollars worth of sensitive charging components in your car.
Hiring a licensed electrician isn't just about convenience; it's about safety, compliance, and peace of mind. A pro makes sure the job is done right, protecting your home, your car, and your family, all backed by a workmanship guarantee.
Does My Electrical Panel Need to Be Upgraded?
This is another huge—and very important—question we get all the time. Your home's ability to handle the new charger all comes down to its total electrical capacity.
An electrician will perform a load calculation, which is basically a detailed audit of your home's entire electrical demand. This tells us if your panel can safely support the added 48-amp continuous load without breaking a sweat. Signs you might need an upgrade include having a panel with less than 200-amp service or one that has no physical space for a new double-pole breaker. Our initial on-site visit will give you a definitive answer.
For a bit more background on this, you can read some of our general electrical FAQs for homeowners.
How Long Does the Installation Process Take?
For a standard installation—where the electrical panel is in the garage and has plenty of capacity—the actual physical work can often be wrapped up in just a few hours.
The hands-on part usually involves mounting the Wall Connector, running the new circuit, making all the connections, and then commissioning the unit over Wi-Fi. The entire process, however, includes scheduling, pulling permits, and waiting for the final city inspection, which can sometimes stretch the timeline a bit.
At Black Rhino Electric, we are your local experts for safe and reliable EV charger installations. Ready for a fast, hassle-free charging experience? Give us a call at 385-396-7048 or request a free quote to get started.