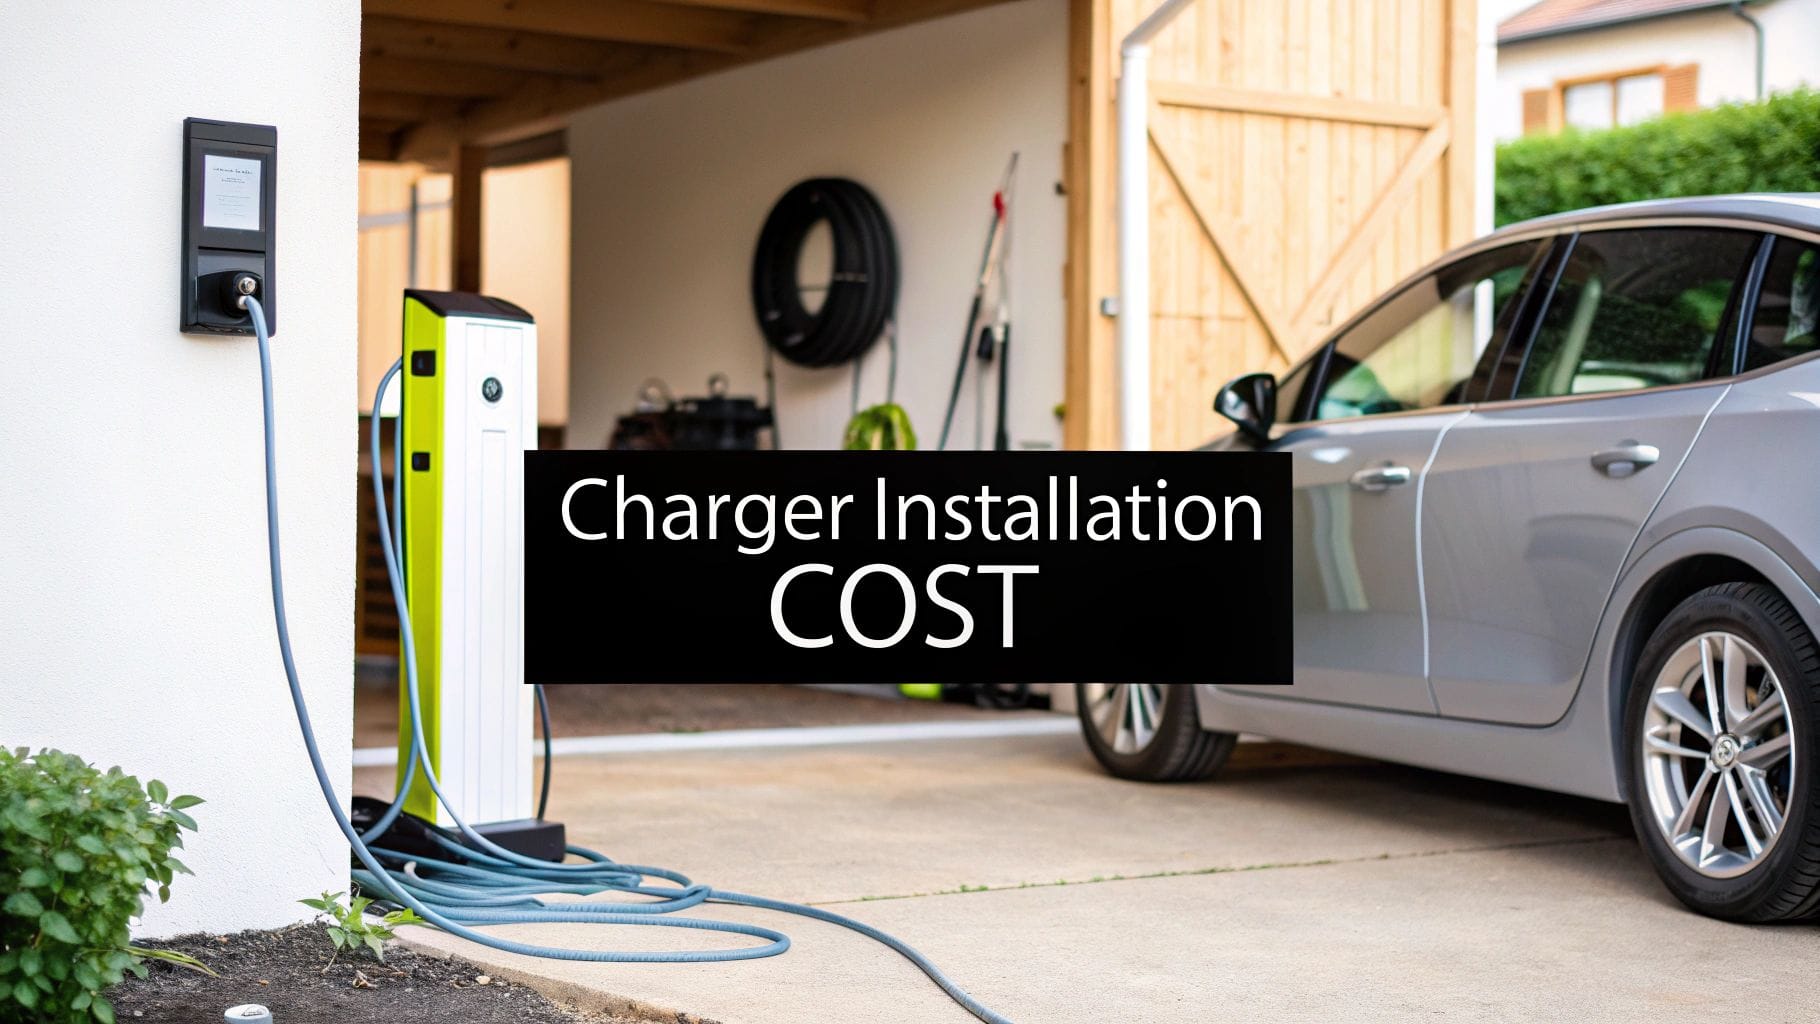
So, you're ready to bring an electric vehicle home, but what's the real story behind the electric vehicle charger installation cost? Honestly, for a professional Level 2 home charger setup, you're typically looking at a total price somewhere between $1,500 and $5,000. That number covers everything from the charger itself to the final flip of the switch, giving you a solid baseline to start budgeting with before we dig into the details.
Contents
A Quick Guide to Your EV Charger Installation Cost
Getting an EV is the exciting part; figuring out the charging setup is the practical part. A question we hear all the time is how much it costs to install an electric vehicle charging station at home. Is it more complicated than it seems?
Here’s the thing: the final price tag really boils down to three main components: the charger hardware, the skilled labor to install it, and any extras like permits or electrical system upgrades. Think of it like any home improvement project—each piece has a cost, and they all add up to the final total. At Black Rhino Electric, we've installed countless chargers across Northern Utah, and we've seen it all, giving us the experience to break it down for you clearly.
Breaking Down the Baseline Costs
So where does your money actually go? It helps to see the cost broken down into its core parts. The main items that make up your initial quote are almost always the same. To give you a clearer picture, here’s a quick look at how a typical installation budget is spent.
Typical Cost Breakdown for Home EV Charger Installation
This table summarizes the average costs associated with a standard Level 2 EV charger installation, helping you understand where your money goes.
| Cost Component | Typical Price Range | What It Covers |
|---|---|---|
| Charger Hardware | $400 – $1,200 | The physical Level 2 charger unit itself. Prices vary based on brand, amperage, and smart features like Wi-Fi connectivity. |
| Professional Labor | $600 – $2,000 | The time and expertise of a licensed electrician to safely run wiring, install the circuit breaker, and mount the charger. |
| Materials | $300 – $1,000 | This includes the copper wiring, conduit, a new 240V circuit breaker, and any other necessary mounting hardware. |
| Permits & Inspection | $100 – $500 | The fee required by your local city or county to ensure the installation is done to code and is inspected for safety. |
Keep in mind, these are typical ranges. A simple, straightforward installation will land on the lower end, while a more complex job requiring things like a panel upgrade or trenching will be higher.
According to the National Renewable Energy Laboratory, total project costs often land between $2,000 and $5,000 per unit when all is said and done. With the Department of Energy predicting that 92% of all future EV charging will happen right in our driveways and garages, getting these costs right is more important than ever.
The best way to know for sure? See how these numbers apply to your specific home. You can get a clear picture with a custom quote for your EV charger installation.
Understanding Every Line Item on Your Quote
So, what are you actually paying for when you get a quote for your charger installation? The final price tag is a sum of several distinct parts, and seeing them broken down gives you a clear, honest look at the total electric vehicle charger installation cost.
It's not just about the charger itself. It's about the complete, safe, and professional system that powers it. Each piece on your quote, from the physical hardware to the city permit, plays a critical role. When we break it down, you can see exactly where every dollar goes and why each part is necessary for a setup that will work reliably for years.
This chart shows a pretty typical cost split between the charger, the skilled labor, and all the other bits and pieces.
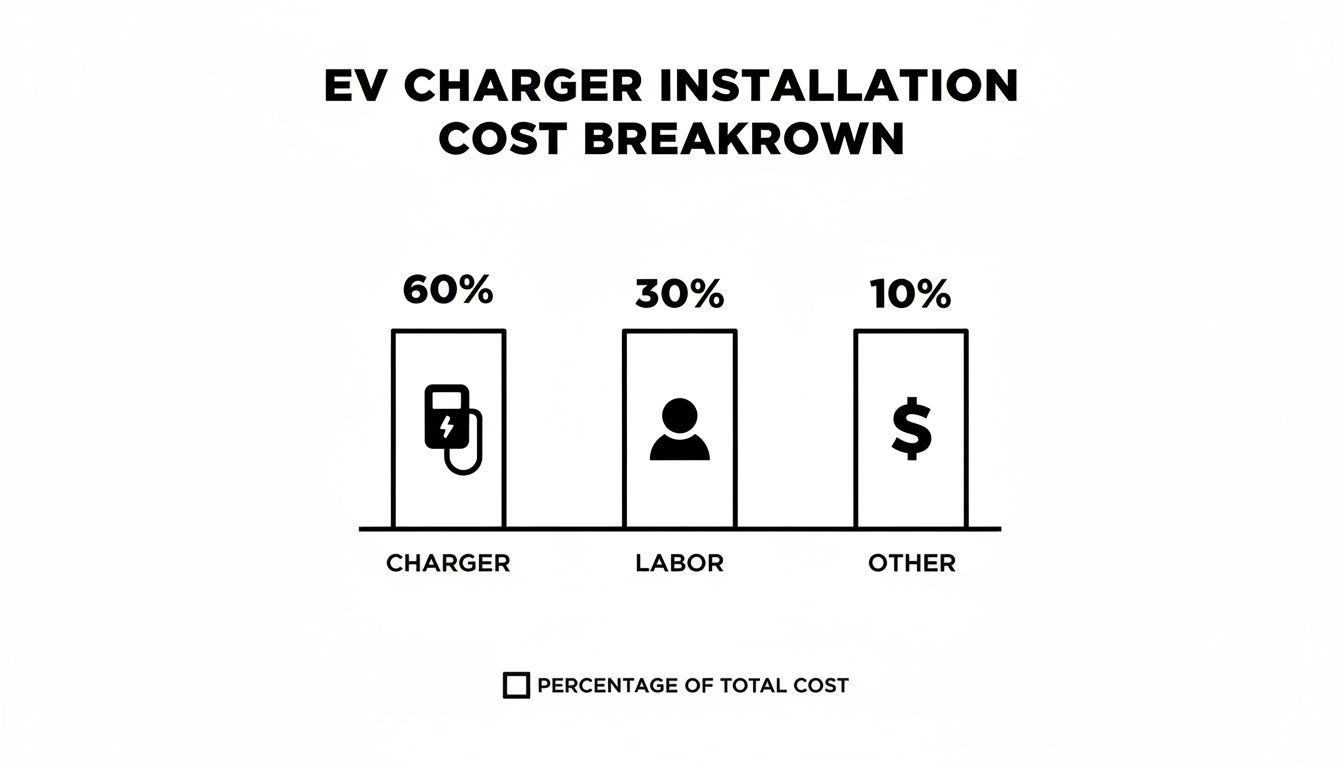
As you can see, the charger is often the biggest single expense, but the professional labor to install it correctly is a close—and equally important—second.
The Main Cost Components
When a licensed electrician from Black Rhino Electric builds your quote, they’re calculating the cost of a few key things. Here’s a closer look at what you can expect to see line by line.
- Charger Hardware: This is the physical EV charging unit itself. Costs can run from $400 to over $1,200, depending on whether you pick a basic model or a "smart" charger with Wi-Fi features, like the popular Tesla Wall Connector.
- Professional Labor: You're paying for the expertise and time of a certified electrician. This covers running the new wiring, installing a dedicated circuit breaker, mounting the unit securely, and making sure everything is tested, safe, and up to code.
- Essential Materials: Beyond the charger, the job requires high-quality materials. We're talking heavy-gauge copper wiring, protective conduit to house those wires, and a new 240-volt circuit breaker in your electrical panel.
- Permit Fees: Most cities and counties in Northern Utah require a permit for this kind of electrical work. This fee covers the administrative cost and ensures a city inspector comes out to verify the installation meets all local safety codes. It's not red tape; it's a safety check.
Potential High-Cost Add-ons
You know what? Sometimes a home's existing electrical system needs a little help to handle the new load. These next two items are the most common reasons an installation quote might come in higher than the baseline.
A standard installation assumes your electrical panel has enough spare capacity. If not, an upgrade is a non-negotiable safety requirement to prevent overloads and potential hazards.
First, an electrical panel upgrade is often necessary, especially in older homes with 100-amp service. A Level 2 charger is a power-hungry device, and upgrading to a 150 or 200-amp panel ensures your home can handle the new demand without breaking a sweat. You can learn more about how our electricians handle breakers and panel upgrades in our detailed guide.
Second, if your charger is going into a detached garage or on a post far from your main panel, the job may require trenching. This involves digging a trench to bury the electrical conduit underground, which adds significant labor and material costs to the project. It's more work, but it's the right way to get power where you need it safely.
Key Factors That Influence Your Final Price
Ever wondered why the electric vehicle charger installation cost can feel like a moving target? Your neighbor might pay $1,500 for their setup, while the quote you get comes in closer to $4,000. What gives?
It’s not random, I promise. Several key factors can dramatically swing your final price, and knowing what they are is the first step to setting a realistic budget.
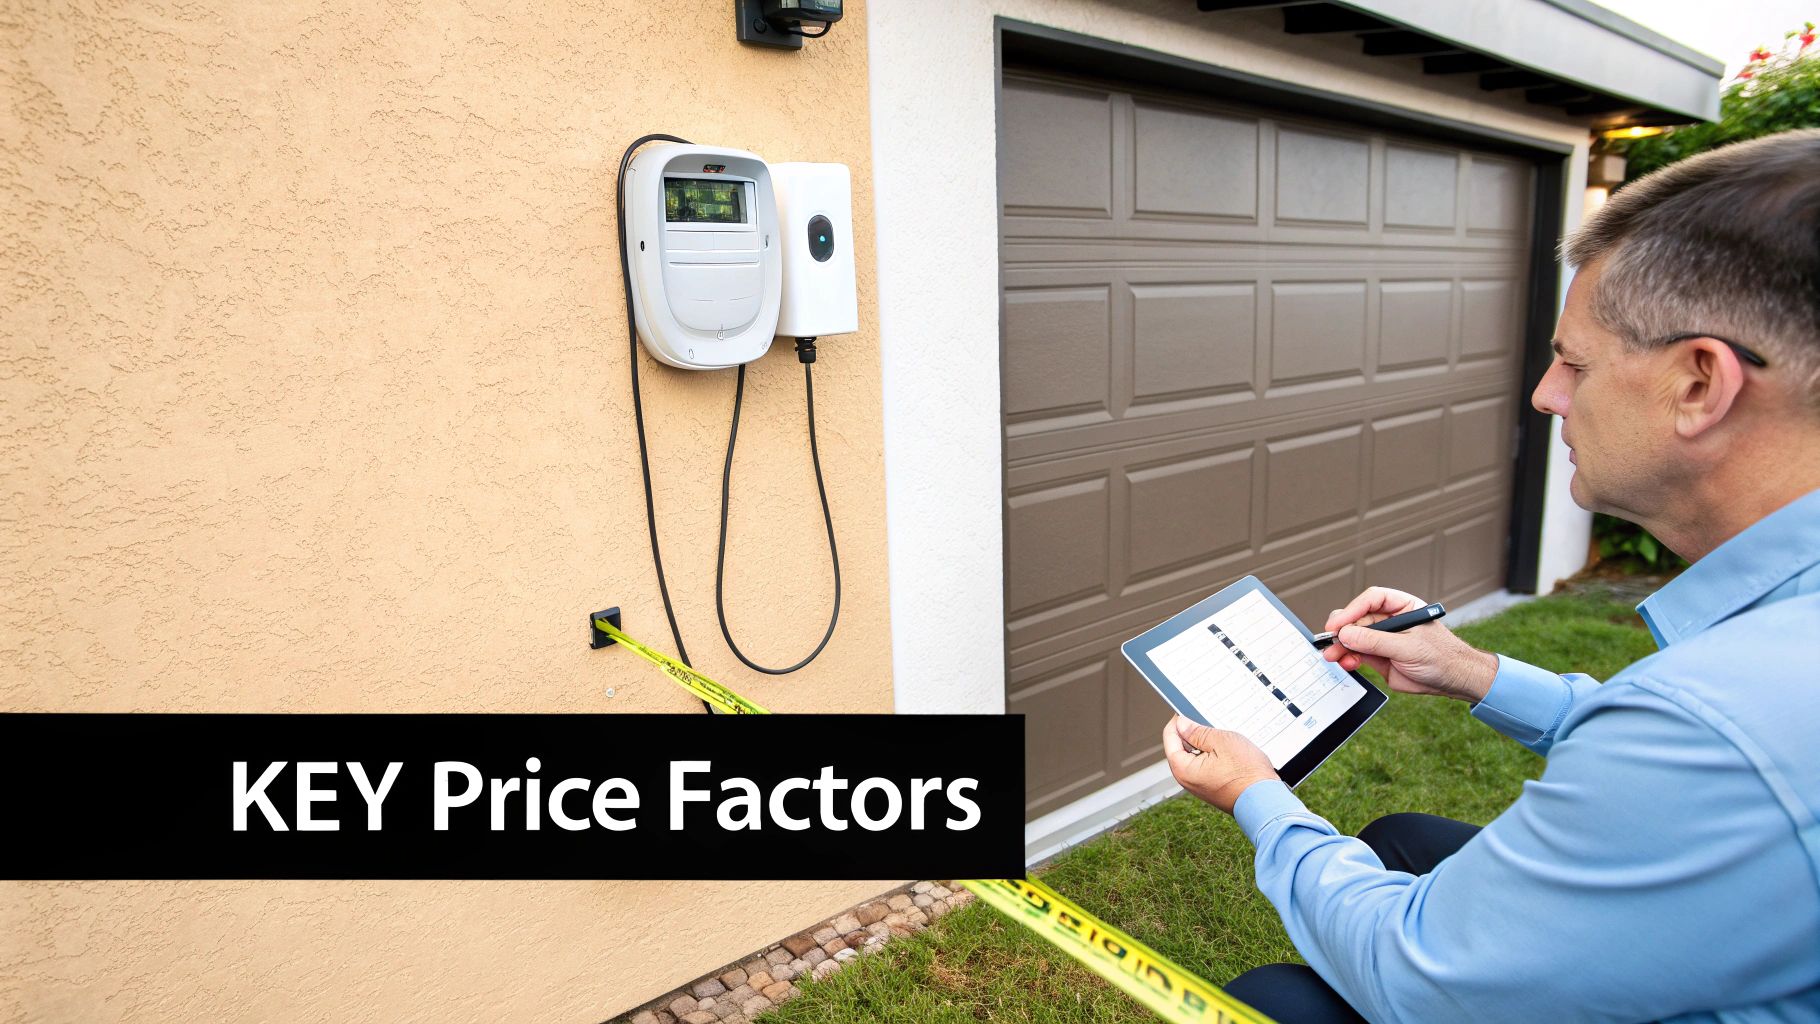
The number on your quote is a direct reflection of your home’s unique layout and its electrical bones. Each of the variables below plays a big role in the complexity, materials, and labor needed for a safe, professional job.
Distance and Installation Path
This one’s straightforward: how far is it from your main electrical panel to where you want the charger? A longer run means more copper wiring and protective conduit, which pushes up material costs right away.
But it’s also about the path the wire has to take. Labor costs climb with complexity. Think about these two scenarios:
- Simple Path: The charger is mounted on the same garage wall as the panel. This is often a quick, low-cost job.
- Complex Path: The charger is on the opposite side of the house. Now, the electrician might need to run conduit through finished walls, fish wires through ceilings, or even drill through a concrete foundation. That takes a lot more time and skill.
Your Home's Electrical Capacity
Let me explain: your home's electrical panel is like its heart. It has to be strong enough to handle the new, heavy demand of an EV charger. A lot of older homes here in Northern Utah still have 100-amp panels that are already running close to their limit.
A licensed electrician always performs a "load calculation" to make sure your system can safely support the charger. Trying to add a 40-amp or 50-amp circuit for an EV without enough capacity is a serious fire hazard. This is exactly why a panel upgrade is sometimes required—it's all about safety.
If that calculation shows your panel can't handle the new load, an upgrade to a 150-amp or 200-amp panel becomes a non-negotiable safety measure. It adds to the upfront cost, but it ensures your entire electrical system stays safe and reliable. This includes installing a correctly sized circuit breaker, which is absolutely critical.
Charger Type and Installation Complexity
Finally, the charger you pick and how it gets installed affects the price. A simple, lower-amperage plug-in charger might involve less intensive work.
On the other hand, a high-powered, hardwired smart charger needs to be permanently connected to its own circuit, which is a more involved process. Each choice has its own set of requirements, all of which shape the final cost of bringing convenient, fast charging right into your garage.
Getting an EV charger installed is more than just wires and hardware; it’s about knowing the local playbook here in Northern Utah. From Weber and Davis down to Salt Lake County, there are specific codes to follow and savings opportunities you don't want to miss. Understanding these local rules is the key to a smooth, safe, and cost-effective installation.
First things first: the permit. This is a non-negotiable step for both safety and compliance. Most cities around here require a licensed electrician to pull an electrical permit for a new 240V circuit. Think of it less as red tape and more as a safety check—it ensures the work gets inspected and meets all the local and National Electrical Code standards.
Permit fees vary by city but usually land somewhere between $100 to $500. It's an upfront cost, sure, but a permitted and inspected job protects your home, your EV, and gives you real peace of mind.
Local Utility and Rebate Programs
Working with our local utility, Rocky Mountain Power, can unlock some nice long-term savings. They often have special time-of-use rates for EV owners, which means you can charge during off-peak hours for a much lower electricity cost. While this doesn't change the installation price, it seriously cuts down your "fueling" bill over time.
The real game-changer, though, is tapping into the financial incentives available. These programs are designed to take the sting out of switching to an EV by directly lowering what you pay out-of-pocket.
Taking a little time to look into federal, state, and utility rebates can slash your final installation cost. A lot of homeowners are surprised to find they can save hundreds, or even thousands, of dollars just by applying for the right programs.
Here’s a quick rundown of the kinds of incentives that might be available for you here in Northern Utah:
- Federal Tax Credits: The U.S. government frequently offers a tax credit for buying and installing home charging equipment. This can cover up to 30% of your total cost, which makes a huge dent in the budget.
- State of Utah Incentives: Keep an eye out for programs at the state level. These can change from year to year, but they sometimes offer rebates for installing qualified EV charging stations.
- Utility Rebates: Rocky Mountain Power and other local utilities often run programs that give direct rebates to customers who install a Level 2 charger at home.
These incentives are a powerful way to manage your final cost. At Black Rhino Electric, we keep up with the latest local programs and can help you figure out which ones you might qualify for. Don't leave money on the table—let these programs work for you.
How to Reduce Costs and Prepare for Installation
Want to keep your installation costs down without cutting corners on safety? It's easier than you think. With a bit of smart planning, you can seriously influence your final electric vehicle charger installation cost. It’s all about making informed decisions before the electrician even arrives.
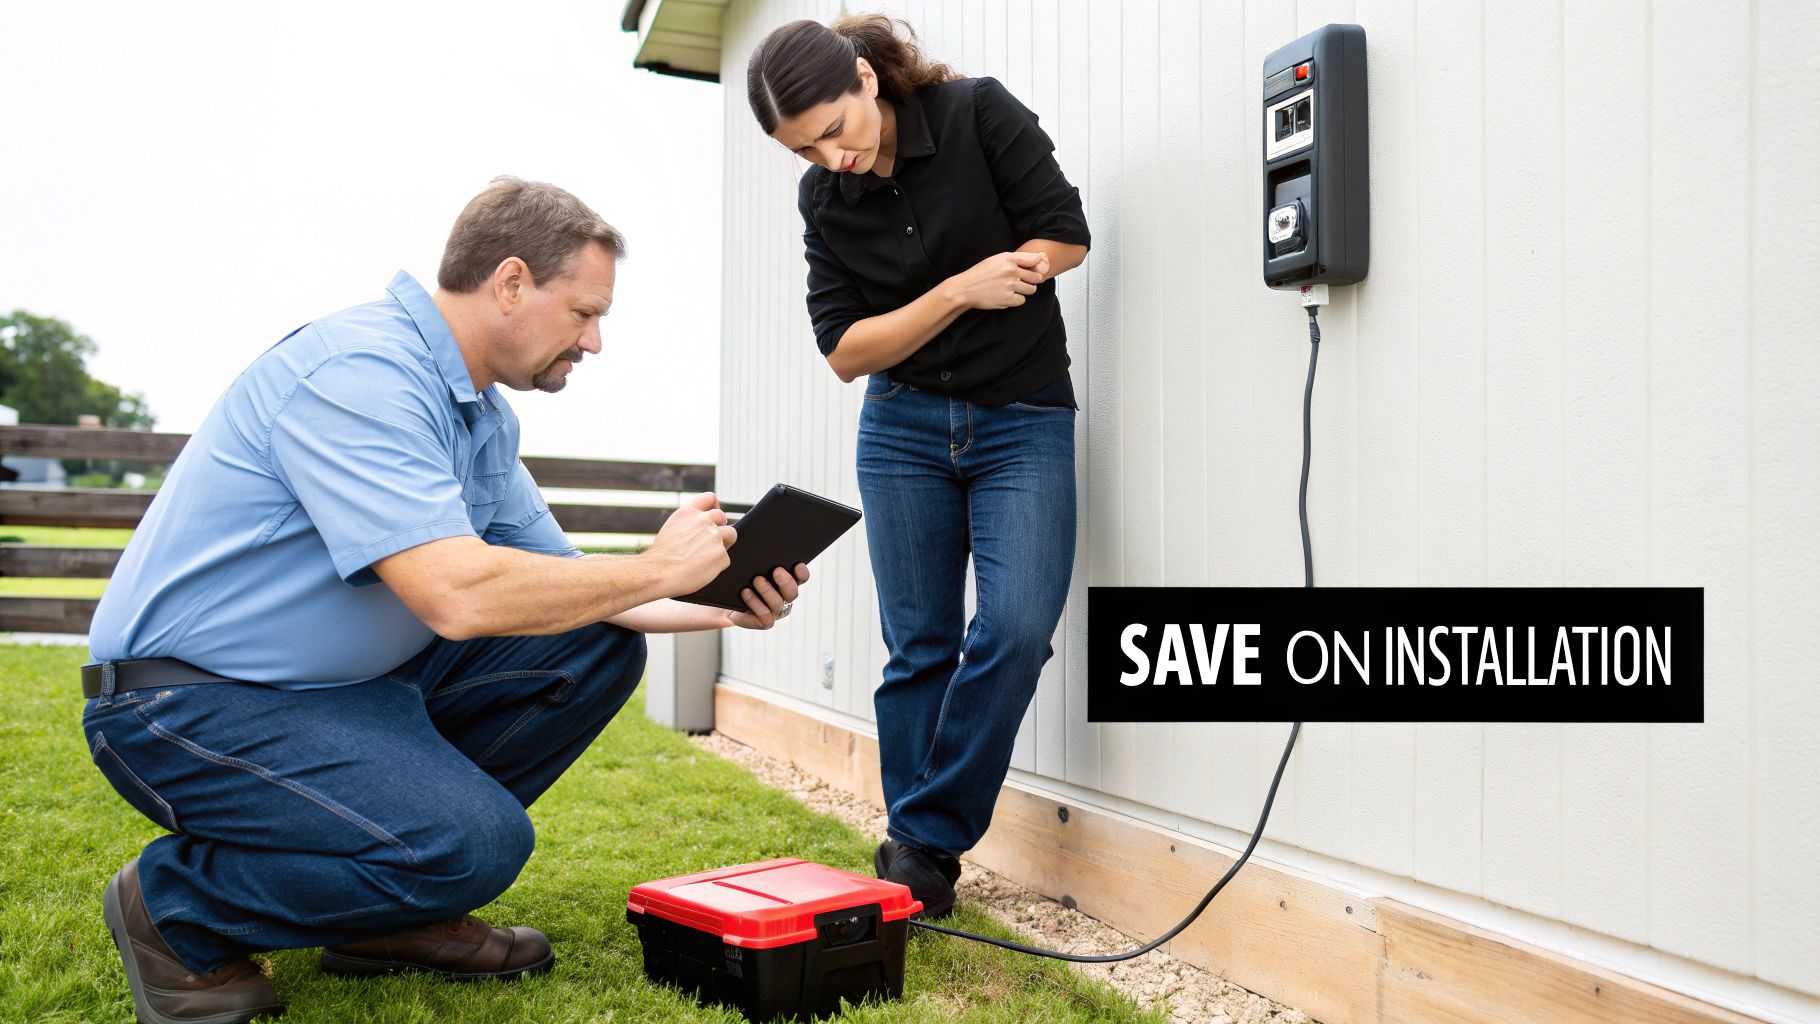
This section is packed with practical, actionable tips to help you save real money. We’ll cover everything from choosing the right hardware to getting your home ready for a smooth, efficient consultation.
Smart Strategies to Save Money
You have more control over the final price than you might think. A few strategic choices can lead to real savings without compromising the quality or safety of your installation one bit.
Here are a few of the most effective ways to lower your costs:
- Choose the Right Charger: Don't just buy the most powerful or feature-heavy charger you can find. Be realistic about your daily driving habits. If you drive 30-40 miles a day, a standard 32-amp or 40-amp charger is often more than enough and can be less expensive than a beefy 48-amp model that might demand a thicker, pricier circuit.
- Optimize Your Charger's Location: The single biggest way to save on labor and materials is to install the charger as close to your electrical panel as possible. A shorter wiring run means less copper, less conduit, and fewer hours on the clock for the electrician. Simple.
- Get Multiple Detailed Quotes: Don't settle for the first price you receive. Getting quotes from at least two or three qualified, licensed electricians allows you to compare not just the final number, but the proposed scope of work and materials. It keeps everyone honest.
Preparing for Your Electrician's Visit
A little prep goes a long way. When you’re ready for a consultation, having some key information on hand makes the quoting process faster, more accurate, and ultimately more efficient for everyone.
Being prepared for an electrician's visit isn't just about saving time; it's about getting the most accurate quote possible. When an electrician has all the information upfront, they can provide a precise estimate that minimizes the chance of unexpected costs later.
Before your appointment, try to run through this simple checklist:
- Know Your Panel's Amperage: Open the door to your main electrical panel. The main breaker at the very top will have a number on it—usually 100, 150, or 200. Knowing this number tells the electrician your home's total electrical capacity right off the bat.
- Decide on an Ideal Location: Think about where you park your EV and where its charging port is located. Pick one or two ideal spots for the charger and make sure the area is clear and easy to get to.
- Take a Few Photos: Snap a clear picture of your electrical panel (with the door open) and the proposed charger location. This gives your electrician valuable context before they even pull into the driveway.
By taking these simple steps, you empower yourself in the process and help ensure your installation is as cost-effective as it can be.
The Professional Installation Process
You’ve done the research and crunched the numbers on what an electric vehicle charger installation cost looks like. So, what’s next?
Let's turn that knowledge into a smooth, professional installation. Making the switch to an EV is an exciting step forward, and getting your home charger installed should feel just as rewarding, not like a chore. Hiring a certified electrician like Black Rhino Electric is how you guarantee the project is safe, efficient, and up to code. While every home in Northern Utah is a little different, the core steps are pretty much the same.
Here’s a step-by-step look at what you can expect:
- Initial Consultation & Quote: This is where it all begins. A qualified electrician will come out, talk through what you need, take a good look at your electrical panel, and check out your desired charger location. Based on that on-site evaluation, you'll get a detailed, transparent quote with a full breakdown of the costs. No surprises.
- Scheduling and Permitting: Once you give the quote the green light, we'll get you on the schedule. Our team handles all the necessary paperwork, pulling the required electrical permit from your local city or county to ensure everything is fully compliant from the get-go.
- Installation Day: Our licensed electricians show up on the scheduled day ready to work. They’ll install a new dedicated circuit breaker in your panel, run the proper wiring, mount your EV charger, and then test the whole system to make sure it's working perfectly before they leave.
- Final Inspection: After the work is done, a city inspector will swing by to review the installation. This final check is what verifies that the work meets all local safety codes and National Electrical Code standards, giving you ultimate peace of mind.
This structured process is designed for your safety and satisfaction. From the first phone call to the final inspection, every step ensures your home charging setup is reliable, code-compliant, and ready for years of service.
Frequently Asked Questions About EV Charger Costs
Figuring out an EV charger installation always brings up a few good questions. Homeowners here in Northern Utah want to make sure they're making a smart, safe, and cost-effective choice. We've gathered the most common questions we get to give you clear, straightforward answers about the electric vehicle charger installation cost and what to expect.
Can I Install a Level 2 Charger Myself to Save Money?
While the DIY route might seem like a good way to trim the budget, we strongly advise against it for this kind of work. Is saving a few bucks worth the risk? EV chargers are high-power devices that have to be installed perfectly to meet National Electrical Code (NEC) standards and local safety rules.
An improper installation creates very real dangers of electrical shock and fire. Because of that, nearly every local jurisdiction requires a licensed electrician to do the work and pull a permit. Using a certified professional from Black Rhino Electric guarantees your installation is safe, up to code, and won't risk voiding your home's insurance or your car's warranty.
Do I Definitely Need an Electrical Panel Upgrade?
Not always, but it’s a very common requirement, especially in older homes. A Level 2 charger adds a pretty hefty electrical load to your system—usually somewhere between 30 to 50 amps. To make sure everything is safe, a licensed electrician will run what’s called a "load calculation" to see if your current panel has enough room to spare.
If you have a 100-amp panel that’s already working hard to power all your other appliances, an upgrade to a 150 or 200-amp service will probably be necessary. This isn't an upsell; it's a critical safety step to prevent your whole system from being dangerously overloaded. For a deeper dive into common electrical questions, you can find more information in our comprehensive FAQ section.
How Long Does a Typical EV Charger Installation Take?
The timeline really depends on how complex the job is. A standard, straightforward installation can often be wrapped up in just a few hours—typically between 2 to 6 hours. That’s assuming the charger is going in near the electrical panel and there are no major hurdles.
However, if the project is more involved, the time will go up. An installation that needs a full electrical panel upgrade, significant trenching to get power to a detached garage, or drilling through thick concrete could take one or even two full days. We always give you a clear and realistic timeline with our quotes so you know exactly what to expect from the start.
Ready to get a precise, no-surprise quote for your home? The team at Black Rhino Electric is here to help. You can call us at 385-396-7048 or request a free quote online to get started today.