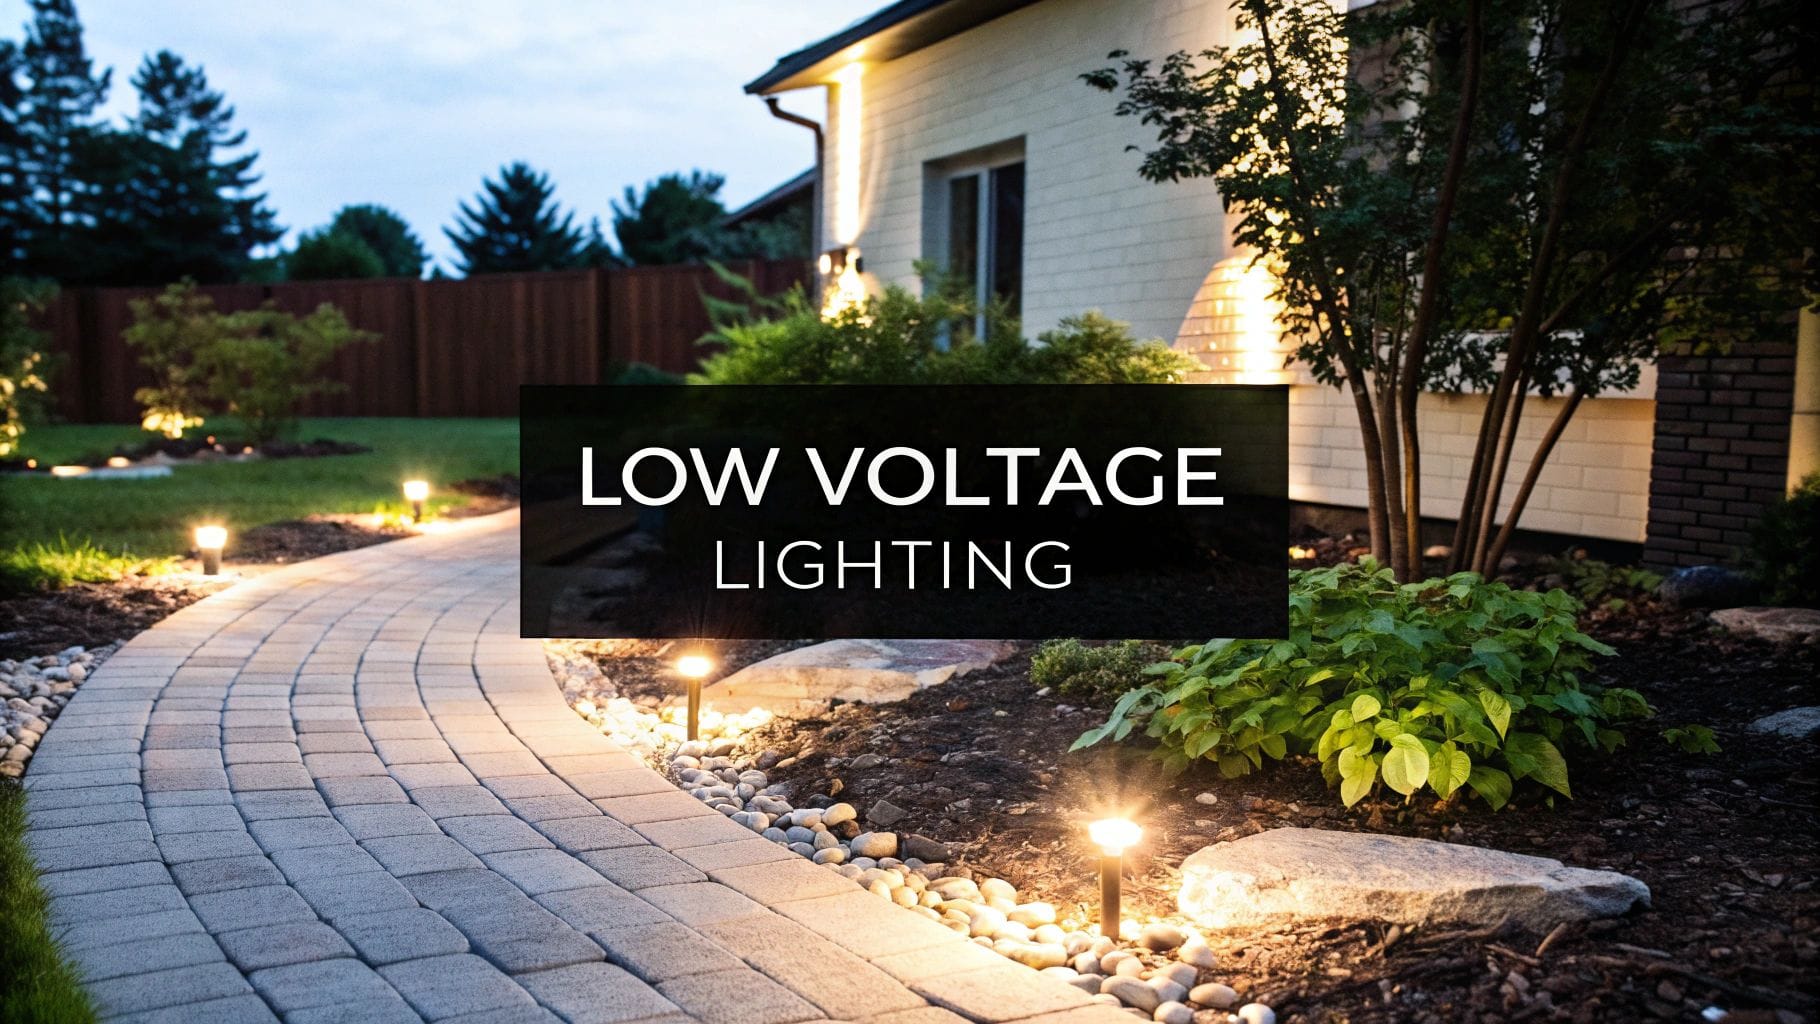
Installing a beautiful and reliable outdoor lighting system can completely transform your home's curb appeal while making it feel safer after dark. This guide is all about how to wire low voltage landscape lighting the right way, turning a dark yard into a stunning space. We’ll walk through everything from sketching out a design to making the final, durable connections.
Your Guide to Flawless Outdoor Lighting
A well-planned lighting project does more than just light up your property—it adds a layer of security and creates a genuinely warm, welcoming vibe. Getting the wiring right from the start is the key to a system that will last for years, saving you from the headache of dim, flickering, or dead lights down the road.
Think of it this way: good wiring is the foundation. Mess that up, and nothing else matters. This guide gives you the practical, real-world steps to make sure your project is a glowing success from the moment you flip the switch.
Designing a Professional Lighting Layout
Before you even think about digging a trench, a solid lighting plan is your most important tool. Honestly, this is where most DIY projects miss the mark, leading to uneven lighting or a yard that looks more like an airport runway than a cozy retreat. Knowing how to wire low voltage landscape lighting starts with knowing what and where you want to light.
Your first step is to create a simple map of your property. Walk around your yard during the day and again at dusk. Ask yourself, what features deserve to be the stars of the show?
Identifying Your Focal Points
Every yard has features that can be transformed with light. The goal isn't just to make things bright, but to create visual interest, depth, and drama. Start by identifying these key areas on your map.
- Architectural Features: Highlight the texture of a stone wall, the lines of a column, or the peak of a gable. This connects your home to the landscape.
- Key Trees and Plants: Uplighting a mature oak tree creates a stunning canopy effect. Spotlighting a Japanese maple can showcase its delicate structure and color.
- Pathways and Steps: Safety is paramount here. Path lights should guide guests clearly without creating harsh glare in their eyes.
- Patios and Decks: Use subtle wash lights or hardscape lights to create a warm, inviting atmosphere for evening gatherings.
Once you have these points marked, you can start thinking about the type of fixture each location needs. A spotlight is great for a tall tree, but it's the wrong choice for a flower bed where a softer area light would work better.
A well-designed lighting plan doesn't just illuminate; it tells a story. It guides the eye, creates mood, and turns a simple yard into a living space that feels both beautiful and secure after sunset.
Choosing and Placing Fixtures
Now, let's connect those focal points with the right tools for the job. You wouldn't use a hammer to turn a screw, right? The same logic applies here. Different fixtures create entirely different effects.
Here’s a quick breakdown of common fixture types and their uses:
| Fixture Type | Best Use Case | Placement Tip |
|---|---|---|
| Spotlights | Highlighting tall trees, architectural peaks, or statues. | Place at the base of the feature, aiming upwards to create dramatic shadows. |
| Flood/Wash Lights | Illuminating wide areas like a stone façade or a large garden bed. | Position them further back to cast a broad, even sheet of light. |
| Path Lights | Lighting walkways, driveways, and the edges of patios. | Stagger them on alternating sides of the path to avoid a "runway" look. |
| Hardscape Lights | Installing under stair treads, retaining wall caps, or bench seating. | These are great for adding subtle, integrated safety lighting. |
The demand for well-designed systems is growing fast. The global low voltage landscape lighting market is projected to grow to $2.393 billion by 2032, and smart lighting is now a feature in 70% of new homes. This trend highlights just how important it is to get the design and wiring right from the start.
Once you’ve assigned fixtures to your focal points, draw your wiring plan on the map. This visual guide will show you the most efficient routes for your cables, helping you minimize wire usage and prevent headaches later. For a deeper dive into professional design and installation, check out our guide on residential lighting electricians. This planning phase ensures you buy the right amount of material and achieve a balanced, professional-looking result.
Selecting the Right Transformer and Wire Gauge
The transformer and wire are the absolute heart and soul of your low-voltage system. Think of the transformer as the engine and the wire as the fuel lines; if either is undersized, the entire system sputters. This is a critical step because choosing the wrong components is a guaranteed recipe for dim, flickering lights and endless frustration.
Let’s get this right from the start.
Calculating Your Total Wattage Load
First things first, you need to figure out how much power your system actually needs. This isn't guesswork. Grab your design plan and a calculator, and simply add up the wattage of every single light fixture you mapped out.
For example, let’s imagine a typical Northern Utah backyard plan:
- Ten 4-watt path lights for the walkway (40 watts)
- Four 7-watt spotlights for the trees (28 watts)
- Five 3-watt hardscape lights for the retaining wall (15 watts)
Your total load would be 40 + 28 + 15 = 83 total watts. This number is your baseline—the minimum power your transformer must be able to handle.
Choosing the Right Size Transformer
Now that you have your total wattage, you can select a transformer. Here’s the thing: you don't want a transformer that just barely meets your needs. You need one with a built-in buffer for safety and future expansion.
A good rule of thumb is to choose a transformer that is rated for at least 15-20% higher than your total calculated wattage. This prevents the transformer from running at maximum capacity, which can shorten its lifespan, and gives you the flexibility to add a few more lights later without redoing your entire setup.
For our 83-watt example, you wouldn't buy an 88-watt transformer (a common size). Instead, you would step up to a 150W or 200W transformer. This provides a healthy cushion and ensures your system runs efficiently and safely for years. It's a crucial detail that often gets overlooked in DIY projects.
Understanding Wire Gauge and Voltage Drop
Okay, let's talk about the wiring itself. The thickness of the wire you use—its gauge—is just as important as the transformer. A common mistake is thinking any low-voltage wire will do. That couldn't be further from the truth.
As electricity travels along a wire, it loses a tiny bit of energy due to resistance. This is called voltage drop. Over a short distance, it's negligible. But on a long run of 100 or 200 feet, that drop can be significant enough to make the lights at the far end of the line noticeably dimmer than those closer to the transformer.
To fight voltage drop, you need to use a thicker wire, which is indicated by a lower gauge number.
- 12-gauge (12AWG) wire is thicker and has less resistance, making it ideal for long runs or higher wattage loads.
- 16-gauge (16AWG) wire is thinner and works for short runs with very few lights, but it's often inadequate for larger projects.
Let me put it another way: using a wire that's too thin for the distance and load is like trying to send a river's worth of water through a garden hose. It just won't work effectively.
This chart shows how the landscape lighting market is expected to grow, indicating more homeowners are investing in quality outdoor lighting.

This projected growth to nearly $2.4 billion by 2032 underscores the rising demand for reliable, well-designed systems that depend on proper component selection. You can discover more insights about the low voltage lighting market trends at Industry Research.
Some better transformers, known as multi-tap transformers, offer different voltage outputs (12V, 13V, 14V, 15V) specifically to combat voltage drop. Even with one, the right wire is key. On a 200-foot run, a robust 12-gauge wire can handle a 100W load with only a 3-5% voltage drop, while a thinner 16-gauge wire could suffer a crippling 15% drop, causing those distant lights to flicker and fail.
A Practical Wire Selection Guide
So, how do you pick the right gauge? It all comes down to two factors: the total wattage on a single wire run and the length of that run.
This table helps you choose the correct low-voltage landscape wire gauge to minimize voltage drop and ensure consistent brightness across all your fixtures.
Wire Gauge Selection Based on Wattage and Run Length
| Total Wattage on Run | 50-Foot Run | 100-Foot Run | 150-Foot Run | 200-Foot Run |
|---|---|---|---|---|
| 50 Watts | 16-Gauge | 14-Gauge | 12-Gauge | 12-Gauge |
| 100 Watts | 14-Gauge | 12-Gauge | 12-Gauge | 10-Gauge |
| 150 Watts | 12-Gauge | 12-Gauge | 10-Gauge | 8-Gauge |
| 200 Watts | 12-Gauge | 10-Gauge | 8-Gauge | 8-Gauge |
As you can see, the longer the run or the higher the wattage, the thicker the wire (lower gauge) you'll need. For most residential projects here in Northern Utah, 12-gauge wire is the safest and most versatile choice, handling the majority of loads and distances with ease. Skimping on wire is a surefire way to compromise the performance of your entire lighting system.
Running Wires and Connecting Fixtures
Okay, you've got your design dialed in and a pile of materials ready to go. Now for the fun part—getting your hands dirty. This is where the plan becomes reality, and learning how to wire low voltage landscape lighting the right way separates a system that flickers and fails from one that just works, year after year.
Seriously, take your time here. Creating solid, waterproof connections is probably the single most important thing you can do for the long-term health of your lighting system.
This isn't just about tossing cable on the ground. We need to bury the wire to protect it from shovels and lawnmowers, and we need to choose a wiring layout that gets consistent power to every single light.
Trenching and Burying Your Low-Voltage Cable
Before a single light gets connected, you have to run the low-voltage cable along the routes you mapped out. That means digging a shallow trench to keep the wire safe from aeration equipment, edging tools, and the brutal freeze-thaw cycles we get here in Northern Utah.
A flat-edged spade or a dedicated trenching shovel works perfectly. No need to go crazy with the depth.
- Lawn Areas: A depth of 6 inches is plenty to protect the wire from routine lawn care and light digging.
- Planter Beds: Where you're more likely to be digging with a trowel or shovel, aim a little deeper—maybe 8-12 inches for extra peace of mind.
- Rocky Soil: If you hit our classic rocky soil, just do your best. Even tucking the wire 4 inches down between rocks is a whole lot better than leaving it exposed on the surface.
As you lay the wire in the trench, leave a bit of slack. Don't pull it tight. The ground moves when it freezes, and that extra slack prevents stress on your connections down the road. You can leave the trench open for now; we'll backfill it after testing everything.
Choosing the Right Wiring Method
How you hook up your lights to the main cable has a massive impact on their performance, especially when it comes to voltage drop. There are a few standard methods, and each has its place.
The Daisy Chain Method
This is the most straightforward approach. You run one cable from the transformer and simply connect each light to it in a line, one after the another.
- Pros: It’s simple, intuitive, and uses the least amount of wire.
- Cons: It's a killer for voltage drop. The last light on a long run will get the least amount of power and will look noticeably dimmer than the first.
This method is really only suitable for short runs with just a few low-wattage lights, like three or four path lights along a small front walkway.
The Hub Method
Also called a "star" or "home run" layout, the hub method is the professional's choice for balanced power. Here, you run a main, heavy-gauge wire from your transformer to a central point (the "hub"). From that hub, you branch off with smaller wires to individual fixtures or small groups of lights.
- Pros: It all but eliminates voltage drop, making sure every light shines with the same brightness.
- Cons: It takes more wire and a few more waterproof connections, so it's a bit more work.
This is the best way to do it for any layout that isn't dead simple. It ensures your key accent lights look just as bright as the ones right next to the house.
We almost always recommend the Hub Method for professional installations. The slight increase in material and labor is a small price to pay for a perfectly balanced system where every light performs exactly as intended, from the one closest to the house to the one at the very back of the property.
The T-Method
The T-method is a smart hybrid of the other two. You run a main cable down the center of an area, like a long planting bed, and then branch off to the left and right with shorter runs to connect the fixtures.
- Pros: It's more balanced than a daisy chain but more efficient with wire than a full hub-and-spoke layout.
- Cons: You still have to plan carefully to make sure the branches don't get too long and create their own voltage drop issues.
This works great for lighting both sides of a pathway or spreading light evenly across a wide garden bed.
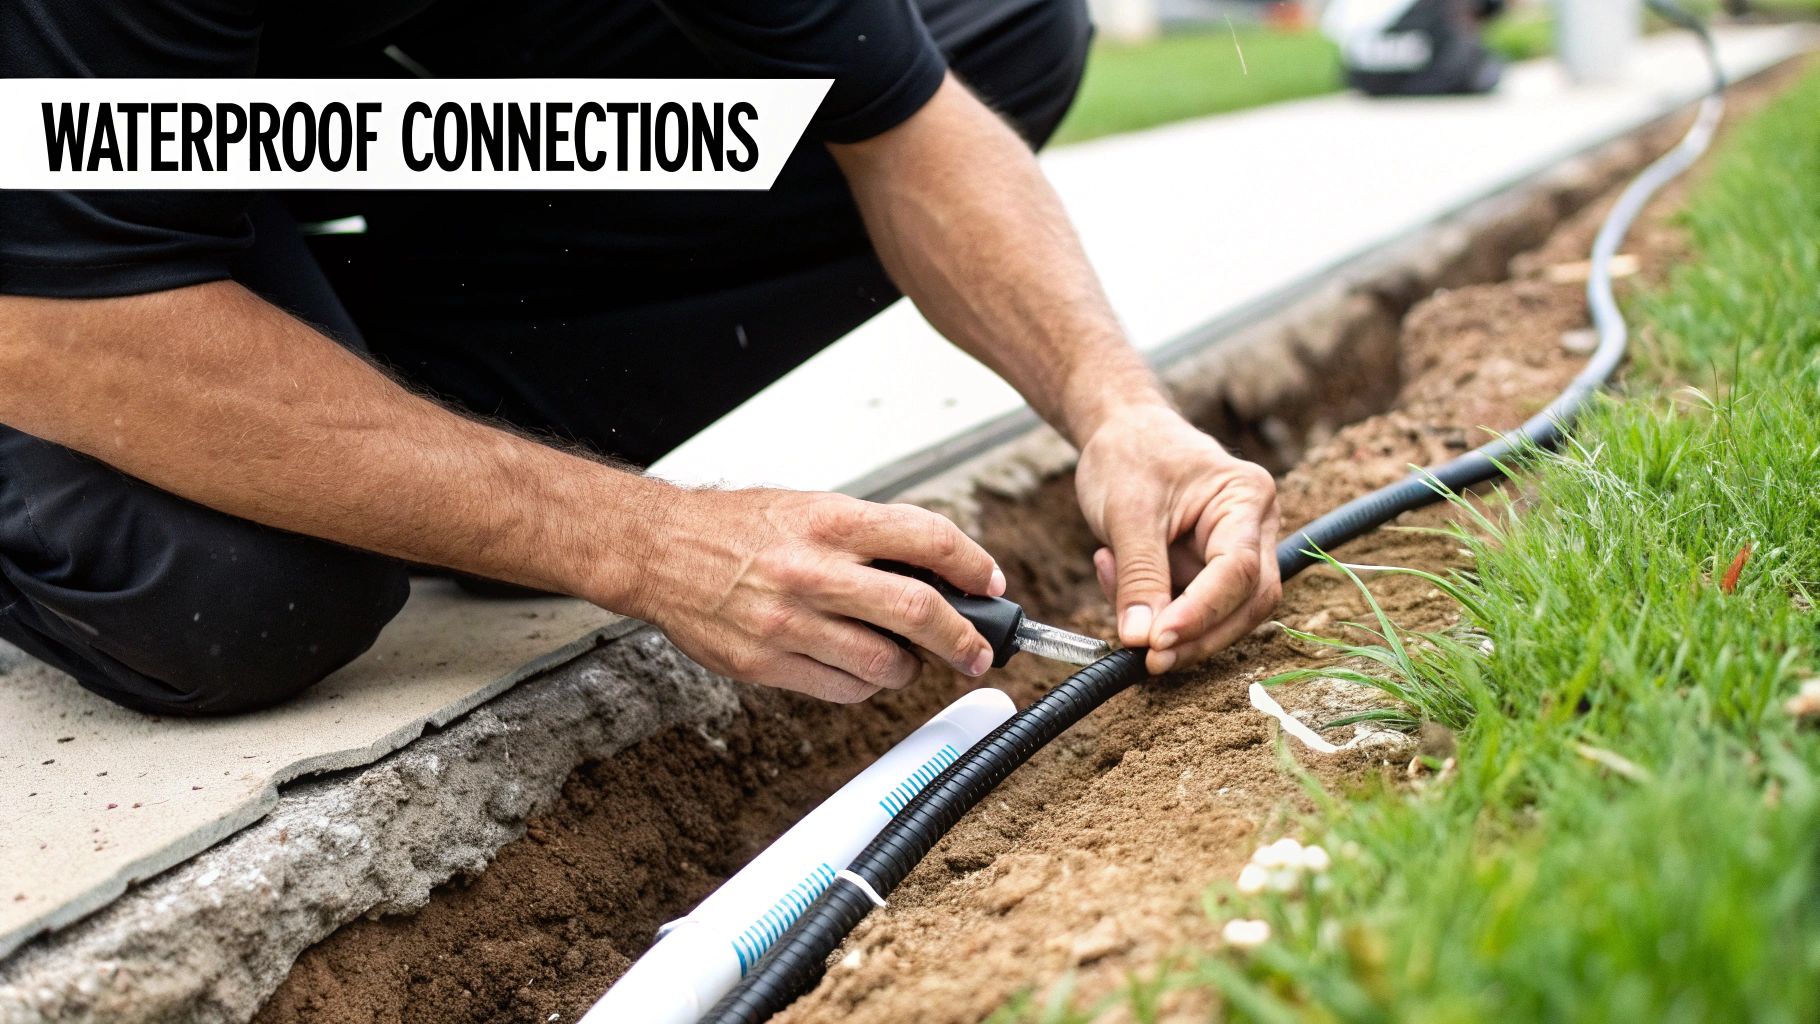
Making Bombproof Connections
Pay attention here, because this is where most DIY lighting jobs fail. A sloppy connection lets in moisture. Moisture causes corrosion. Corrosion leads to flickering lights and, sooner or later, a dead fixture. Don't cut corners on this.
The only connector you should be using is a silicone-filled, direct-burial wire nut. These are not the same orange or yellow wire nuts you use inside the house.
Here’s how to make a perfect connection every time:
- Carefully split the two sides of your main low-voltage cable for a few inches.
- Use a good pair of wire strippers to remove about a half-inch of the black insulation from the main cable and the fixture's two wires.
- Twist the bare copper ends together tightly—one wire from the light to one side of the main cable, and the second wire from the light to the other side of the main cable.
- Screw the waterproof wire nut on as tight as you can. As you tighten it, the silicone grease inside will ooze out, completely sealing the connection from water, dirt, and bugs.
The industry has moved almost entirely to LED, which now makes up over 70% of the landscape lighting market. These fixtures have incredible 50,000-hour lifespans (compared to just 2,000 for old halogens), but they need consistent voltage to perform. That's why burying your 10-14 gauge wire at a proper depth of 6-18 inches is critical to making sure a light 150 feet away still gets the 11.5V it needs. You can dig deeper into these trends by reviewing recent landscape lighting market analysis.
Whatever you do, don't use electrical tape or those little black "quick-clip" connectors for any buried splice. They will fail. Trust us on this one—you'll be out there with a shovel troubleshooting in a year if you use them.
Testing and Troubleshooting Your New System
Alright, the wires are run and the fixtures are in place. You're on the home stretch. But before you start burying cables and admiring your handiwork, we need to test everything. This is the moment you find out if your planning paid off, and trust me, a few checks right now will save you from hours of digging and head-scratching later.
Let me be clear: this step is non-negotiable. Testing confirms every single light is getting the right voltage, which means they'll all shine at the brightness you expect and live a long, happy life. Think of it as your final quality control check before making it all permanent.
The Pre-Power-Up Safety Checklist
Before you even think about flipping a switch, do one last walkthrough. This quick inspection is your first line of defense against the most common installation mistakes. You're just making sure all your connections are solid and no bare copper is exposed anywhere.
Here’s what I look for:
- Secure Connections: Give each wire nut a gentle tug. It should feel completely solid, not loose or wobbly.
- No Exposed Wires: Look closely at where the wires enter the nut. You should see insulation, not shiny copper. All the metal needs to be fully tucked away inside.
- Transformer is Off: Double-check that the transformer is unplugged or that the circuit breaker for that outlet is off.
- Clear of Debris: Make sure no tools, dirt, or stray wire clippings are touching the terminals inside the transformer.
This simple once-over is a critical safety step. You're just confirming the system is buttoned up and ready to be energized without a short circuit ruining your day.
Using a Multimeter to Verify Your Work
Now for the real test. Your digital multimeter is the most important tool for this part of the job. It lets you measure the voltage anywhere in the system, giving you hard numbers to prove your wire gauge and layout plan were on the money.
First, check the source. Plug in the transformer, turn it on, and set your multimeter to AC Volts (V~). Touch one probe to each of the low-voltage output terminals on the transformer. The reading should match whatever tap you selected—usually somewhere between 12V and 15V.
Next, it's time to hunt down any voltage drop. Walk out to the very last light fixture on your longest run. Disconnect it for a moment and touch your multimeter probes directly to the two bare wire ends coming from your main cable. This reading tells you exactly how much juice is making it to the furthest point in your system.
The magic number you're looking for is a voltage reading no lower than 10.5V at that final fixture. Anything less than that, and your LEDs might flicker, look dim, or just fail way too early. The sweet spot is between 11V and 12.5V—that ensures every light on the run will perform perfectly.
If your reading is too low, it's a dead giveaway that your wire is too thin for the length of the run or the total wattage you've put on it. It’s a whole lot easier to swap in a thicker gauge wire now than it will be six months from now when your lights start acting up.
A Quick Guide to Common Problems
Even the most careful installer runs into hiccups. If a light—or a whole group of them—refuses to turn on, don't panic. The fix is almost always something simple, and a little systematic troubleshooting will nail it down fast.
This table covers the issues we see most often out in the field.
| Problem | Likely Cause | Solution |
|---|---|---|
| Entire system is dead. | The GFCI outlet tripped, or the transformer is unplugged or faulty. | Reset the GFCI. Check that the transformer is plugged in securely and the circuit breaker is on. Test for voltage at the transformer terminals. |
| One light is out. | A bad bulb, a faulty connection right at that fixture, or a nicked wire leading to it. | Swap the bulb with one you know works. If that's not it, redo the wire nut connections for that specific light. |
| A whole section is out. | Almost always a bad connection at the beginning of that section or a cut in the main cable. | Go to the last working light on the run and check the connection going to the first dead light. That's your culprit. |
| Lights are flickering or dim. | You've either overloaded the transformer or you have excessive voltage drop. | Add up your total wattage again. Check the voltage at the end of the run; if it's below 10.5V, the wire gauge is too small for the job. |
Most of these problems come down to a bad connection or an issue at the power source. For anything more complex than that, our guide to professional electrical troubleshooting offers some deeper insights. And remember, the transformer must always be plugged into a GFCI-protected outlet. That’s a critical safety feature and a code requirement you can't skip.
When to Call a Professional Electrician
A DIY landscape lighting project can be incredibly rewarding. There’s a real satisfaction in mapping out your design, running the wire, and seeing it all light up for the first time. But learning how to wire low voltage landscape lighting is one thing; knowing your limits is another. You know what? The peace of mind that comes with a professional installation is often worth every penny, especially when the project’s complexity starts to creep up.
Even the most confident DIYer can hit a point where the smart move is to call in a licensed electrician. Recognizing that moment early can save you from costly mistakes, serious safety hazards, and the sheer frustration of a system that just won't work right.
Scenarios That Demand an Expert
Some installation challenges just aren’t cut out for a weekend project. They require specialized knowledge, the right tools, and a deep understanding of electrical codes. If your project involves any of the following, it’s a clear signal to bring in the pros.
- Complex or Large-Scale Layouts: If your dream design involves multiple transformers, intricate zoning with separate controls, or a high fixture count that needs careful load balancing, an electrician can engineer it correctly from the start. They’ll ensure every fixture gets the power it needs without overloading the system.
- Integrating with Smart Home Systems: Want your lights to sync up with Alexa, Google Home, or another automation platform? This is where low-voltage wiring meets smart home protocols. A pro can make sure the integration is seamless and reliable, not a constant source of glitches.
- Crossing Hardscapes: Running wires under a concrete driveway, paver patio, or an established walkway requires more than just a shovel. Professionals use specific techniques and conduit to protect the cable from damage, doing the job cleanly and safely without wrecking your landscape.
- Installing a New Outdoor Outlet: Your transformer needs a GFCI-protected outdoor receptacle to plug into. If you don’t have one in a convenient spot, installing a new one is high-voltage work. In Utah, this legally requires a licensed electrician—it’s not a DIY task.
Here in Northern Utah, our systems have to endure everything from heavy snow loads to blistering summer heat. A professional electrician from Black Rhino Electric makes sure your installation uses the right materials and techniques to withstand our harsh climate, protecting your investment for years to come.
Ultimately, the choice comes down to your comfort level and the project's scope. If you feel yourself getting bogged down in the technical details of voltage drop calculations, complex wiring layouts, or local electrical codes, calling an expert is the smartest move you can make. It’s the difference between a system that might work and one that’s guaranteed to be safe, beautiful, and built to last.
A Few Final Questions
When it comes to wiring up your own landscape lighting, a few questions always pop up. It's totally normal, especially for folks here in Weber, Davis, and Salt Lake counties. Getting clear on these final details is what separates a weekend headache from a project you can be proud of for years.
We've pulled together the most common questions our electricians hear on the job. Think of it as a quick guide to clear up those last-minute uncertainties before you throw the switch on your new system.
How Many Lights Can I Put on One Transformer?
This all comes down to simple math: the transformer's wattage rating versus the total power draw of your lights. First, just add up the wattage for every single light you plan to install.
Let's say you've got twenty 4-watt LED path lights. Your total load is 80 watts (20 lights x 4 watts). Now, here's the pro tip: never max out your transformer. You want to choose one with a capacity at least 20% higher than your total load. This prevents overheating and gives you room to add a light or two later. In this case, a 150W transformer is the perfect fit.
What Is the Best Way to Make Waterproof Wire Connections?
Let me explain. This is the number one spot where DIY projects go wrong. The absolute most reliable method is using silicone-filled, direct-burial wire nuts. These aren't your standard indoor wire nuts; they're specifically designed to create a completely waterproof and corrosion-proof seal.
As you twist one on, the silicone grease inside completely encapsulates the bare copper. This protects the connection from moisture, soil, and our wild Utah temperature swings. Just using electrical tape or indoor nuts is a recipe for failure—they will let moisture in, leading to flickering lights and frustrating troubleshooting down the road.
Using the right waterproof connectors isn’t just a "best practice"—it's the secret to a long-lasting lighting system. A corroded connection is the most common cause of failure we see in the field.
Do I Need a Permit for Low Voltage Lighting in Utah?
Generally, no, you don't need a specific electrical permit for the low-voltage side (12V-24V) of your landscape lighting project in Utah. But there’s a big catch. The transformer itself has to plug into a GFCI-protected outdoor receptacle.
That outlet must be installed to code. If you don't have a proper outdoor outlet and need to install one, that part of the job absolutely requires a licensed electrician and may require a permit. It's always smart to double-check with your local city or county building department just to be sure.
Can I Mix LED and Halogen Lights on the Same Line?
Technically, you can, but I’d strongly advise against it. LED and halogen bulbs are completely different technologies with very different power needs.
When you mix them on the same wire, you often get unpredictable results like flickering, a much shorter lifespan for your expensive LED bulbs, and an inefficient system overall. For clean, reliable, and consistent results, stick to one technology. These days, that means using all LED fixtures paired with a modern, LED-compatible transformer.
Feeling ready to tackle your lighting plan, or thinking you might want a professional hand? For homeowners in Northern Utah who want flawless, worry-free results, the expert electricians at Black Rhino Electric are here to help. If you're after a safe, stunning, and reliable landscape lighting system that lasts, give us a call at 385-396-7048 or request a free quote to talk about your project today.