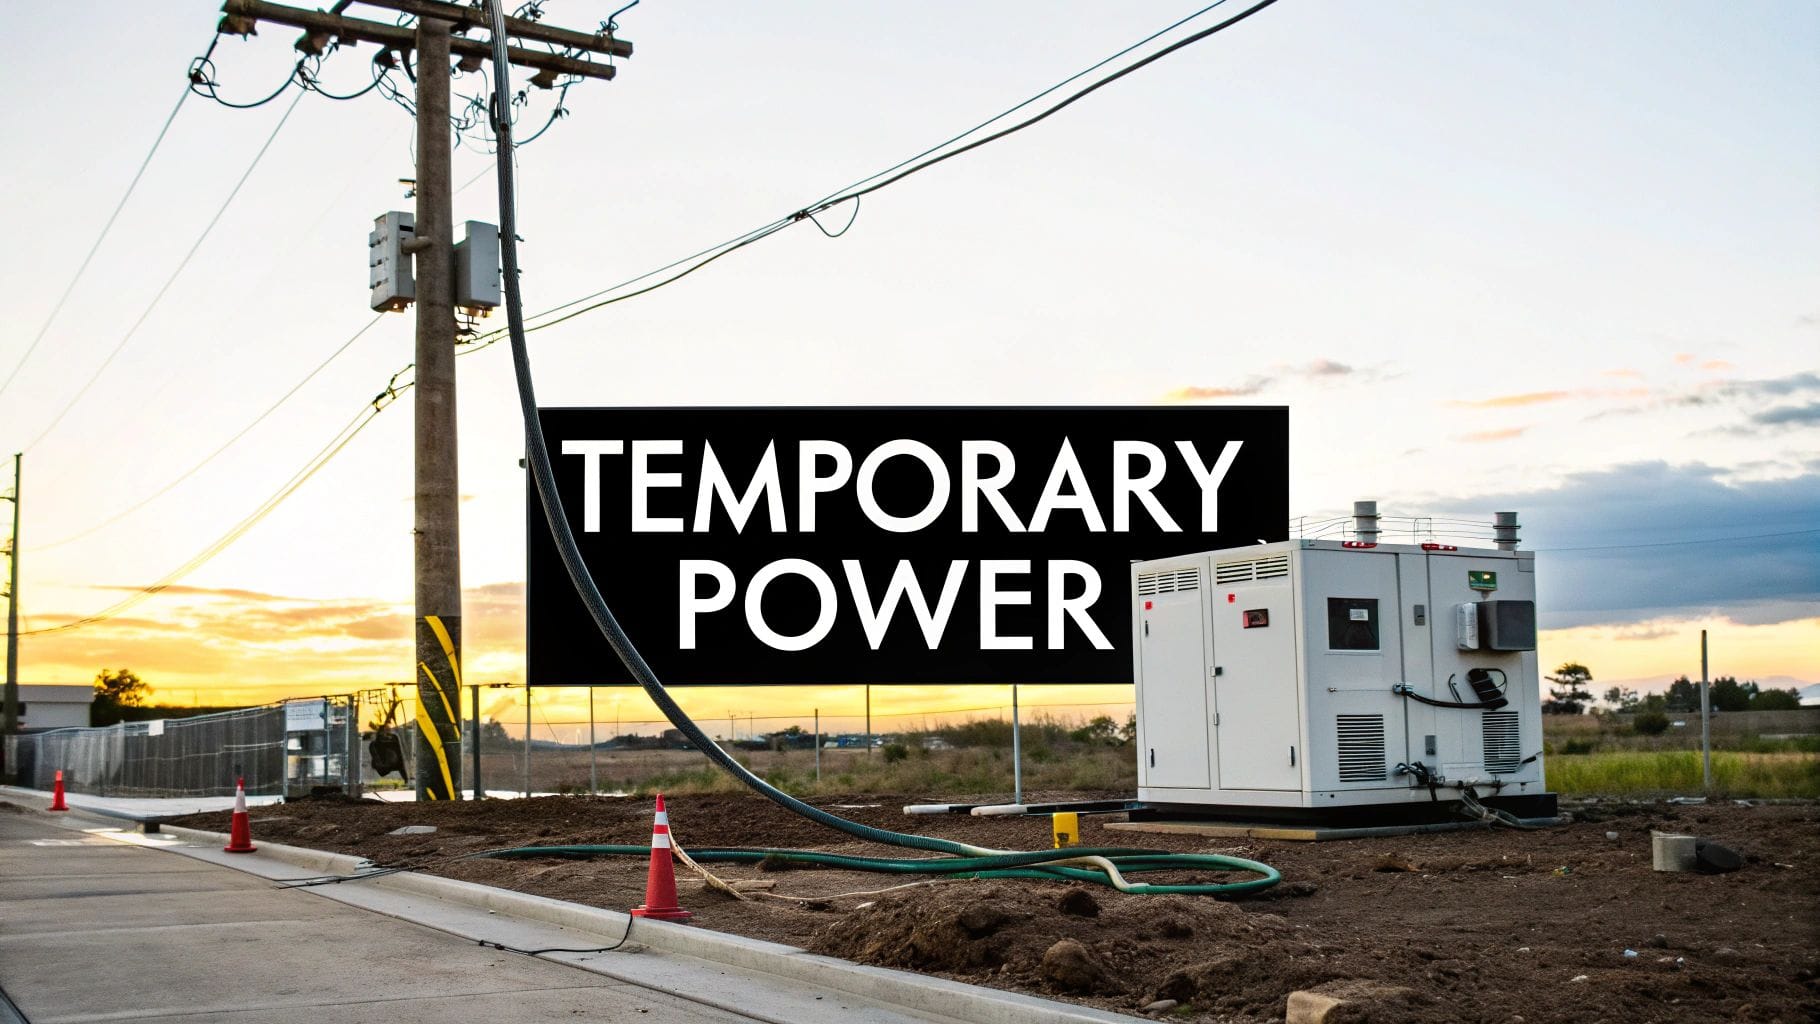
Ever wonder how a high-rise gets lit up before the main utility lines are even run? Getting reliable temporary power for a construction site is the unseen force that keeps everything from small hand tools to massive tower cranes running. It's the unsung hero of any construction project, and setting it up correctly is absolutely critical for success.
Why Temporary Power is a Make-or-Break Deal
Think of temporary power as the lifeblood of a modern job site. Without it, the whole project just grinds to a halt. This is way more than just running a few extension cords from a neighboring building; it’s a professionally engineered, code-compliant system that ensures safety and keeps the project moving from day one.
Picture a new commercial build going up in downtown Salt Lake City. The framing crew shows up, but their nailers and saws are dead weight. The concrete team can’t run their mixers, and as the sun sets, the site goes dark, stopping all progress. That scenario paints a clear picture: nearly every trade on a construction site relies on a steady source of electricity.
It's About Safety and Schedule, Not Just Convenience
Let me explain. A professional temporary power setup isn't just a nice-to-have; it's an absolute must for safety and compliance. Just stringing cords together creates a mess of hazards, from simple trips and falls to the very real risks of electrocution and fire, especially with Utah’s unpredictable weather.
A properly installed temporary power system solves these problems by:
- Meeting OSHA Safety Standards: It guarantees all connections are properly grounded and protected, which drastically cuts down on workplace accidents. In fact, OSHA points to improper grounding as one of the top causes of electrical injuries on job sites.
- Following Local Building Codes: Municipalities across Weber, Davis, and Salt Lake counties have strict rules for temporary electrical setups. A professional installation is designed to meet these codes, sail through inspections, and get your project green-lit without expensive delays.
- Keeping Your Project on Track: Reliable power means no downtime. No waiting for a generator to be refueled or dealing with breakers that constantly trip. It ensures every crew can work at full steam, keeping your project on its timeline and, just as importantly, on budget.
Honestly, a well-planned temporary power system is a foundational investment in your project's success. It prevents delays, protects your crew, and makes sure your site has the energy it needs from groundbreaking to final walkthrough.
Trying to skip this step or cut corners is one of the fastest ways I've seen a construction project get derailed. As experienced electricians, we at Black Rhino Electric have seen firsthand how a solid power plan is the bedrock of a safe, productive environment from the ground up.
Calculating Your Construction Site Power Needs
When it comes to setting up temporary power for a construction site, getting the planning right is everything. This is your "measure twice, cut once" moment for the entire project's electrical system, and it all boils down to a solid load calculation. Trust me, rushing this or just guessing is a surefire way to hit frustrating delays and budget overruns later on.
It's about more than just having enough outlets for the crew. A proper load calculation is a detailed inventory of every single piece of equipment that will pull power on your site. You have to think through every phase of the project—from the framers' nail guns on day one to the HVAC crew's testing equipment months later.
This kind of proactive planning isn't just a local best practice; it's a global necessity. The demand for temporary power is surging because major infrastructure projects simply can't afford to wait for permanent grid connections. Projections show the market is expected to jump from USD 5.89 billion in 2025 to a massive USD 10.56 billion by 2032, growing at a steady clip of 8.7% each year. North America actually holds the largest market share at 38%, driven by fast-paced construction. You can dig into the numbers in the full temporary power market analysis.
Cataloging Your Power Demands
Here's the thing. The first step is to make a comprehensive list of every tool, piece of equipment, job trailer, and lighting system you plan to use. Don't forget to think about peak usage times—what happens when the framing crew, the roofers, and the site office are all running full tilt at the same time?
Here’s a practical breakdown of what to inventory:
- Handheld Power Tools: This covers your circular saws, drills, impact drivers, and reciprocating saws. One of them doesn't draw much, but dozens running at once add up quickly.
- Heavy Equipment: Think about the big power hogs like air compressors, table saws, concrete mixers, and welders. These are often the items that will dictate the size of your service.
- Site Infrastructure: This category includes the job site trailer (with its heating, AC, computers, and microwave), security lighting, and any dewatering pumps. These are often continuous loads.
- Subcontractor Needs: What will the electricians, plumbers, and HVAC techs bring with them? Planning for their power needs ahead of time prevents a scramble when they show up and start tripping breakers.
This visual really drives the point home: proper site planning, which includes a detailed power assessment, is the foundation for a successful project.
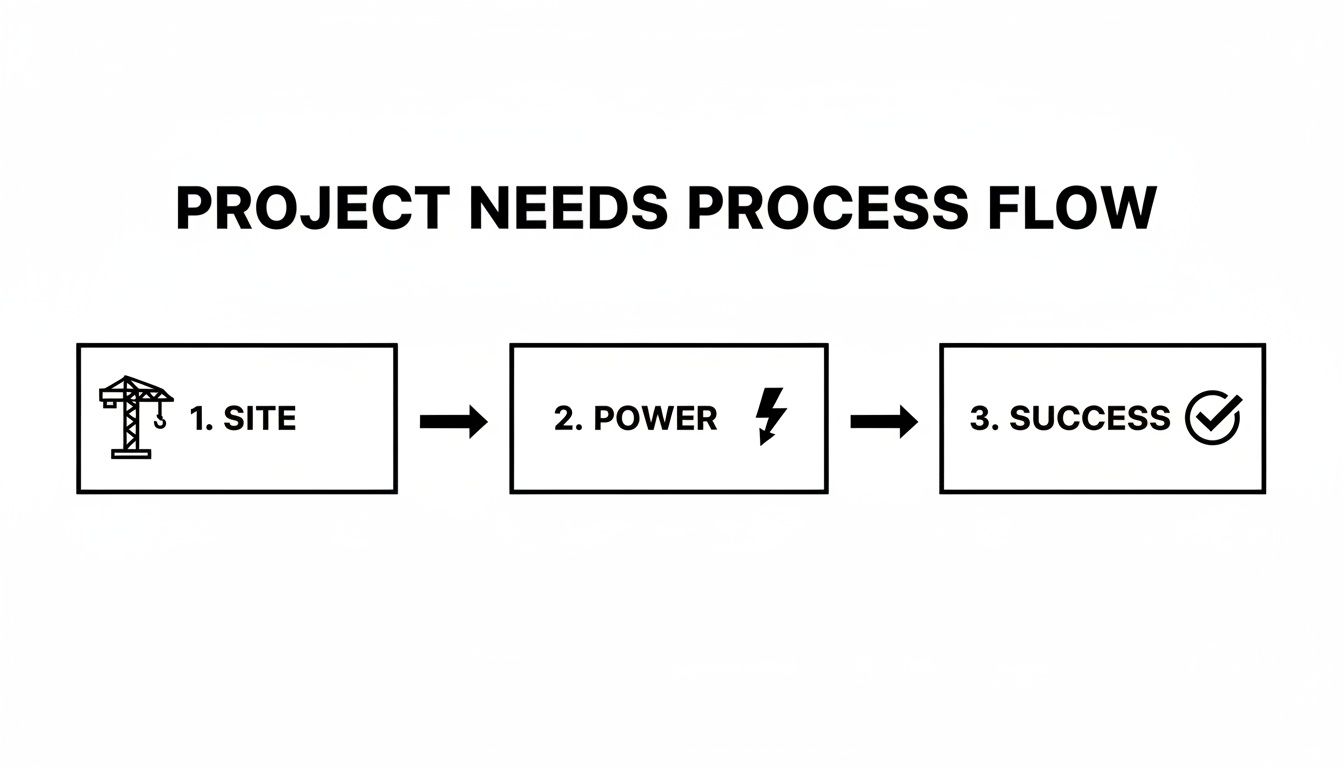
The key takeaway is simple: a successful job follows a logical path from site assessment to reliable power, which ultimately leads to a finished project.
From Inventory to Amperage
Once your list is complete, the next job is to find the voltage and amperage for each item. You can usually find this info right on the tool's nameplate or tucked away in its user manual. Adding up these numbers gives you a baseline for your total power demand. This is the critical piece of information for sizing your temporary service correctly.
To make this tangible, here’s a simplified load calculation for a typical residential build.
Sample Load Calculation for a Residential Construction Site
| Equipment/Tool | Typical Voltage | Amperage Draw (Amps) | Phase | Notes |
|---|---|---|---|---|
| Job Site Trailer (HVAC, Office) | 240V | 50 Amps | Single | This is a continuous load and a high-priority item. |
| Table Saw | 120V | 15 Amps | Single | High draw during startup; used frequently during framing. |
| Air Compressor | 240V | 20 Amps | Single | Powers multiple pneumatic tools simultaneously. |
| Circular Saws (x4) | 120V | 13 Amps (each) | Single | Multiple units often run at the same time. |
| Security Lighting | 120V | 5 Amps | Single | An overnight, continuous load that can't be forgotten. |
This table illustrates the kind of thinking required. You account for both individual tool demands and the reality of concurrent operations to build a complete power profile.
Why Professional Expertise is Non-Negotiable
You know what? While you can definitely create a basic equipment list, converting that into a code-compliant service design is a job for a licensed electrician. An experienced pro does a lot more than just add up the numbers on a page.
A professional load calculation ensures your system is perfectly sized. Undersizing leads to constantly tripped breakers and costly downtime, while oversizing means you’re paying for capacity you’ll never use.
An electrician accounts for things like demand factors (knowing that not everything runs at once), voltage drop over long cable runs, and the future power needs of different trades cycling through the job. They ensure the temporary setup can handle the project's evolving load, from breaking ground to the final punch list. That foresight is what separates a smooth, efficient project from one plagued by constant electrical headaches.
Ever feel like the paperwork can be the hardest part of the job? The administrative side of setting up temporary power for a construction site can feel like a maze, but it’s a non-negotiable step. This whole process is designed to make sure your setup is safe, legal, and ready for Rocky Mountain Power to hook up.
Let me be clear: before the utility company will even think about energizing your site, you need two things. First, an official permit from your local city or county. Second, a passed electrical inspection. This is the rule across Northern Utah—from Weber and Davis counties down to Salt Lake—and it’s there to protect everyone on and around your site.
Kicking Off the Permit Process
Your first move is always filing a permit application with the city or county building department where your project is located. This isn’t something you can do on a whim. The gears of bureaucracy can turn slowly, so getting your application in well ahead of time is the only way to sidestep costly delays that can bring your whole job to a halt.
So, what do you need to have ready? While the fine print can vary a bit between, say, Ogden and Salt Lake City, the core requirements are pretty standard.
- A Detailed Site Plan: This is just a map showing exactly where you plan to stick the temporary power pole or service equipment. Inspectors need to see its location relative to property lines and the future building’s footprint.
- A Full Load Calculation: This is the homework we talked about earlier. It gives the city’s plan reviewers the hard data they need to verify your proposed service is actually big enough for the job.
- Your Electrical Contractor’s Info: The city needs to know a licensed and insured electrician is handling the install. Their license number and other credentials have to be on the application.
Here’s a pro tip: Working with an experienced local electrician is your biggest advantage. They already know the little quirks of each city’s code and often have a working relationship with the local inspectors. That connection alone can make the entire process move a whole lot faster.
The Inspection: What to Expect
Once your permit is approved and the temporary service is physically in the ground, it’s time for the inspection. An inspector from the local building department will come to your site to put eyes on the installation and make sure it meets every requirement of the National Electrical Code (NEC) and any local amendments.
What are they looking for? Everything. They’ll check the depth of your grounding rod, the type of weatherproofing used, and whether you have proper GFCI protection. It’s a thorough safety audit.
Common Inspection Items
| Inspection Point | What They're Looking For | Why It Matters |
|---|---|---|
| Grounding System | A properly driven grounding rod connected securely to the panel. | This is the most important safety feature for preventing electrical shock. |
| GFCI Protection | All 120-volt outlets must have Ground Fault Circuit Interrupter protection. | It's a critical life-saving device that cuts power instantly if it detects a fault. |
| Panel & Breakers | The main disconnect is sized correctly and breakers are clearly labeled. | This ensures the system can be shut down fast in an emergency and helps prevent overloading. |
| Conductor Sizing | Wires are the right gauge (thickness) for the amperage of the service. | Undersized wires are a major fire hazard because they can overheat under load. |
| Physical Installation | The power pole is braced and secure, and all components are weatherproof. | It has to stand up to Utah's weather and the chaos of a busy job site. |
Only after the inspector signs off on the work—literally putting a "green tag" on your service—can you call the utility company to schedule the meter installation and get the power turned on. Trying to skip any of these steps is a guaranteed recipe for fines, stop-work orders, and a world of project headaches.
The Nuts and Bolts: Essential Hardware for Your Temporary Power Setup
Alright, we’ve sorted through the planning and permits. Now let's get our hands dirty and talk about the actual gear—the physical components that make up a temporary power system on a construction site.
Knowing this stuff isn't just for us electricians. It helps you have a much smarter conversation with your contractor about what your site actually needs. Think of it as a quick tour of the essential pieces that bring your job site to life.

The whole operation starts with getting power from the utility's lines to your work area. This is usually done one of two ways: an overhead feed from a nearby utility pole or an underground feed from a designated connection point. The right choice often comes down to site logistics and what the local utility requires.
The Core Components of Your Setup
Every temporary power installation is built around a few key pieces of hardware. Each one has a distinct, vital job to do in delivering electricity safely and reliably across your site. Let's break them down.
- The Temporary Power Pole: This is the backbone of the entire system. It’s typically a sturdy, treated wooden pole set securely in the ground. It serves as the central mounting point for the meter base and main disconnect, keeping all the critical gear organized, stable, and up out of the mud and water.
- The Meter Base: This is the weatherproof box where the utility company, like Rocky Mountain Power, will install its electric meter. It's the official "handshake" point where their service connects to your site's system. Without a properly installed and inspected meter base, you simply won't get power.
- The Main Disconnect Panel: This is the brain of the operation. Housed in a NEMA 3R weather-resistant box, this panel contains the main circuit breaker to kill all power in an emergency. It also holds the individual breakers that protect the circuits feeding power out to the job site.
A well-organized temporary panel is a clear sign of professional workmanship. Properly sized breakers and clean, legible labels aren't just for convenience; they are critical safety features that allow for quick troubleshooting and emergency shutdowns. To get a better handle on these crucial components, you can learn more about how electrical panels and meters work in our detailed guide.
Spreading the Power Across the Site
Once the main service is live, the next puzzle is getting power to where the work is actually happening. You can't just run a dozen extension cords from the panel—it's unsafe, inefficient, and a tripping hazard. This is where specialized distribution equipment comes into play.
Ever seen a spider box? It’s basically a heavy-duty, portable power strip built to survive the brutal conditions of a construction site. It takes a single high-voltage input and splits it into multiple protected outlets, letting several crews work safely from one central point.
Utility Hookup or Generator Power?
A major decision you'll face is whether to connect to the local utility grid or rely on a generator. Each has its pros and cons, and the right choice depends entirely on your project's location, duration, and power demands.
Here’s a quick comparison to help you weigh the options:
| Feature | Utility Hookup | Generator Power |
|---|---|---|
| Reliability | Extremely reliable and consistent once connected. | Dependent on fuel supply, maintenance, and equipment quality. |
| Upfront Cost | Generally lower, involving permit fees and installation. | Can be high, especially if purchasing a large unit. |
| Operating Cost | Pay-as-you-go based on electricity usage. | Ongoing costs for diesel or gasoline, plus maintenance. |
| Location | Only possible where utility infrastructure is accessible. | Can be used anywhere, ideal for remote or undeveloped sites. |
| Noise & Emissions | Silent and clean operation. | Can be very loud and produces exhaust fumes. |
For most projects in developed areas like those across Weber, Davis, and Salt Lake counties, a utility hookup is the go-to method. It's just more cost-effective and reliable for long-term builds.
However, generators are indispensable for remote sites or short-term projects where tying into the grid isn't practical. Diesel generators still dominate over 50% of the market because they're rugged and reliable. That said, eco-friendly hybrid models are gaining ground fast, with growth around 15-20% annually as job sites face new compliance standards.
Here's a tip: for large-scale projects, renting generators can save up to 40% compared to buying them outright, giving you the flexibility for demanding jobs. You can find more insights on these market trends in this temporary power market report.
Ultimately, understanding this hardware empowers you to make smarter decisions and ensures your temporary power setup is robust, safe, and perfectly suited to your project's demands.
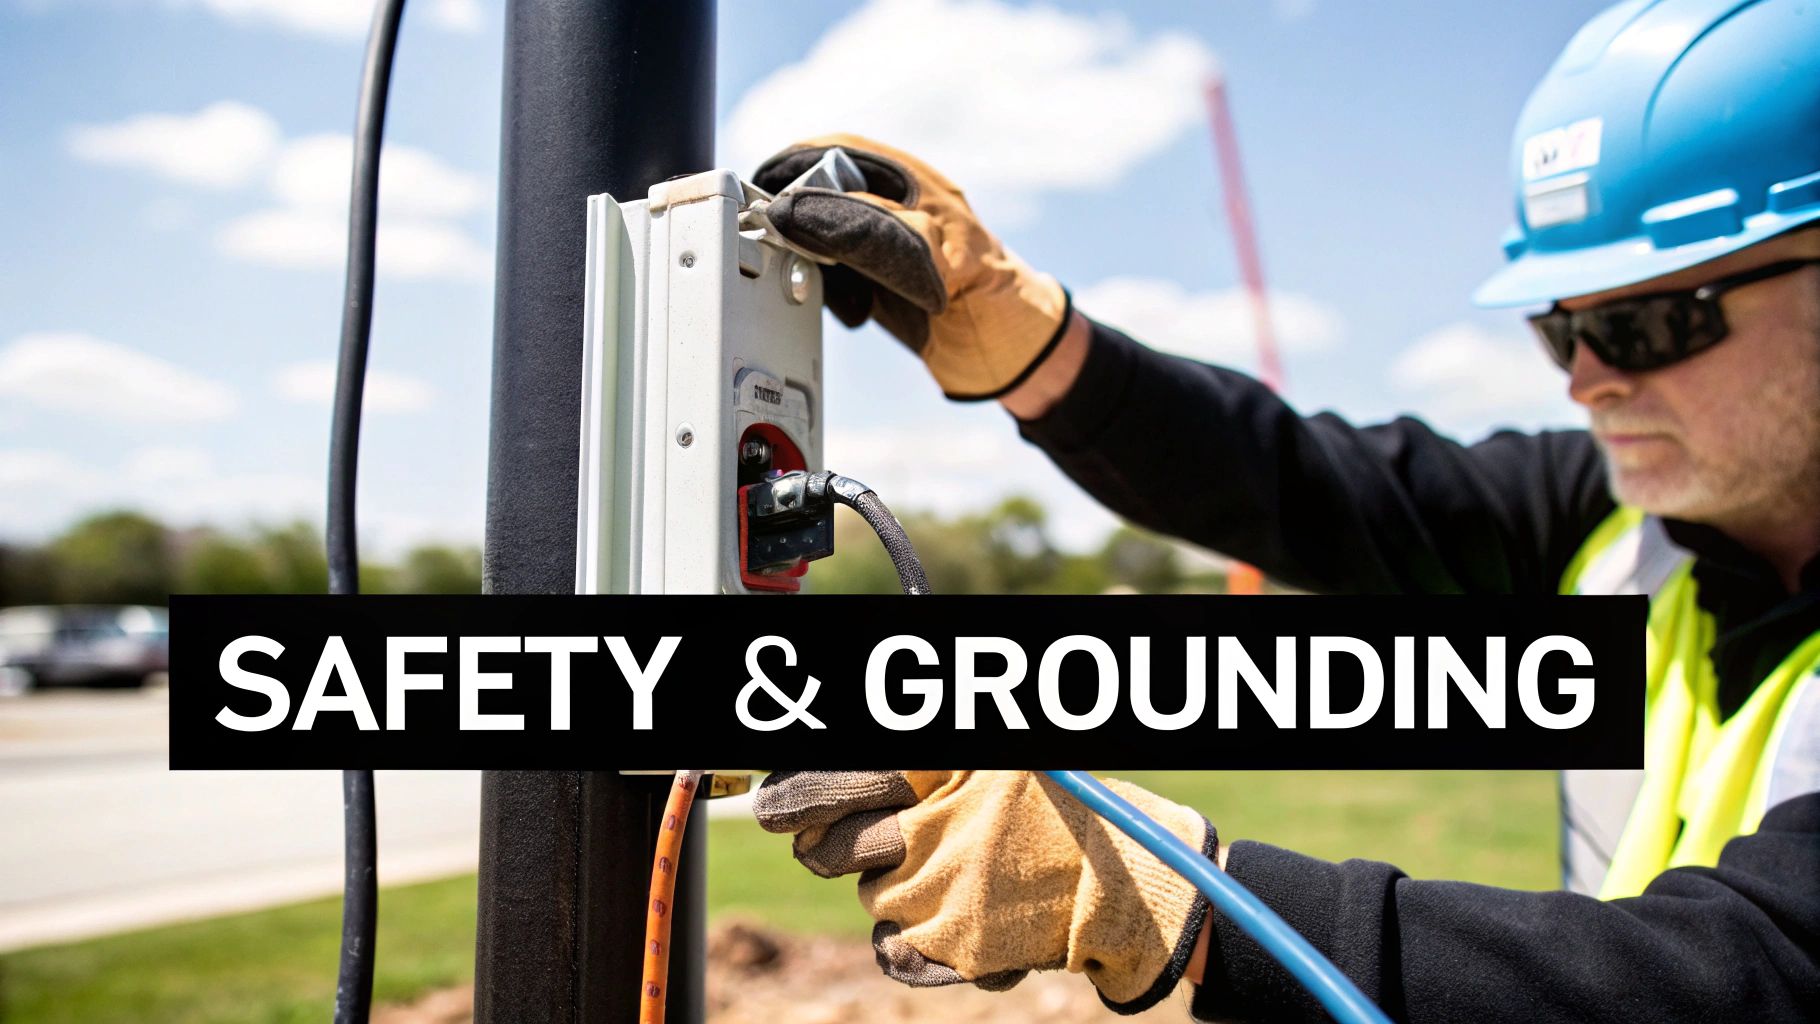
Critical Safety And Grounding Practices On Site
Let's be blunt: this part is non-negotiable. When you bring high-voltage electricity onto a construction site—a chaotic world of mud, water, heavy machinery, and constant foot traffic—the margin for error is exactly zero. Setting up safe temporary power for a construction site isn’t just a good idea; it’s a mandatory practice enforced by both the National Electrical Code (NEC) and OSHA. It’s about protecting every single person on the job.
Improper grounding is one of the leading causes of severe electrical accidents on job sites. A properly installed grounding system is your first and most important line of defense against electrical shock. Period.
The Unseen Guardian: Ground Fault Protection
Ever wonder what those little "test" and "reset" buttons on certain outlets are for? That’s a Ground Fault Circuit Interrupter, or GFCI, and on a construction site, it’s a literal lifesaver.
A GFCI constantly monitors the electrical current flowing in and out of a circuit. If it detects even a tiny imbalance—like electricity finding an unintended path to the ground through a person or a puddle—it kills the power in a fraction of a second. That rapid response is often the difference between a minor jolt and a fatal electrocution. Its importance cannot be overstated.
According to OSHA and NEC Article 590, all 120-volt, single-phase, 15-, 20-, and 30-ampere receptacle outlets used for temporary power must have GFCI protection. This applies to every plug, from the job site trailer to the spider box powering the framing crew’s saws.
This requirement is not flexible. An inspector will fail a site in a heartbeat for missing or non-functional GFCIs. To see how these vital devices work in commercial settings, you can check out our detailed guide on GFCI power outlets.
Daily Safety Checks: A Non-Negotiable Routine
Safety isn't a "set it and forget it" task. The dynamic and often harsh environment of a construction site means your temporary power system needs constant vigilance. A simple daily walk-through can catch hazards before they become accidents.
Here is a practical checklist for any site supervisor to run through each morning:
- Inspect All Cords and Cables: Look for any signs of damage—frayed insulation, exposed wires, or crushed casings. A damaged cord is an active hazard and must be taken out of service immediately.
- Keep Electrical Panels Closed: Make sure all panel doors are securely shut and latched. This protects the breakers and wiring from dust, moisture, and accidental contact.
- Verify GFCI Functionality: Test GFCI outlets regularly. Just press the "test" button to confirm the power cuts off, then "reset" to restore it. If it doesn't trip, it's not working.
- Ensure Equipment is Rated for Outdoor Use: Check that all extension cords, power strips, and distribution boxes are marked "for outdoor use" and have the appropriate NEMA 3R or higher weather-resistant rating.
- Maintain Clear Access: Keep the area around the main disconnect panel and distribution boxes clear of materials and debris. In an emergency, you need to shut off the power now, not after moving a pile of lumber.
This proactive focus on safety is crucial, especially when you consider the sheer scale of temporary power usage. Construction sites are the single largest end-user for temporary power, a market valued at $6.4 billion in 2023 and projected to hit $16.7 billion by 2033. This massive demand, driven by frequent grid outages and rapid development, underscores the need for ironclad safety protocols. You can discover more insights about these global temporary power market trends on GlobeNewswire.
Prioritizing these safety and grounding practices isn't just about passing an inspection—it's about building a culture of safety that ensures every worker goes home at the end of the day.
Common Mistakes and When to Call a Professional
Let's bring it all together. Setting up temporary power for a construction site is one of those things that looks simple on the surface but gets complicated fast. One of the biggest—and costliest—mistakes we see is trying to handle it as a DIY project. The rules around load calculations, permits, and code compliance aren't forgiving.
Simple oversights can have big consequences. Miscalculate your power needs, and you'll be dealing with constantly tripped breakers that bring the whole job to a standstill. Place the temporary service in the wrong spot, and you might find it's right in the way of the foundation, forcing you to pay for an expensive relocation.
Frequent and Costly Oversights
Most of the big screw-ups come from a lack of experience with local codes and the practical flow of a job site. We've seen plenty of well-intentioned attempts go sideways in ways that a pro would have spotted from a mile away.
- Using Indoor-Rated Gear Outside: That standard orange extension cord from the garage isn't built for a Utah winter or a summer downpour. Using indoor gear creates immediate fire and shock hazards.
- Failing to Plan for Inspections: Not calling the inspector in at the right time—or being unprepared when they show up—is a guaranteed way to get a "red tag." That means work stops, period.
- Ignoring Grounding Requirements: This is the big one. Improper grounding is a critical safety failure. It puts every single person on your site at risk of serious injury or worse.
The bottom line is this: professional installation isn't just a good idea; it's essential for keeping your project safe, efficient, and on track. Paying for expertise upfront is far cheaper than paying for accidents and delays down the road.
The Value of Professional Expertise
When you hire a licensed electrician, you're not just getting an extra set of hands. You're getting the experience to see problems before they happen, the knowledge to make sure every connection is safe, and the professional relationships to keep inspections moving smoothly. The cost of a professional setup—permits, equipment, and labor included—is a predictable, manageable investment in your project's success.
To make sure your job site stays safe, on schedule, and on budget, the best first step is to talk to a licensed professional.
A Few Common Questions About Temporary Power
Even with a perfect blueprint, a few questions always pop up when it's time to get power to a construction site. Getting clear answers ahead of time keeps the project moving and saves you from last-minute headaches. Let's walk through some of the questions we hear most often from contractors.
How Long Does It Take to Get Temporary Power Set Up?
This is the big one, isn't it? The timeline can shift a bit. From the day you hand in the permit application until the utility company actually flips the switch, you're usually looking at a window of two to six weeks.
The two biggest factors are how quickly the local municipality processes permits and what the utility's schedule looks like. A clean, complete application with a detailed load calculation and site plan will always move through the system fastest. Any mistakes or missing info can kick it right back to you, adding weeks to your wait.
Should I Use a Generator Instead of a Utility Connection?
A generator is a fantastic tool, but it's not always the right choice for your primary power source. If you're on a remote site with no easy grid access or working on a very short-term job, a generator is a lifesaver. For most construction projects that'll last for months, though, a utility connection is far more cost-effective and reliable.
With a utility hookup, you get to skip the constant refueling costs, the noise, the emissions, and the routine maintenance that generators demand. You get stable, uninterrupted power, which is exactly what you need to keep your project on schedule.
What Happens to the Temporary Setup After the Project?
Once the building’s permanent electrical service is installed, inspected, and energized, the temporary setup has served its purpose. Taking it down is a straightforward process. First, we coordinate with the utility to have the meter pulled and the service disconnected.
After that, our team comes in to safely dismantle and haul away the temporary power pole, panel, and all the wiring. This clears the site and officially marks that major milestone when a project transitions from temporary to permanent power.
Navigating the details of temporary power doesn't have to be a hassle. For expert guidance and a solid, reliable setup for your next project in Northern Utah, you can trust the professionals at Black Rhino Electric. Give us a call at 385-396-7048 or request a free quote online to make sure your site is powered for success from day one.