Knowing how to wire a light switch is a fantastic skill for any homeowner, but true success begins long before you touch a single wire. It all starts with having the right tools and a solid understanding of the project ahead. Honestly, proper preparation is what separates a smooth, satisfying project from a frustrating, halfway-finished mess.
Gathering Your Tools And Materials
Before you even think about unscrewing a faceplate, lay out your toolkit. Having everything you need within arm’s reach isn’t just about making the job go faster; it’s a cornerstone of electrical safety. Trust me, fumbling for the right tool with potentially live wires exposed is a risk you never want to take.
This isn’t just about convenience. It’s about precision and your own protection. Using the wrong screwdriver can strip a terminal screw on your new switch, and just guessing a circuit is dead is a recipe for disaster. Each tool here has a specific job designed to protect both you and your home.
Your Essential Toolkit
To get started, you’ll need a few specialized items along with some tools you probably already own. Think of this as your pre-flight checklist for any electrical job.
- Non-Contact Voltage Tester: This is your most important safety tool, hands down. It lets you confirm the power is completely off without physically touching a single wire. Never assume a circuit is dead—always test it.
- Insulated Screwdrivers: You’ll want both a Phillips head and a flathead. Those insulated handles provide an extra layer of protection against shock if you accidentally touch something you shouldn't.
- Wire Strippers: A dedicated pair of wire strippers is a must. They cleanly remove the plastic insulation from wires without nicking the delicate copper strands underneath. A damaged wire can create a poor connection and a serious fire hazard.
- Needle-Nose Pliers: These are perfect for bending the ends of copper wires into the small hooks needed to loop securely around the terminal screws on the switch.
Choosing The Right Materials
With your tools ready, you need the right parts for the job. The components you select have a direct impact on the safety and reliability of your new switch. The global market for wires and cables is projected to hit USD 246.48 billion in 2026, and low-voltage cables—the kind in your walls—account for 48.57% of that. This growth drives constant improvements in material safety, which you can learn more about from industry analysis by Fortune Business Insights.
To save you a trip, I've put together a checklist of what you'll likely need from the hardware store.
Essential Tools and Materials Checklist
| Item | Type/Specification | Why It's Essential |
|---|---|---|
| Light Switch | Single-Pole, Three-Way, or Dimmer | Must match your circuit's function. A single-pole switch, the most common type, controls one light from one location. |
| Romex Wire | 14/2 or 12/2 Gauge | The wire gauge must match the circuit's amperage. Use 14-gauge for 15-amp circuits and 12-gauge for 20-amp circuits. |
| Wire Nuts | Size-Appropriate (e.g., yellow, red) | These create a secure, insulated connection between multiple wires, which is critical for preventing shorts. |
| Electrical Tape | Vinyl, UL-Listed | Used to wrap around wire nut connections and the body of the switch for an extra layer of insulation and safety. |
Getting these items lined up before you start is the single best thing you can do to ensure the project goes smoothly from the first screw to the final flip of the switch.
Understanding Electrical Safety and Wiring Basics
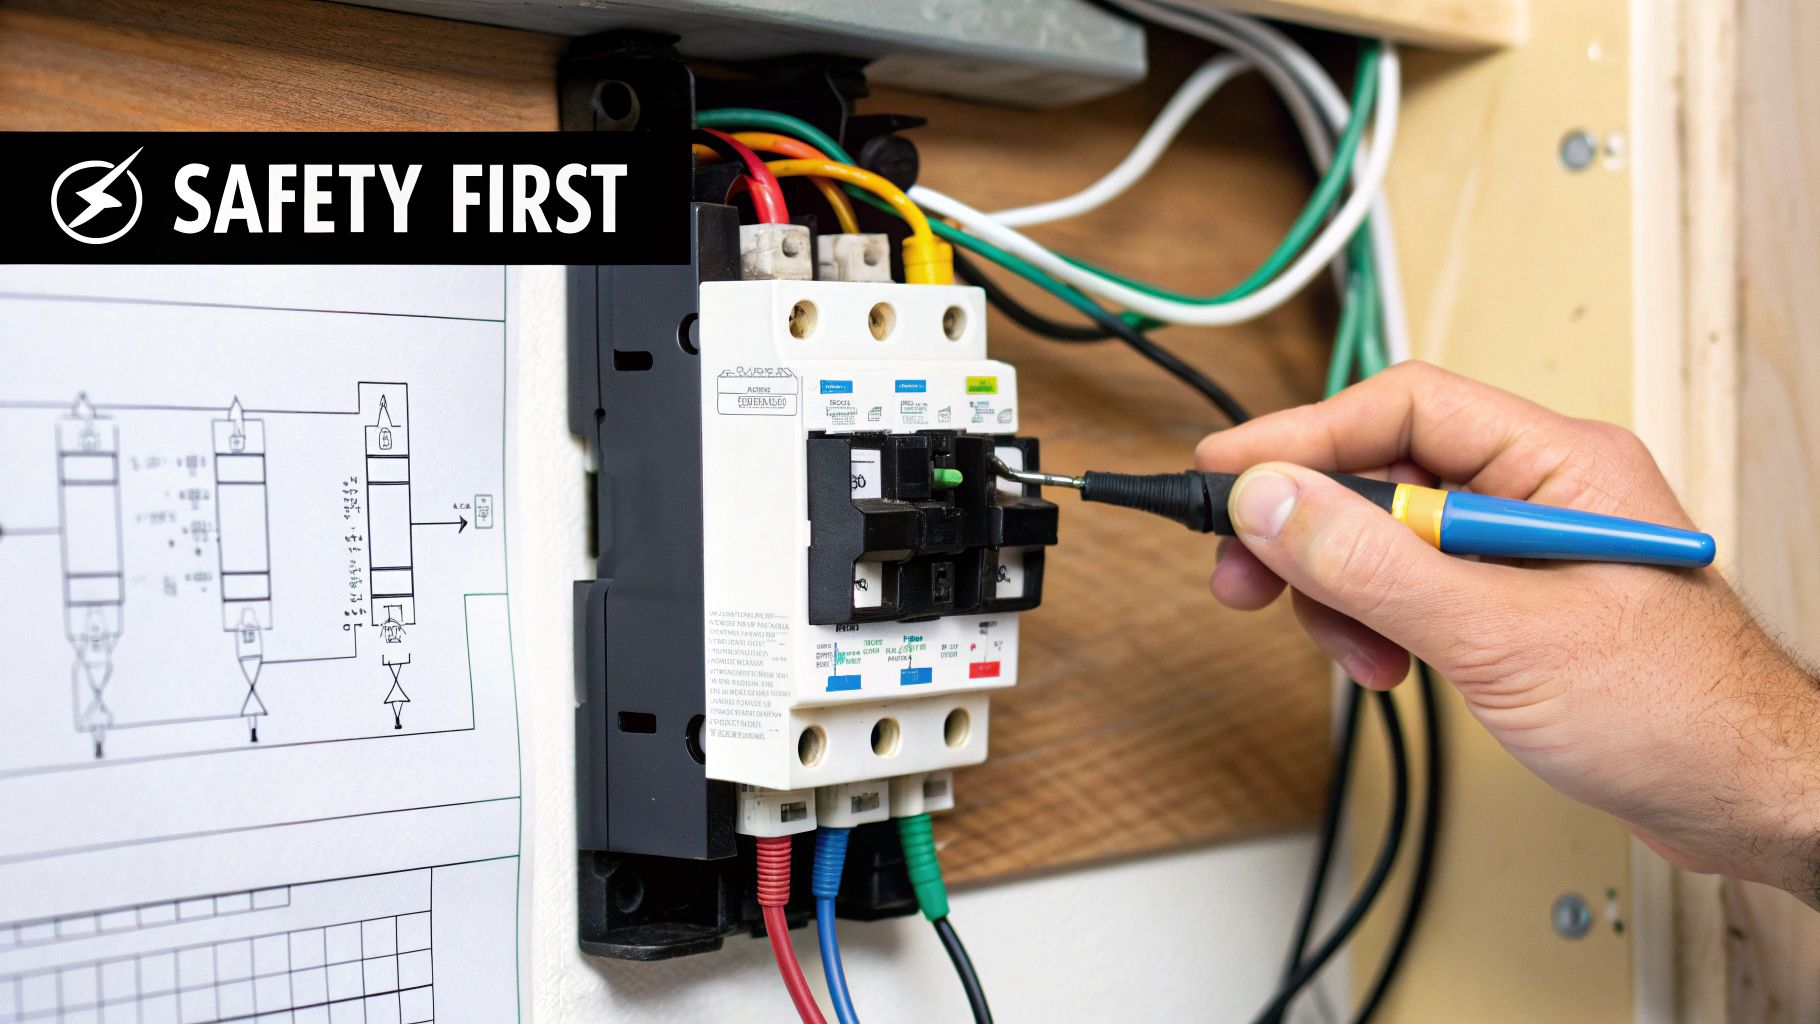
Before you can learn how to wire a light switch, you have to master unwiring the power source—safely. Every single electrical project, big or small, starts at the circuit breaker panel. It’s your home’s electrical command center, and shutting off the right breaker is the first thing you must do.
Shutting Down the Power Correctly
Your circuit breaker panel is probably a gray metal box tucked away in a garage, basement, or utility closet. Open it up, and you’ll find rows of switches. If you're lucky, they're labeled to match the rooms in your house. Find the one for the area you're working in and flip it to the "OFF" position.
But here’s the thing: never trust the label alone. Labels can be wrong, faded, or from a previous homeowner’s setup. This is where your non-contact voltage tester becomes your best friend.
Head back to the switch you're replacing and turn it to the "on" position. Now, bring the tip of your voltage tester near the switch and its screws. If the power is truly off, the tester will stay silent and dark. If it beeps or lights up, STOP. Go back to the panel and hunt for the right breaker. Don't even think about touching a wire until that tester gives you the all-clear.
Demystifying Wire Colors
Once you've confirmed the power is dead and you open up the switch box, you'll find a few different colored wires. Getting these mixed up is one of the most common—and dangerous—DIY mistakes. Each color has a specific job.
- Black Wire (Hot): This is the wire that brings live electrical current from the breaker panel to your switch. It's the reason we're so careful about shutting off the power.
- White Wire (Neutral): This wire's job is to complete the circuit, carrying the current back to the panel. While it's called "neutral," it can still carry current in certain situations, so always treat it with respect.
- Bare Copper or Green Wire (Ground): This is purely a safety wire. In case of a fault, it gives electricity a safe path to the earth, preventing you from getting a nasty shock.
Expert Takeaway: As professional electricians at Black Rhino Electric, we've seen it all. Never assume a wire's job just by its color, especially in an older home. Wiring can be unpredictable. Your voltage tester is the only thing you should trust. A quick check of every wire in the box is what separates a careful pro from a risk-taker.
Visualizing the Electrical Flow
It helps to picture the circuit as a simple loop. Electricity leaves your breaker panel, travels along the black (hot) wire to the switch. When you flip that switch on, you're basically closing a gate, letting the electricity flow through to the light fixture. The current then travels back to the panel through the white (neutral) wire, completing the loop.
The switch is just the gatekeeper on that hot wire. For any issues that seem to originate at the source, having a solid understanding of your home's breakers and panels is an invaluable skill for any homeowner.
Pro-Tip Understanding Pigtailing
In some switch boxes, you might find a short piece of wire connected to a switch screw, with the other end joined to a bundle of wires with a wire nut. This is a technique called pigtailing, and it’s a sign of quality work.
Instead of trying to jam two or three wires onto a single screw terminal, a pro connects a short "pigtail" to the screw. That pigtail is then joined to the other wires with a wire nut. It creates a much more secure and reliable connection, which reduces the risk of loose wires that can cause flickering lights or, worse, an electrical fire. Recognizing a pigtail will help you make sense of more complex wiring you might come across.
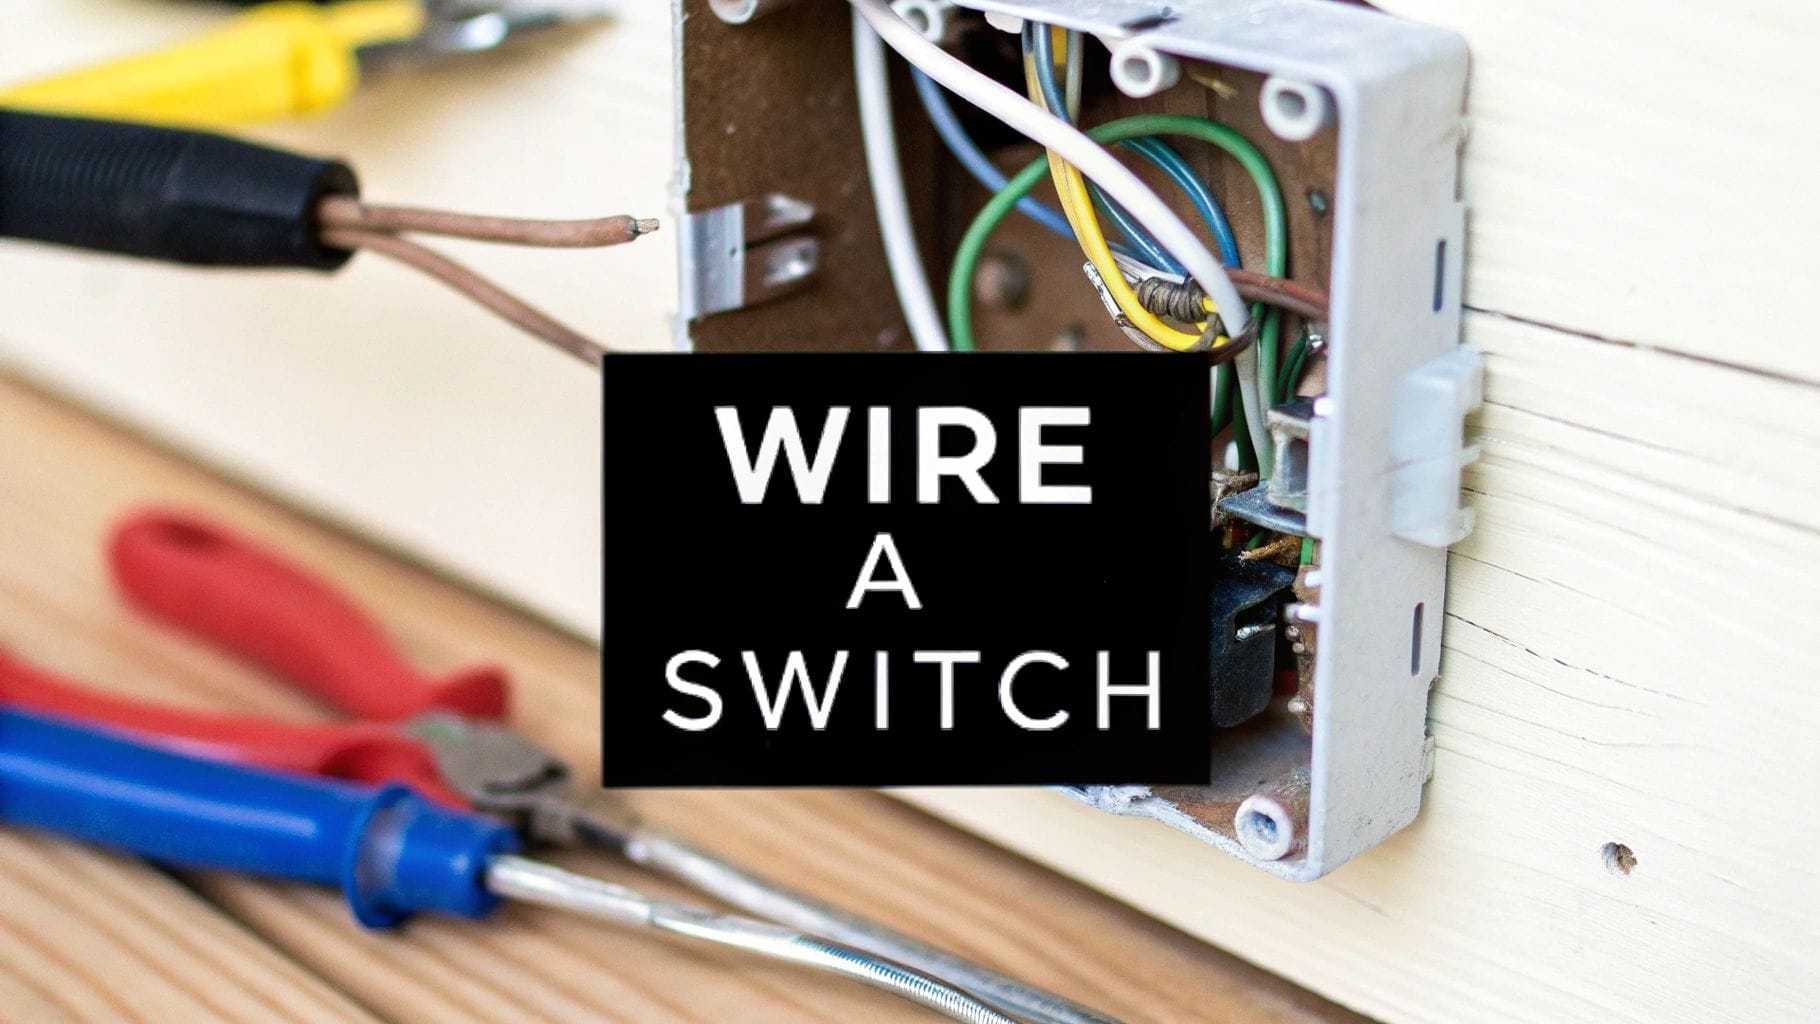
Wiring a Standard Single-Pole Light Switch
Alright, you’ve done your homework on safety and have your tools ready. Now it’s time to tackle the most common switch in any home: the single-pole. This is your basic on-off switch that controls a light from just one spot. Learning how to wire a light switch of this type is a core skill for any homeowner looking to handle small electrical projects.
Think about that old, almond-colored switch in the hallway that’s been painted over a dozen times. This is the moment we swap it for something fresh. With the power confirmed off, the process is pretty straightforward, but you have to get every connection right.
Opening the Electrical Box and Identifying Wires
The first real step, after taking off the faceplate and unscrewing the switch, is to gently pull the old switch from the wall. Don't just yank on it—ease it out so you don’t strain the wires or connections behind it. Once it's out, you'll see a few wires inside the box.
- Two Black Wires: On a basic single-pole switch, you'll almost always find two black "hot" wires. One brings power in from the breaker (the "line"), and the other sends it out to the light fixture (the "load").
- A Bare Copper or Green Wire: This is your ground wire. It’s a non-negotiable safety feature that protects you from electrical shock.
- A Bundle of White Wires: These are the neutral wires. In a simple switch setup, the neutrals usually just connect to each other with a wire nut and are tucked away in the back of the box, bypassing the switch entirely.
You know what? It’s completely normal to feel a little intimidated when you first see that nest of wires. Just take a breath, move slowly, and double-check that the power is off.
The Correct Way to Prepare and Connect Wires
This is where a little bit of craftsmanship makes all the difference. A sloppy connection is just a future headache waiting to happen. After you've disconnected the old switch, take a good look at the ends of the wires. If they’re frayed, nicked, or brittle, it’s always best to snip off the damaged part and start fresh.
Using your wire strippers, carefully remove about 3/4 of an inch of the plastic insulation from the end of each black wire. The trick is to expose clean copper without scratching or gouging the metal itself. A nicked wire creates a weak spot that can overheat under load.
Next, grab your needle-nose pliers and bend each exposed copper end into a small hook. This simple loop is the key to making a solid, reliable connection to the terminal screws on the new switch.
Making the Connections Tight and Tidy
Let me explain the single most important detail here. When you loop the wire’s hook around a terminal screw, make sure you wrap it in the same direction the screw tightens (clockwise). Why? Because as you tighten the screw, it pulls the loop in, creating a rock-solid mechanical and electrical bond. If you wrap it the wrong way, tightening the screw can actually push the wire out.
Here’s the simple wiring map for a single-pole switch:
| Wire Type | Connection Point on Switch | Screw Color | Purpose |
|---|---|---|---|
| Black (Hot) | Top Terminal Screw | Brass | Connects to the incoming power source from the breaker. |
| Black (Hot) | Bottom Terminal Screw | Brass | Connects to the wire leading out to the light fixture. |
| Bare Copper | Green Grounding Screw | Green | Provides a safe path for fault current, preventing shock. |
First, connect the bare copper ground wire to the green screw on the new switch. Then, connect the two black wires to the two brass-colored screws. On a standard single-pole switch, it doesn’t matter which black wire goes to which brass screw—they’re interchangeable.
Professional Insight: After you tighten each screw, give the wire a gentle tug to make sure it’s snug. A loose connection is the #1 cause of flickering lights and switches that fail prematurely. Taking an extra five seconds here will save you from having to open this all up again.
A huge number of U.S. homes, over 50%, were built before 1980 and often have wiring that's seen better days. In a market where wires and cables generated USD 24,426.5 million in 2023, just upgrading a single switch is a meaningful safety improvement. You can see more data on the state of the U.S. wires and cables market from Grand View Research.
Finally, take a small piece of electrical tape and wrap it once around the body of the switch, covering the exposed terminal screws. This is a pro touch that adds an extra layer of insulation and prevents the screws from accidentally making contact with a metal electrical box. From simple fixture swaps to complex installations, a skilled lighting electrician always takes these extra safety steps.
Now, gently fold the wires back into the box like an accordion, screw the new switch into place, attach the new faceplate, and you're ready to head back to the panel to restore power and test your work.
Upgrading to Three-Way and Smart Switches
Ready to move beyond the basic on-off switch? Great. Once you've got a handle on the fundamentals, you can start adding real convenience to your home. We're talking about three-way switches for hallways and staircases, and smart switches that bring your lighting into the modern age.
These installations are a step up in complexity, but don't let that intimidate you. The core principles of safety—power off, secure connections, proper grounding—are exactly the same. Let's walk through what makes these switches different and how to tackle them with confidence.
Tackling the Three-Way Switch
You know the drill: a light at the top of the stairs that you can turn on from the bottom, or vice versa. That’s a three-way switch setup. The concept is simple—two switches controlling one light—but the wiring introduces a couple of new players you need to get right.
A standard switch is just a gate, opening or closing a circuit. A three-way switch is more like a fork in the road; it reroutes the flow of electricity. To do this, it uses special wires called “travelers.”
- The Common (COM) Terminal: This screw is your anchor point. It’s usually black or a darker color than the others. In one switch box, the "hot" wire from your panel connects here. In the other box, the wire heading out to the light fixture connects here. Getting this wire right is the most important part of the job.
- Traveler Terminals: These are typically two brass-colored screws. The two traveler wires (often one is red, the other black in the same cable) run directly between the two switches, connecting to these terminals. Their only job is to carry power from one switch to the other, letting either one complete the circuit.
No matter the switch, the quality of your connections is what ensures safety and reliability. The process is always the same: strip, hook, and tighten.
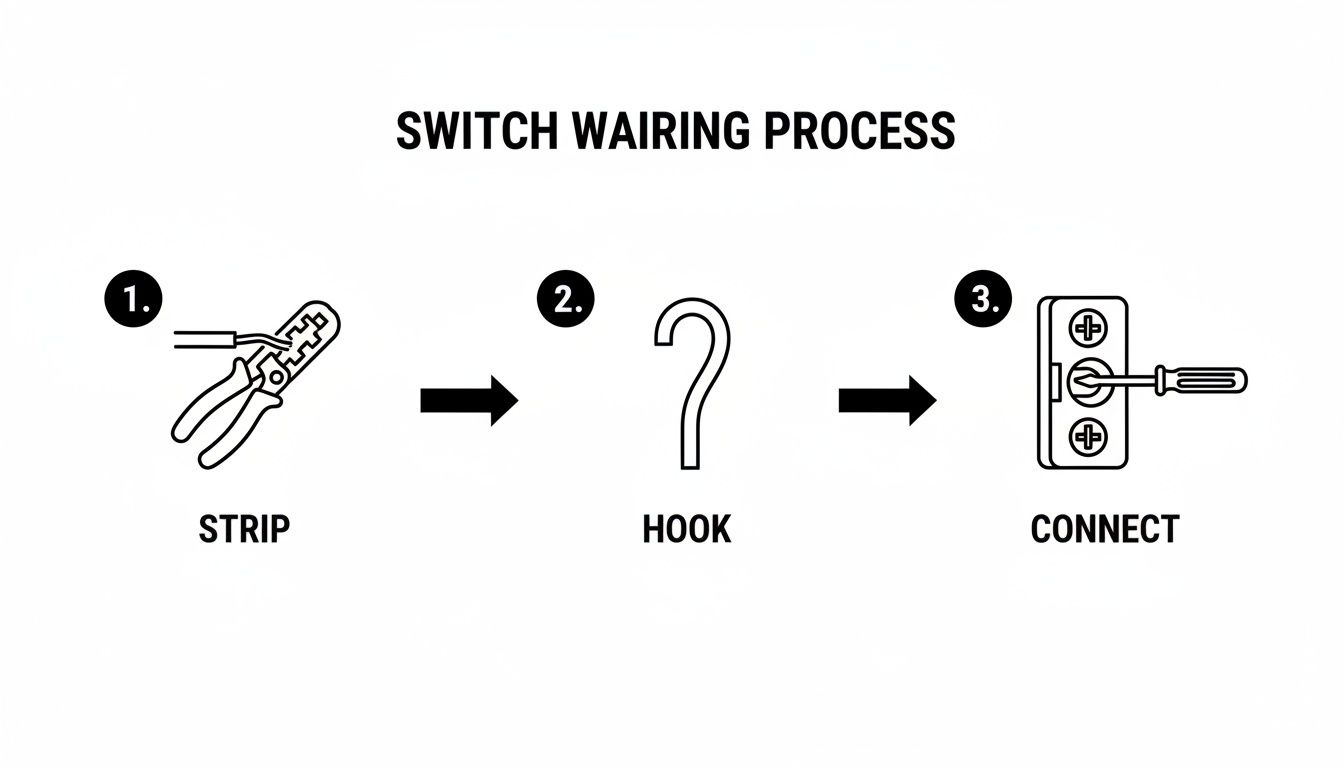
This simple three-step flow—stripping the insulation, forming a solid hook, and screwing it down tight—is the foundation of every safe electrical connection you'll make.
Entering the World of Smart Switches
When you upgrade to a smart switch, the puzzle changes. It's less about travelers and more about one absolutely critical component: the neutral wire.
Here’s the thing: a regular switch is just a mechanical gate. It doesn't use any power itself. A smart switch, however, has a tiny brain inside—a computer with Wi-Fi radios that needs a constant trickle of electricity to stay connected to your network. To get that power, it needs a complete circuit, and that requires a neutral wire.
You'll usually find the neutral wires (a bundle of white wires) capped off and tucked into the back of the electrical box. A smart switch needs you to connect it to this bundle.
Crucial Consideration: Not every switch box has a neutral wire, especially in older homes. If you open up your box and only find a single cable with its black and white wires connected to the old switch (a setup called a "switch loop"), you probably can't install most smart switches without running new wiring. Always check for that bundle of white wires before you buy the switch.
Switch Type Wiring Comparison
To help you visualize the differences and choose the right upgrade, here’s a quick breakdown of what to expect with each switch type.
| Switch Type | Key Wires to Identify | Common Use Case | Primary DIY Challenge |
|---|---|---|---|
| Single-Pole | Line (hot in), Load (hot out), Ground | A standard bedroom or closet light | Ensuring a tight, clockwise connection on the screw terminals. |
| Three-Way | Common wire, Two Traveler wires, Ground | Stairways, large rooms with two entries | Correctly identifying the single "common" wire in each box. |
| Smart Switch | Line, Load, Ground, and Neutral | Any room where you want remote, voice, or scheduled control | Finding and correctly connecting the essential neutral wire. |
This move toward more complex home wiring is part of a much larger trend. By 2026, data centers alone are projected to drive 8% of total U.S. metallic cable demand, showing just how hungry our world is for sophisticated electrical infrastructure. For homeowners, that trend shows up as a boom in smart home tech. The low-voltage cables that made up nearly half the market in 2023 are no longer just for doorbells; they're the backbone for the smart devices and EV chargers that we at Black Rhino Electric install every day. You can read more about these market trends in wire and cable demand to see just where home electrical systems are headed.
Troubleshooting Common Light Switch Problems
So, you’ve followed the steps, your connections feel solid, and you flip the breaker back on… but nothing happens. Or worse, something sparks. Don't panic. Even seasoned electricians hit a snag now and then; the key is knowing how to backtrack calmly and safely. This is where your patience really pays off.
Most issues that pop up after learning how to wire a light switch are minor and can be sorted out with a bit of methodical thinking. But before you touch a single wire, remember the golden rule: kill the power at the breaker and double-check that it’s off with your voltage tester. Every single time.
The Light Doesn't Turn On At All
This is the most common frustration, but it usually points to a simple cause. Let's walk through the likely culprits, starting with the easiest stuff first.
- Check the Bulb: It sounds almost too obvious, but you'd be surprised how often it's the problem. Swap in a bulb you know is working before you even think about opening the switch box back up.
- Confirm the Breaker: Did the breaker you turned on immediately trip again? Or did you maybe flip the wrong one? Go back to the panel and make sure the correct breaker is pushed firmly to the "ON" position.
- Inspect Your Connections: If the bulb and breaker are good, turn the power off again and pull the switch out of the box. A loose wire is the number one cause of a dead switch. Give each wire a gentle tug where it connects to a screw terminal or wire nut. If anything feels even slightly wobbly, that's your problem.
The Breaker Trips When You Flip the Switch
If the circuit breaker trips the instant you flip that switch, stop right there. That’s a dead giveaway you have a short circuit, which is a serious safety issue that needs immediate attention. A short happens when a hot wire touches a neutral or ground wire, creating a path of least resistance that sends a dangerous surge of current through the system.
Safety First: A short circuit is an immediate fire hazard. Do not keep resetting the breaker hoping it will "fix itself." You have to find and fix the fault before turning the power back on.
Turn off the power and carefully examine your work. The most common culprit is a tiny, stray strand of copper from the hot wire touching the side of a metal electrical box or the bare ground wire. Another possibility is that you accidentally nicked the plastic insulation on a wire while stripping it, letting the hot conductor make contact where it shouldn't.
The Lights Flicker or Buzz
Flickering lights aren't just annoying; they can signal a deeper electrical issue. Sometimes it's just an incompatible LED bulb on a dimmer switch, but it often points right back to a poor connection.
- Loose Wires: Just like with a completely dead light, a wire that isn't seated tightly under a screw terminal can create an intermittent connection, causing that irritating flicker.
- Worn-Out Switch: The guts of a light switch can simply wear out over time, especially in a high-traffic area like a hallway or kitchen. If you're certain your connections are rock-solid, the switch itself might be faulty and need to be replaced.
- Dimmer Incompatibility: Using a dimmer? Check that both the dimmer switch and your lightbulbs are specifically rated as "dimmable." Putting a non-dimmable bulb on a dimmer circuit is a classic recipe for flickering, buzzing, and a short bulb life.
When problems go beyond a simple loose wire or a bad bulb, it’s often a sign of a more complex issue in your home's wiring. For those head-scratchers, our professional electrical troubleshooting services can diagnose the root cause safely and get things working right.
When to Call a Professional Electrician
DIY projects are great for building confidence and saving a few bucks, but the wisest homeowners know exactly where to draw the line. This entire guide on how to wire a light switch is about empowering you, but this last part is about the most important skill of all: recognizing when it’s time to put the tools down and call a pro.
There’s no shame in it. Some situations are just too complex or dangerous for a weekend warrior. Making that call is the smartest move you can make for your home and family.
Clear Signs to Stop and Call an Expert
If you open up an electrical box and what you see doesn't match the clean diagrams you've been studying, that's your first major clue. Older homes, in particular, can be a time capsule of questionable electrical work from decades past.
Here are a few specific scenarios where you should immediately stop what you're doing.
- You Find Aluminum Wiring: See dull gray wires instead of the usual shiny copper? You're likely looking at aluminum wiring, which was common from the mid-1960s to the early 1970s. This stuff expands and contracts differently than copper, leading to loose connections that are a serious fire hazard. This is not a DIY-friendly situation.
- The Wires Have Cloth Insulation: Encountering wires wrapped in a black, fibrous cloth is a dead giveaway of very old wiring. That insulation gets incredibly brittle over time and can crumble with the slightest touch, exposing live wires. The risk of shock or a short circuit is extremely high.
- The Electrical Box is Crowded: Is the box so jammed with wires that you can barely stuff the new switch inside? Overcrowded boxes are a code violation for a good reason—they can cause wires to overheat. A professional electrician can assess the situation and might need to install a larger box to do the job safely.
When the Project Scope Is Too Big
Sometimes the red flag isn't what's inside the box, but the sheer size of what you're trying to accomplish. Your ambition is great, but certain jobs demand the license, insurance, and deep knowledge that only a qualified electrician brings.
Expert Insight: Any electrical work that involves messing with the breaker panel itself—like adding a new circuit for a remodel or upgrading an existing one—is a whole different ballgame. These tasks require a solid understanding of load calculations and electrical codes to be done safely and legally. It's way beyond a simple switch swap.
The Dangers of Unlicensed Electrical Work
It’s tempting to push through a project that feels just a little beyond your skill set, but the risks are huge. Here in Northern Utah, doing complex electrical work without a license can have serious consequences.
A bad wiring job can lead straight to:
- Fire Hazards: The National Fire Protection Association (NFPA) reports that electrical failures are a leading cause of home fires. It’s a statistic you don’t want to become part of.
- Code Violations: Incorrect wiring won't pass a home inspection, which can create massive headaches when you try to sell your house down the road.
- Insurance Issues: If an electrical fire is traced back to unpermitted, non-professional work, your homeowner's insurance company has every right to deny the claim.
It all comes down to peace of mind. If you feel uncertain at any point—whether you’re confused by the spaghetti in the box or the project just feels too big—don't risk it. Your home’s electrical system is no place for guesswork.
If you've run into any of these warning signs or just want the assurance that the job is done right, the experienced team at Black Rhino Electric is here to help. For professional, reliable service you can trust, give our team a call at 385-396-7048 or request a free quote online today.