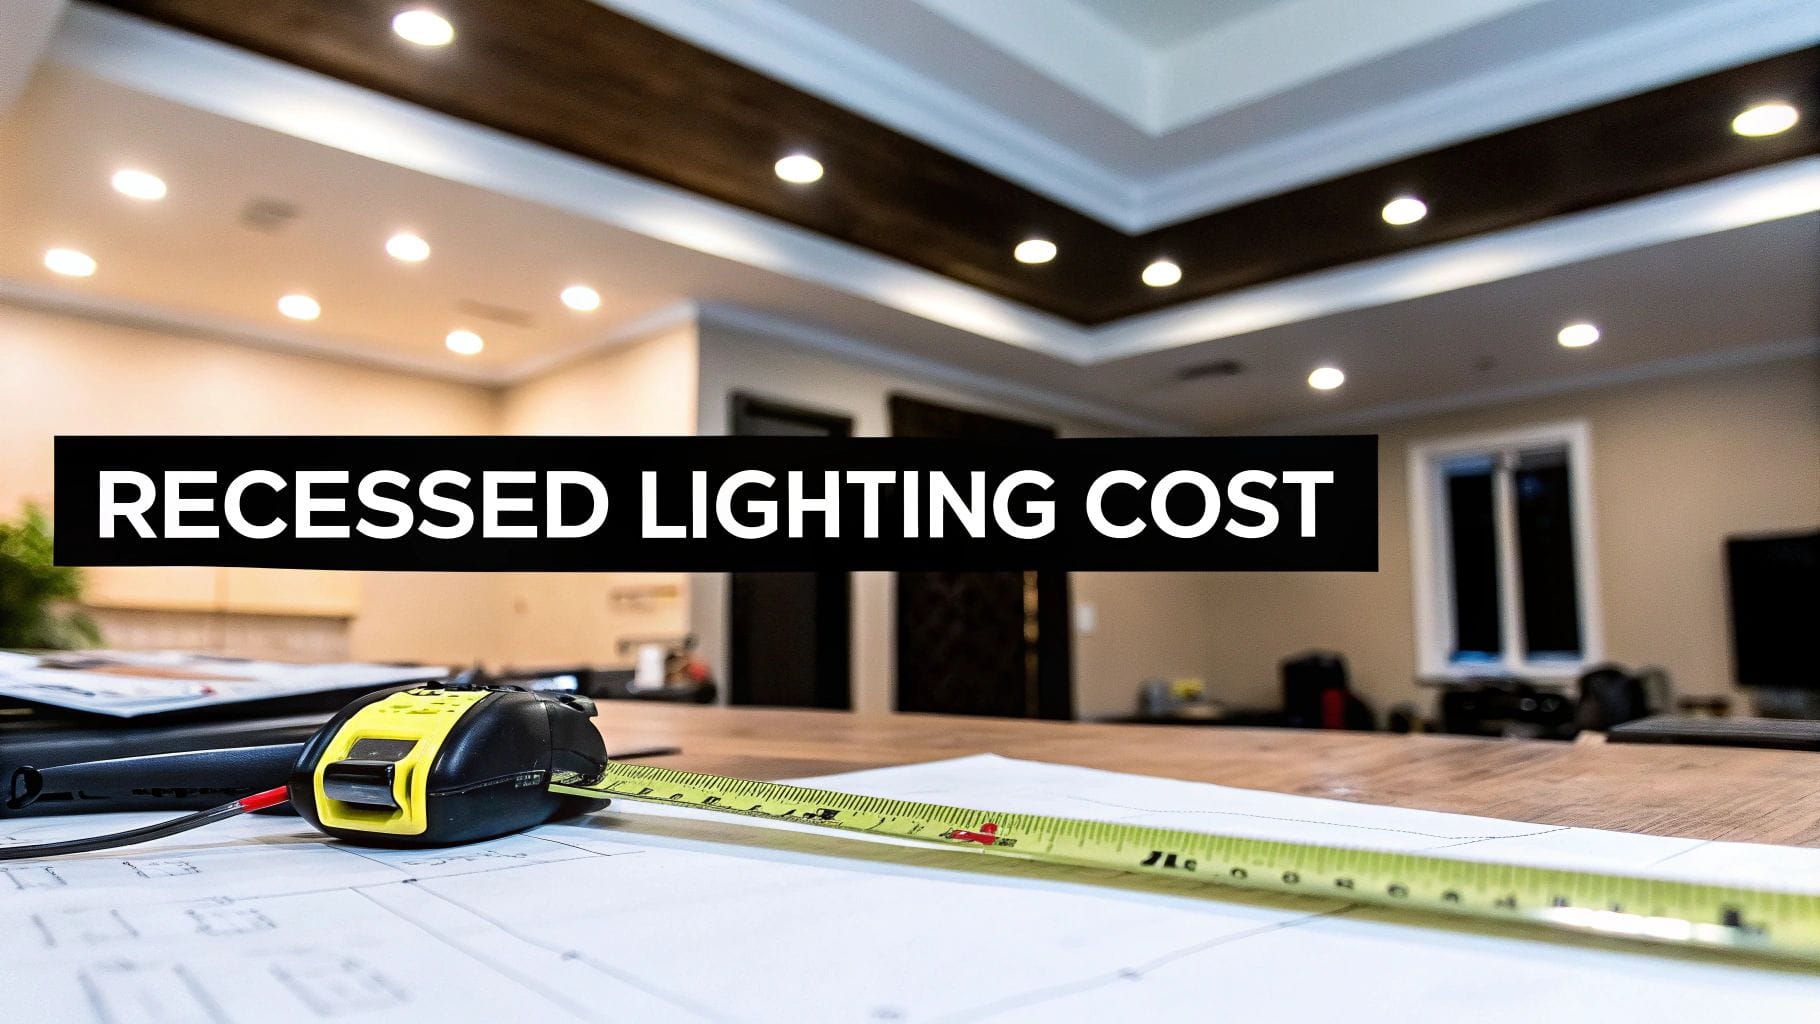
Thinking about a lighting upgrade? The first thing anyone wants to know is the real recessed lighting installation cost. It’s a fair question, and getting a handle on the budget is the essential first step to transforming your home with beautiful, modern lighting.
Your Guide to Recessed Lighting Installation Costs
When you decide to install recessed lighting, you’re not just buying a fixture; you’re investing in a clean, modern look that makes any room feel brighter and more spacious. But what does it really take to get there? Let me explain. The final price tag isn't just about the light itself. It’s a mix of the materials, the electrician's time on the job, and the unique quirks of your home.
Think of it like this: the light fixture is just one ingredient. You also need:
- The "can" or housing that sits hidden in the ceiling
- The trim that gives it a finished look
- The right bulb—usually a long-lasting, energy-efficient LED
Each of these parts has its own price, and a professional electrician knows how to select the right components for a safe, reliable system.
A Quick Look at the Numbers
To give you a clearer picture, it helps to see where the money actually goes. The total cost for each fixture is built from several key pieces, from the basic hardware to the skilled labor needed for a safe, code-compliant installation.
Here's a key takeaway: labor often makes up a big chunk of the total bill. A licensed electrician isn't just hooking up a light; they're making sure your home's electrical system can safely handle the new load, navigating whatever might be hiding in your ceiling, and guaranteeing the work meets all safety standards.
Across the country, the average cost to install recessed lighting tends to land near $180 per light, which covers both the parts and the pro's time. For an 8-light living room, that often puts the final bill between $1,400–$2,400 once you factor in wiring, any drywall patching, and the final trim. You can explore more data on lighting cost averages to see how these numbers stack up.
To make it even simpler, here's a table that breaks down the typical costs you can expect for a single recessed light.
Estimated Recessed Lighting Costs At a Glance
This responsive table provides a quick summary of typical cost ranges for recessed lighting projects, helping homeowners understand potential expenses.
| Cost Component | Average Price Range (Per Fixture) | Notes |
|---|---|---|
| Recessed Light Fixture | $20 – $150+ | Varies by type (e.g., canless, IC-rated) and brand quality. |
| Labor & Wiring | $80 – $200 | This is the largest variable, depending on job complexity. |
| Dimmer Switch | $25 – $75 | An optional but highly recommended upgrade for ambiance control. |
| Permits (If Needed) | $50 – $400 | Required for new circuits, but not always for fixture replacement. |
This gives you a solid baseline for your budget. In the sections that follow, we'll dive deeper into the specific things that can push your final cost higher or lower than these averages.
Breaking Down the Key Cost Factors
You know what? The final price on your invoice isn't just a number pulled out of thin air. Several key factors directly influence the total recessed lighting installation cost. Let me break it down for you.
Understanding these variables helps you have a smarter conversation with your contractor and see exactly why one quote might differ from another. From the physical hardware to the unique layout of your home, every little detail matters.
Labor: The Biggest Variable
Honestly, the most significant chunk of your bill will almost always be labor. A licensed electrician’s time is valuable because their expertise ensures the job is done safely and correctly, sticking to every local and national electrical code.
Here in Northern Utah, professional electricians typically charge between $70 and $100 per hour. A single recessed light might take around two to three hours to install properly, which is why the labor cost per fixture often lands somewhere between $80 and over $200.
Several things can make that clock tick a little longer:
- Ceiling Height: Vaulted or extra-high ceilings mean bringing in taller ladders or even scaffolding. That adds setup time and a bit more complexity to the job.
- Attic Access: If an electrician can easily get into the attic space above the lights, running wires is pretty straightforward. No attic access? That means carefully fishing wires through finished ceilings—a much more delicate and time-consuming process.
- Hidden Obstructions: Joists, HVAC ducts, plumbing pipes, and old wiring are all common surprises hiding in your ceiling. A skilled electrician has to navigate around them, which can add significant time to the installation.
This flowchart shows how the costs build up, starting with a single light and expanding to a full room.

As you can see, the price for one light is the basic building block. From there, wiring and room-wide labor costs are layered on top to get to the final price.
Material and Fixture Choices
Beyond the time it takes, the physical materials you pick play a huge role. The fixtures themselves can range from basic, budget-friendly models to high-end options loaded with features.
The type of housing you need isn't just a style choice; it's dictated by your home's construction. For instance, if your ceiling has insulation, you must use IC-rated (Insulation Contact) fixtures to prevent a fire hazard. This is a non-negotiable safety rule.
Here’s a quick rundown of the common types of recessed light housings and how their purpose affects the price.
| Housing Type | Average Cost Per Fixture | Primary Use & Considerations |
|---|---|---|
| IC-Rated | $10 – $80 | A must-have for ceilings with insulation. They're designed to be safely buried in insulating materials without overheating. |
| Non-IC-Rated | $8 – $70 | Used only in ceilings that have zero insulation. These require at least three inches of clearance on all sides. |
| Airtight | $10 – $90 | Creates a seal to stop conditioned air from leaking into your attic, which helps improve your home's energy efficiency. |
| Shallow Housing | $10 – $120 | Built for ceilings with limited vertical space, like those with low-hanging joists or other obstructions. |
| Canless (Wafer) | $15 – $100 | A modern, ultra-slim option that doesn't need a traditional "can." These sleek LEDs install directly into the drywall. |
Trim and Bulb Selection
The final touches—the trim and the bulb—also factor into the overall recessed lighting installation cost.
- Trim: This is the part of the fixture you actually see. A simple white baffle trim might only cost $5-$10, while an adjustable "gimbal" or a decorative bronze trim can run $30-$80 or more.
- Bulbs: While you can still find old-school incandescent options, nearly everyone goes with LEDs these days. A standard LED bulb costs around $5-$15, but a "smart" bulb that you can control with your phone could be $25-$50 each. The long-term energy savings from LEDs, however, make them a very smart investment.
How New Construction vs. Remodel Affects Your Budget
Are you building a brand-new home from the ground up or upgrading the lighting in the one you already love? This is one of the biggest factors driving your final recessed lighting installation cost. Here's the thing: installing lights into open framing is a completely different world than cutting into a finished ceiling, and that difference shows up right on the final bill.
Think of it this way: imagine an electrician working in a house that’s just a skeleton of wood studs and beams. That's the new construction scenario. With no drywall in the way, they have wide-open access to run wires, securely mount the light housings to the joists, and get everything positioned perfectly without any guesswork.
This clear, unrestricted access makes the job faster and far more efficient. Since labor is a huge part of the cost, less time on the job means a lower price for you. This is where you’ll find per-fixture costs leaning toward the more affordable end of the spectrum.
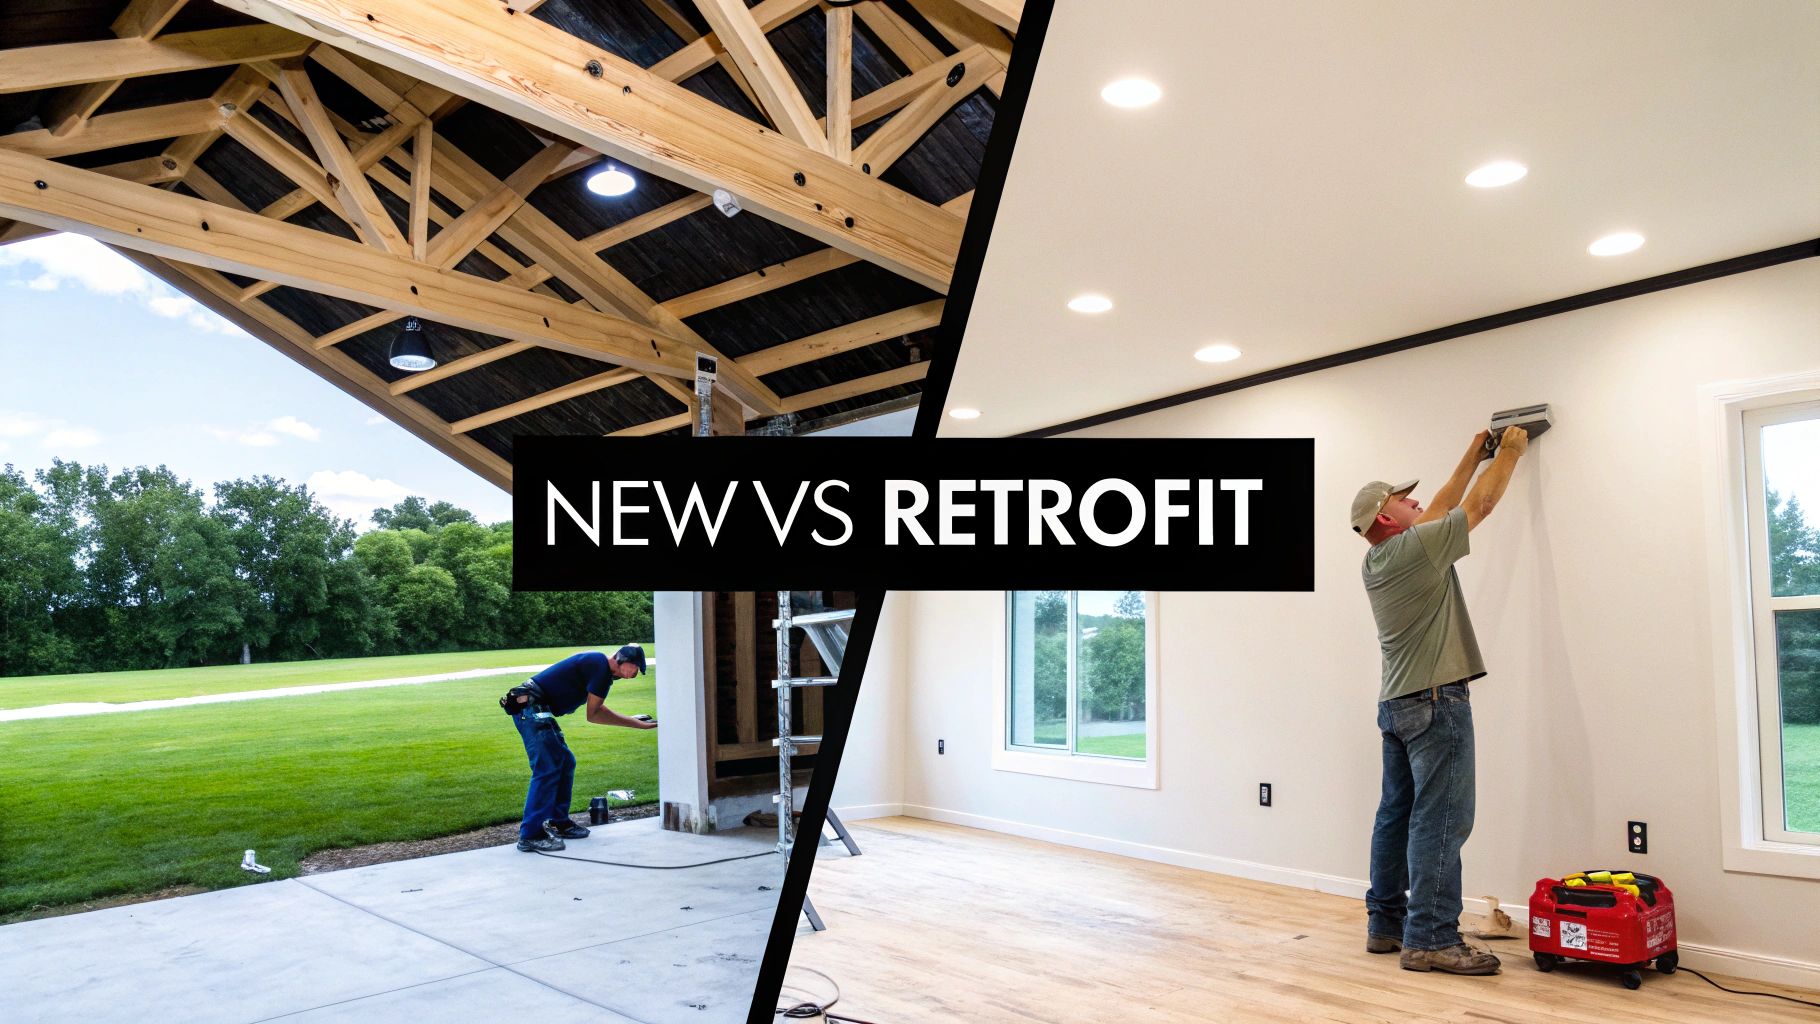
The New Construction Advantage
For homeowners and builders here in Northern Utah, planning your lighting during the construction phase is a massive win. Electricians can work right alongside the other trades, weaving the wiring in seamlessly before the walls and ceilings are even closed up.
This proactive approach not only saves a good chunk of money but also gives you way more flexibility in placement and design. At Black Rhino Electric, we work with builders all the time to map out the best lighting layouts right from the blueprint stage. You can learn more about how we fit into that process by exploring our guide on the role of a new construction electrician.
The key takeaway is simple: open ceilings mean lower labor costs. With no need for surgical cuts or tricky wire fishing, the installation is a straightforward process of mounting and wiring, which can easily reduce labor time by 30-50% compared to a remodel.
The Challenges of a Remodel Installation
Now, let's flip the script. Retrofitting recessed lights into an existing, finished ceiling is a much more delicate and complex operation. This is where an electrician’s skill and experience really shine, but it also demands more time and precision—and that, naturally, increases the cost.
A retrofit project involves a bunch of extra steps that just don’t exist in a new build. Your electrician has to navigate a ceiling full of unknowns. They’re carefully locating studs, avoiding hidden plumbing pipes and HVAC ducts, and dealing with existing insulation, all without being able to see what’s behind the drywall.
This process involves:
- Precision Cutting: Using a hole saw to create perfect openings for each fixture without chewing up the surrounding ceiling.
- Wire Fishing: Carefully feeding new electrical wires through the ceiling from one light to the next, often using specialized tools to get around hidden obstacles.
- Drywall Repair: Even with the cleanest job, some patching and texturing might be needed, especially if a new switch needs to be wired in.
- Insulation Management: Making sure IC-rated fixtures are used and installed correctly around insulation is a critical safety step, not an optional one.
Industry data backs this up. For new builds with open ceilings, per-fixture costs often land between $100–$200. In contrast, retrofitting into finished ceilings typically runs $150–$300 per fixture to account for all the extra labor and care involved.
To make it even clearer, here’s a direct comparison of what drives up costs in a remodel versus what keeps them down in a new build.
Cost Comparison: New Build vs. Remodel Installation
This responsive table breaks down the typical cost differences per fixture when installing recessed lighting in a brand-new home versus an existing one.
| Installation Factor | New Construction (Open Ceiling) | Remodel/Retrofit (Finished Ceiling) |
|---|---|---|
| Wiring Access | Excellent: Wires run easily through open joists. | Difficult: Requires "fishing" wires around hidden obstacles. |
| Housing Installation | Simple: Housings are mounted directly to exposed joists. | Complex: Requires special remodel housings with clips. |
| Ceiling Work | Minimal: Holes are cut in new, unpainted drywall. | Extensive: Involves precise cutting, potential patching, and repainting. |
| Labor Time Per Light | Lower: Typically 1-1.5 hours. | Higher: Typically 2-3+ hours. |
| Average Cost Per Light | $100 – $200 | $150 – $300+ |
As you can see, the open access of a new build simplifies nearly every step of the process, which translates directly into cost savings. While a remodel is absolutely doable, it's just a more involved and therefore more expensive job.
The Hidden Costs and Upgrades to Consider
That initial quote for fixtures and labor is often just the starting line. When you’re budgeting for new lighting, it’s easy to focus on the big numbers and forget the smaller expenses and optional upgrades that can sneak up on you. Let's pull back the curtain on these "hidden" factors so there are no surprises—just a finished project that actually meets your expectations.
Beyond the Basics: Dimmer Switches
One of the most common—and worthwhile—additions to any recessed lighting job is a dimmer switch. Think about it: does your living room always need to be lit up like a stadium? Being able to dial the light down creates ambiance, saves a little energy, and gives you total control over the mood.
Plan on adding $75 to $150 for a new dimmer, which covers the switch itself and the labor to wire it up. The key is using an LED-compatible dimmer to avoid that annoying flicker or buzz you sometimes see. It’s a small detail, but one a pro will get right every time.
A dimmer switch does more than just lower the light; it turns your lighting from a basic utility into a core part of your home's design and comfort. It's one of the best bang-for-your-buck upgrades you can make.
The Aftermath: Drywall Repair and Painting
Here’s a question homeowners often forget to ask: what happens to my ceiling after the lights go in? For a remodel, installing recessed lighting means cutting holes in the drywall. A skilled electrician makes the cleanest cuts possible, but some level of cosmetic touch-up is almost always unavoidable.
Many electrical contractors, ourselves included, stick to the wiring and leave the patchwork to others. This post-install repair and painting can tack on another $200 to $500 or more, especially if you have a tricky ceiling texture to match. Always ask if these services are part of the deal or if you'll need to line up a separate handyman.
Elevating Your Space with Smart and Specialized Lights
Ready to take things up a notch? Modern tech offers some incredible lighting upgrades that go way beyond a simple flip switch. These will bump up your initial recessed lighting installation cost, but they add a ton of convenience and function.
- Smart Lighting Systems: Imagine telling your lights to turn on or setting a schedule from your phone. Integrating smart fixtures that work with systems like Google Home or Amazon Alexa can add $50 to $100+ per light, but the convenience is hard to beat.
- Gimbal (Adjustable) Fixtures: These are the lights you can tilt and aim. They're perfect for shining a spotlight on artwork, a fireplace, or other architectural details. Expect to pay a premium of $20 to $60 per fixture for that flexibility.
- Wet-Rated Fixtures: If you're putting lights over a shower or on a covered patio, a standard fixture won't cut it. You legally and safely need wet-rated fixtures, which are sealed to keep moisture out. They typically run $30 to $80 more than a standard can light.
Staying Safe and Legal: Electrical Permits
Finally, let's talk paperwork. If your project requires running a brand-new electrical circuit from your breaker panel, you’re almost certainly going to need a permit from your local city. This isn't just red tape; it's a critical safety check.
A permit ensures the work gets inspected by a third-party official who confirms everything is up to local and national electrical codes, protecting your home and family. The cost for a permit can range from $50 to $400, depending on your city's fees. A reputable electrician handles this entire process for you, from the application to scheduling the final inspection. For any major electrical work, this is a non-negotiable step.
Why Professional Installation Is a Non-Negotiable Investment
When you start adding up the recessed lighting installation cost, it’s natural to wonder if you could tackle the project yourself and save a few bucks. But before you head down a rabbit hole of DIY videos, let’s talk about why hiring a pro isn't just a good idea—it's a critical investment in your home’s safety, value, and your own peace of mind.
This isn't just about getting lights to turn on. It's about making sure they stay on safely, year after year, without you ever having to worry about what’s happening inside your ceiling.
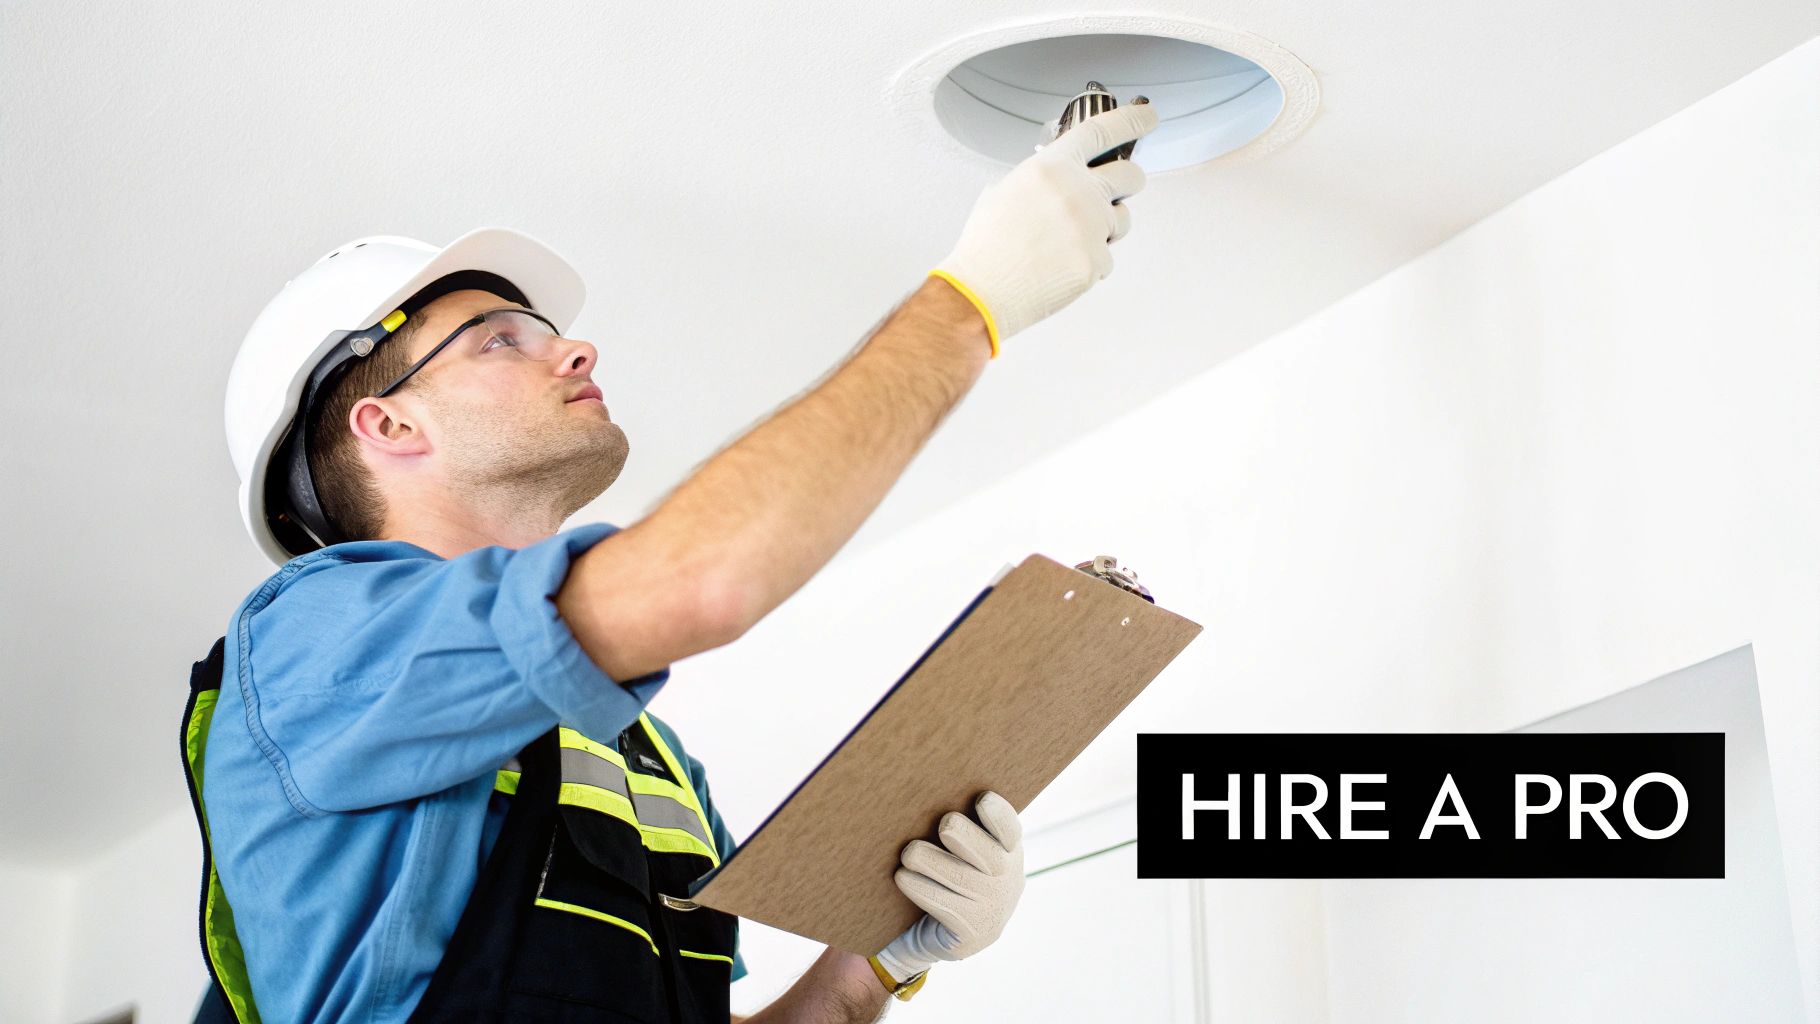
The Hidden Dangers of DIY Electrical Work
Electrical work is one of those things where a tiny mistake can have massive consequences. The risks that come with improper recessed lighting installation are serious, and frankly, they’re just not worth it.
Here’s what can go wrong:
- Fire Hazards: This is the big one. Using the wrong gauge wire, accidentally overloading a circuit, or making a loose connection can cause wires to overheat. That heat can ignite nearby wood joists or insulation.
- Electrical Shock: Without the right training and tools, you're risking severe or even fatal electrical shock. A licensed electrician knows exactly how to de-energize circuits safely and handle wiring without putting anyone in harm's way.
- Failed Home Inspections: Thinking of selling your home down the road? Unpermitted, non-compliant electrical work is a huge red flag for inspectors and buyers. It can derail a sale or force you into expensive, last-minute repairs to bring everything up to code.
The Expertise a Professional Brings to the Table
When you hire a licensed electrician from a trusted company like Black Rhino Electric, you’re not just paying for a pair of hands. You're paying for years of Experience, Expertise, Authoritativeness, and Trustworthiness (E-E-A-T). This is what guarantees a safe and reliable installation.
Here’s the thing: a professional electrician doesn't just see a place to put a light. They see a complete electrical system and understand how every new component interacts with it, ensuring the final result is both beautiful and fundamentally safe.
Let me break down what that expertise looks like in practice:
- Code Compliance: A pro knows the National Electrical Code (NEC) like the back of their hand. They make sure your installation meets all local and national safety standards, from the specific type of wire required to the proper placement of junction boxes.
- Proper Fixture Selection: Is your ceiling insulated? A professional knows that you must use IC-rated (Insulation Contact) fixtures to prevent a fire hazard. They'll select the right housing for your specific ceiling structure, no guesswork involved.
- Circuit Load Management: Can your current circuit actually handle six new LED lights plus everything else that's already on it? A licensed electrician will calculate the total load to prevent overloads that trip breakers or, even worse, cause a fire. This is a critical step that many DIYers completely overlook.
More Than Just a Light—It's an Investment
While it's easy to focus on the price of the fixtures, the cost of skilled installation is what truly protects your investment and ensures the system's safety for the long haul. Ultimately, that slightly higher upfront cost of professional installation buys you something invaluable: the confidence that the job was done right. For a closer look at our approach, you can see our work as a professional lighting electrician.
Get a Precise Quote for Your Home
Alright, you’ve got a handle on the moving parts that shape the recessed lighting installation cost. Now for the most important step: getting a real number for your specific home. While averages and estimates are great for budgeting, the truth is, every project is different. An on-site evaluation is the only way to get a price you can actually plan around.
When an electrician from Black Rhino Electric comes to your home, we’re doing more than just counting lights. We’re assessing your ceiling structure, checking the existing wiring, and talking through the exact layout you have in mind. Our goal is to give you a transparent, detailed estimate so there are no surprises—just a clear path to the perfectly lit space you’re envisioning.
Your Custom Lighting Plan
Think of the quoting process less as a price check and more as a collaborative design session. We take the time to really understand what you want to accomplish. Are you looking for bright, functional task lighting over your kitchen island? Or maybe a soft, ambient glow to make the living room feel cozier? The details matter.
Here’s what our on-site consultation actually covers:
- Structural Assessment: We’ll pop our heads into the attic to check for joist direction, hidden pipes, and insulation. These are the details that dictate the best and most efficient installation approach.
- Wiring Evaluation: Our electricians will examine your current circuits to make sure they can safely handle the new load. If an upgrade is needed for safety, we’ll explain why.
- Fixture and Layout Discussion: We can help you choose the right fixtures—from standard cans to wafer-thin smart LEDs—and then map out the ideal placement for balanced, effective light that eliminates shadows.
Getting a professional quote isn't just about the final number. It's about gaining peace of mind, knowing that an expert has thoroughly reviewed your home and created a plan that prioritizes both safety and aesthetics.
This detailed evaluation is what lets us give you a firm, reliable quote without hidden fees tacked on at the end. We believe in being completely upfront from start to finish—it’s the cornerstone of the trust we build with every client here in Northern Utah.
Frequently Asked Questions About Recessed Lighting Costs
Alright, you've got a handle on the big picture, but it’s the little details that can trip you up. It’s completely normal to have more questions pop up as you start picturing recessed lights in your own home. Getting these finer points sorted out is what helps you move forward with real confidence.
Here are some of the most common questions our electricians hear every day from homeowners right here in Northern Utah.
How Many Recessed Lights Does a Room Need?
There's no single magic number, but there is a solid rule of thumb that gets you 90% of the way there. Divide your ceiling height by two. The result is a good starting point for the spacing, in feet, between each light. For a standard 8-foot ceiling, you’d aim for about 4 feet between each fixture.
Of course, that’s just the start. The room's purpose will fine-tune the final layout.
- For Ambient Lighting (like a living room): You can stretch the spacing out a bit, maybe 4-6 feet apart, to create a soft, even glow. A typical 12×15 foot living room might end up with 6 to 8 lights.
- For Task Lighting (over kitchen counters): Here, you want to eliminate shadows where you're chopping and cooking. Pulling the lights closer together, about 3-4 feet apart, gives you focused, bright light right where you need it.
Can I Use LED Recessed Lights on an Old Dimmer Switch?
This is a fantastic question, and the answer is almost always no. It's not because the LEDs are fussy; it's because old dimmer switches were built for a totally different technology. They expect the heavy electrical pull of old-school incandescent bulbs.
When you hook up modern, low-wattage LEDs to one of these old dimmers, they just don't know how to talk to each other. The result is that annoying flickering, a constant buzzing sound, or a dimmer that barely works at all. You need a modern, LED-compatible dimmer (often labeled as a CL or ELV dimmer) to get that smooth, flawless performance you're after.
Does Recessed Lighting Increase Home Value?
Absolutely. While you might not get a perfect dollar-for-dollar return on investment like a full kitchen remodel, a professional lighting upgrade punches way above its weight in home appeal. Good lighting makes a space feel bigger, cleaner, and more modern—three things that every potential buyer is looking for.
Upgraded lighting is one of the most impactful cosmetic improvements you can make. It's a feature that homebuyers notice immediately, making your property stand out from others with dated, clunky fixtures.
What Is the Difference Between IC-Rated and Non-IC-Rated Fixtures?
This one is all about safety, and it's a non-negotiable detail. The "IC" stands for Insulation Contact.
- IC-Rated Fixtures: These are the champs for most homes. They are specifically built with a housing that prevents overheating, making them safe to be buried in your ceiling's insulation. It's a critical fire-prevention feature.
- Non-IC-Rated Fixtures: These old-school fixtures get much hotter and must have at least three inches of clearance from any insulation. Using one of these in an insulated ceiling is a serious fire hazard and a major code violation.
A licensed electrician will always check your attic and ceiling structure to ensure the correct IC-rated fixture is used, keeping your home 100% safe and up to code.
At Black Rhino Electric, we believe a well-lit home is a safe and happy home. If you're ready to get a clear, detailed plan for your lighting project, give our team a call at 385-396-7048 or request a free quote online today.