Electrical panel installation may sound intimidating, but when done carefully, it’s manageable and essential for your Home’s energy efficiency and safety. At Black Rhino Electric, we understand the process can be daunting for homeowners, so we’ve crafted this friendly, step-by-step guide specifically for you. Whether you’re curious about upgrading or completely replacing your home’s panel, this article simplifies the task with a comprehensive walkthrough to help you get started safely and correctly. Let’s get to work!
Contents
- 1 Understanding the Purpose of an Electrical Panel
- 2 Gathering the Necessary Tools and Materials
- 3 Turning Off Power Before Getting Started
- 4 Removing the Old Electrical Panel
- 5 Choosing the Optimal Placement
- 6 Installing the New Electrical Panel
- 7 Understanding Breakers and Circuit Connections
- 8 Step-by-Step Wiring Connections
- 9 Finalizing the Installation
- 10 Testing and Troubleshooting
- 11 Understanding When to Call a Professional
- 12 Ready to Take the Next Step?
Understanding the Purpose of an Electrical Panel
The first thing to know is that your electrical panel is the heart of your home’s electrical system. It connects incoming power from the utility company to the circuits that distribute electricity throughout your home. Without it, you’d have no organized or safe way to power your lights, appliances, or devices.
But wait! It’s not just about “power distribution.” The panel also safeguards your home by cutting off power when there’s an issue, like an overloaded circuit. That makes it crucial to have a properly installed and functioning panel tailored to your home’s needs. Now that you know why it’s important, let’s move step-by-step through installation!
Gathering the Necessary Tools and Materials
Diving into an electrical project without the right tools? That’s a no-go! Proper preparation ensures the process goes smoothly and safely. Here’s everything you’ll need to install the panel.
Grab screwdrivers (flathead and Phillips), wire strippers, a voltage tester, pliers, and a cordless drill. For materials, you’ll need the electrical panel itself, Breakers, screws, electrical wires, a grounding rod, and a conduit. Oh, and safety gear is non-negotiable—think gloves, goggles, and insulated boots.
Turning Off Power Before Getting Started
This step might seem obvious, but it’s worth emphasizing: always turn off the main power before starting any work with electricity. Skipping this step could result in serious injury or worse. Locate your home’s main power switch, which is typically near the existing panel or meter, and flip it to the “off” position.
After turning off the power, use your voltage tester to confirm the job site is completely de-energized. Test all wires you’ll be working with—better safe than sorry! Once you’re 100% sure it’s safe, you’re ready to proceed.
Removing the Old Electrical Panel
If you’re replacing an existing panel, the first step is to carefully remove the old one. Start by unscrewing its cover to expose the internal components—don’t touch anything yet! Remove the wires connected to each breaker by unscrewing the terminals on the breakers and gently pulling the wires out.
Once all wiring is disconnected, unscrew the entire panel from the wall. Avoid rushing during this step, as you don’t want to damage any surrounding wires or structures. With the old panel out, it’s time to prep for installing the new one.
Choosing the Optimal Placement
Where you install your panel matters because it affects both functionality and safety. Panels are typically placed against an exterior or basement wall, but here’s the golden rule: it must be easily accessible. Never install it in tight spaces, bedrooms, or bathrooms.
Before marking the installation spot, ensure you comply with all local electrical codes regarding height and clearance. Most regulations require about three feet of unobstructed space around the panel. Plan carefully, and your future self will thank you!
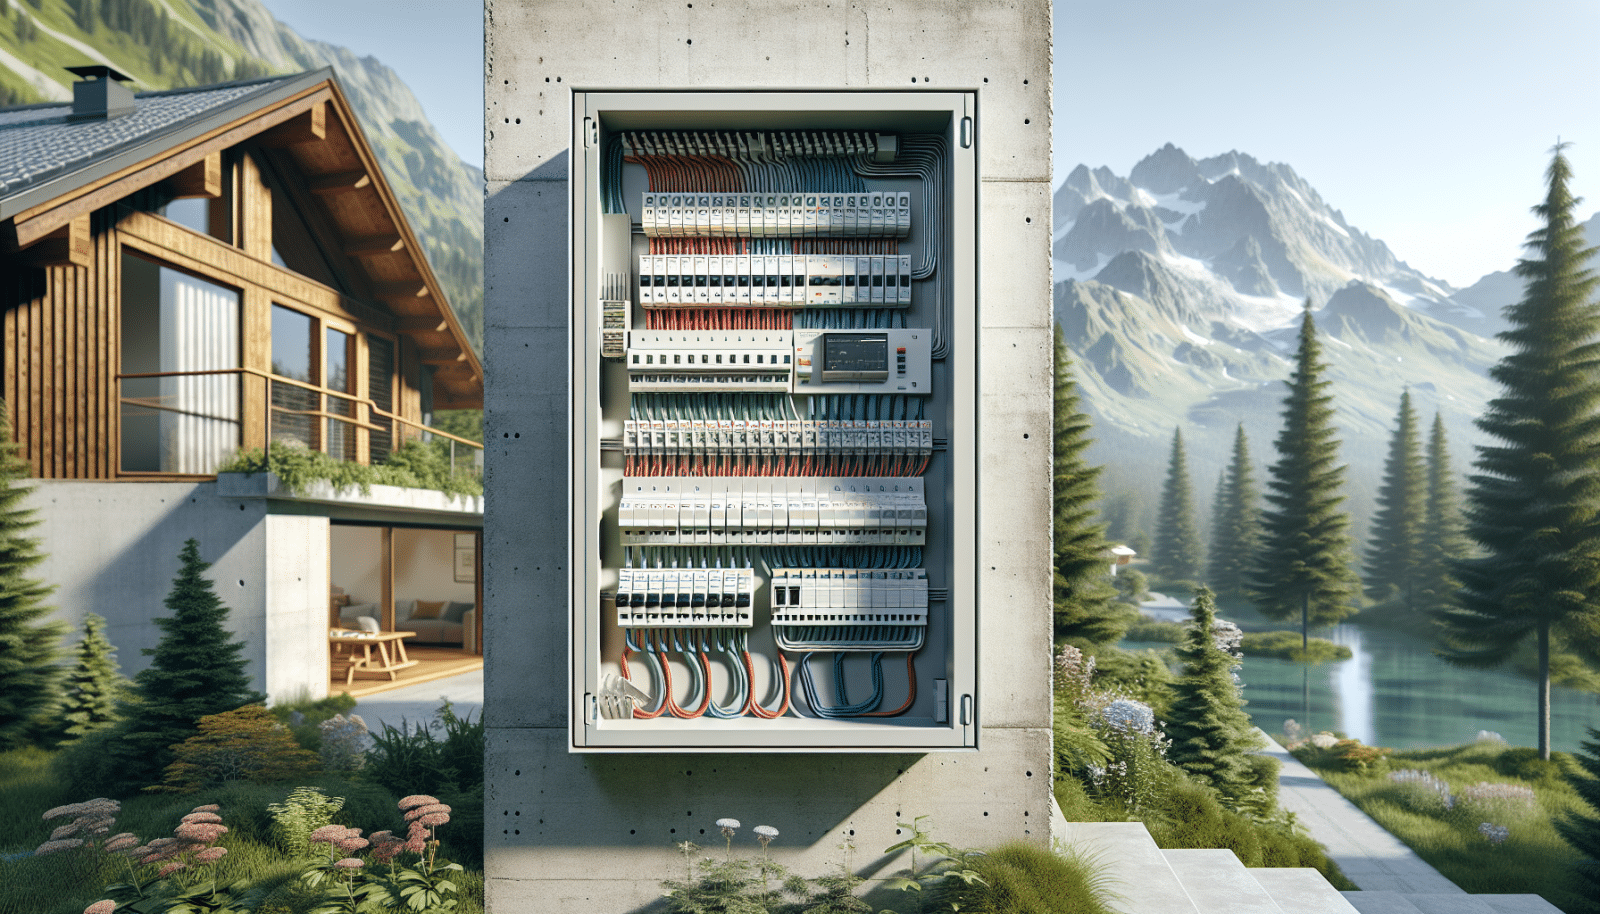
Installing the New Electrical Panel
Once the location is set, mount the new panel on the wall using screws. Be sure it’s securely fastened, as this box will be housing critical electrical connections. If your house doesn’t already have one, this is where you’ll also need to install a grounding rod nearby.
Then, run conduits for incoming utility wires and outgoing wires destined for your circuits. Cut your wires to proper lengths, allowing enough slack to work with them easily. Carefully organize the wires inside the panel to keep everything neat and manageable during the wiring process.
Understanding Breakers and Circuit Connections
Now that the panel is installed, let’s introduce the stars of the show: breakers! These small but mighty devices regulate the flow of electricity to different parts of your home. Each breaker connects to a specific circuit, such as the one powering your kitchen or HVAC system.
Match each breaker’s amperage with the circuit type. For example, heavy-duty appliances like dryers generally require higher amperage breakers, while Lighting circuits can use lower ones. Using mismatched breakers can lead to electrical hazards, so double-check your selections before proceeding!
Step-by-Step Wiring Connections
- Connect the ground wire: Locate the grounding bar in the panel and attach the bare copper wire securely to it. This step protects you from potential electrical shocks.
- Input neutral wires: Insert the white wires into the neutral bar. Tighten them firmly so they don’t slip out—they are key to completing the electrical circuit.
- Attach hot wires to breakers: Ensure black (or red) “hot” wires are connected correctly to their assigned breakers. Keep them in line with the proper circuits.
- Test each connection: After attaching all wires, gently tug to confirm everything is secure. Loose wires? Huge red flag! Fix those immediately.
- Route wires cleanly: Organize the wires inside the panel so nothing crosses or looks tangled. A tidy panel not only looks professional but also simplifies Troubleshooting later.
Finalizing the Installation
Once all your wiring connections are complete, carefully close the panel cover and secure it with screws. Double-check that the installation follows all safety standards and looks organized. For extra peace of mind, keep your manual handy to review any specifications you may have missed.
Finally, flip each breaker to the “off” position before restoring the main power. Once the main switch is back on, turn on the breakers one by one. This method prevents electrical surges when re-energizing your system!
Testing and Troubleshooting
With the power restored, it’s time to check that your hard work is paying off. Test all the circuits connected to the panel using devices or appliances plugged into each area. If everything powers up without issue, congratulations—success is yours.
If something seems amiss, don’t panic! Turn off the power and inspect the wiring connections inside the panel. Sometimes, a loose wire or improperly fitted breaker is all that’s standing between you and a flawless setup.
Understanding When to Call a Professional
While we believe in empowering homeowners to handle small electrical projects, panel installation isn’t always as simple as flipping a light switch. If you encounter unique challenges or feel unsafe at any point, calling in the pros is the smartest choice.
Our licensed electricians at Black Rhino Electric are here to step in when you need us most. We take pride in turning complex installations into safe, efficient systems that power your home seamlessly. Safety always comes first!
Ready to Take the Next Step?
Electrical panel installation may seem challenging at first, but it’s absolutely doable with patience and the right guidance. At Black Rhino Electric, we’re here to help whenever you need a hand. Call us at 801-810-4292 or Request a Free Quote today!