Feeling that flicker of frustration when an outlet suddenly dies is something we've all experienced. But before you panic, how to fix outlet not working is often a surprisingly simple task you can handle yourself. Honestly, most of the time, the solution doesn't require complex repairs or even a single tool.
Contents
Your First Steps When an Outlet Stops Working
Honestly, a single dead outlet rarely means your home’s wiring is doomed. In most cases, it just means a built-in safety feature did its job. Here’s the thing, your electrical system has two main guardians: the circuit breaker panel and special outlets called Ground Fault Circuit Interrupters (GFCIs).
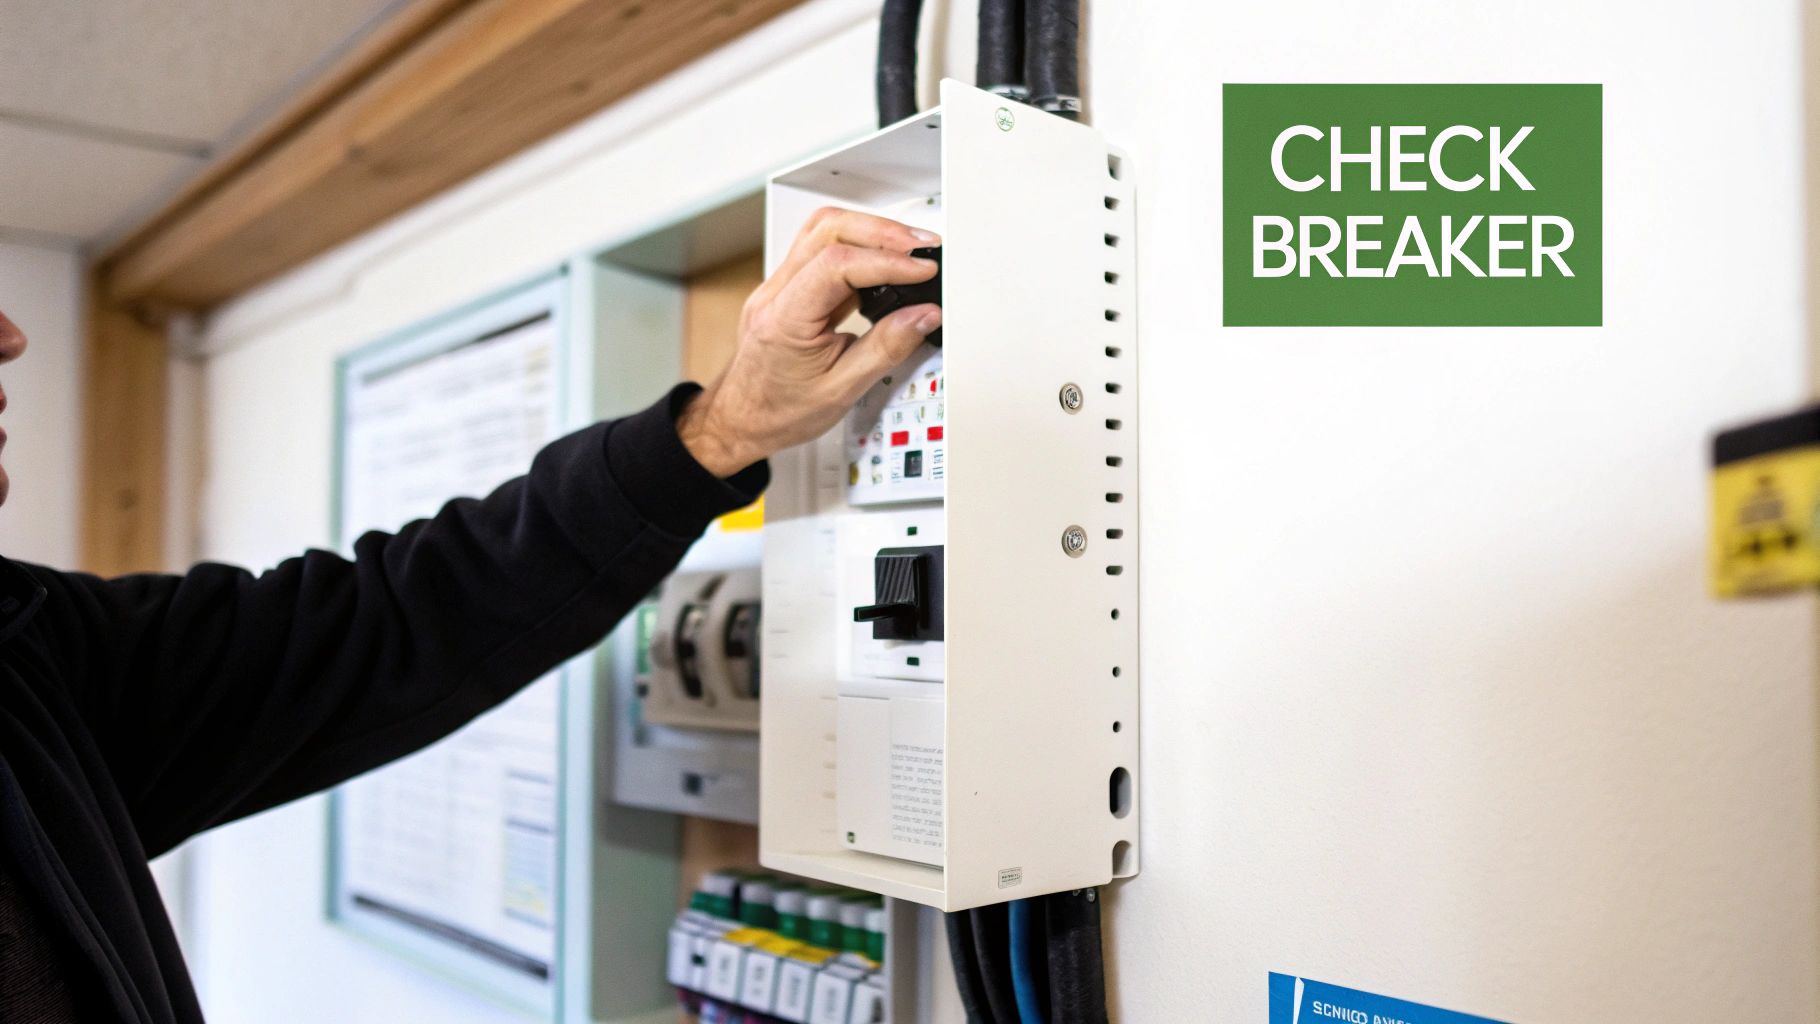
The Circuit Breaker: This is the master control for different zones in your home. If you overload a circuit by running a space heater and a vacuum cleaner at the same time, for instance, the breaker trips to shut off power and prevent overheating. It's a super common scenario. Based on my experience as an electrician, a tripped breaker is the culprit in 40-50% of dead outlet calls, making it the very first place you should look.
GFCI Outlets: These are the ones with the little "TEST" and "RESET" buttons, designed to protect you from shock near water sources like kitchens, bathrooms, and garages. If a GFCI senses even a tiny electrical imbalance, it cuts the power instantly.
Here's the tricky part that gets a lot of people: one GFCI outlet often protects several other standard outlets "downstream" on the same circuit. You know what that means? The outlet that stopped working might be perfectly fine, but the GFCI controlling it—which could be in another room or even the garage—is what needs to be reset.
The Quick Diagnostic Checklist
Before you go any further, just run through these quick checks. It only takes a minute and can save you a lot of headache.
| Quick Troubleshooting Checklist | What to Look For | Action to Take |
|---|---|---|
| Circuit Breaker Panel | A switch that's flipped to the "OFF" position or is sitting in the middle between ON and OFF. | Firmly push the switch to the full "OFF" position, then back to "ON". |
| GFCI Outlets | Look at all GFCI outlets in your home—kitchen, bathrooms, basement, garage—to see if the reset button has popped out. | Press the "RESET" button firmly until it clicks back into place. |
| The Device Itself | Is the problem the outlet or the thing you're plugging in? | Plug the lamp or appliance into another outlet you know is working to rule it out. |
Nine times out of ten, one of those simple actions will bring your outlet back to life.
If you've gone through this checklist and you're still stuck with a dead outlet, the issue might be a bit deeper, potentially involving the panel itself. If you want to learn more, our guide to residential breakers and panels can give you some more insight.
Essential Tools and Safety for Electrical Work
Before we even think about touching a wire, let’s talk safety. Seriously, this is the one area where you absolutely cannot afford to cut corners. When you’re figuring out how to fix an outlet not working, a few minutes of prep is what separates a successful DIY fix from a very, very bad day.
Honestly, working with electricity is perfectly safe—as long as you respect it and follow the rules. And the number one rule?
Always, always, always assume a circuit is live until you have proven it’s not.
This isn’t just a friendly suggestion; it's the golden rule that keeps electricians like me safe every single day on the job.
Assembling Your DIY Electrical Toolkit
You don't need a truck full of gear, but having the right tools makes the job safer and worlds easier. These are the absolute essentials I recommend for any homeowner who wants to tackle a basic electrical project. Think of these as your non-negotiables.
Non-Contact Voltage Tester: This is my number one must-have, hands down. It’s a pen-shaped tool that beeps or lights up when it gets near a live wire, letting you check for power without touching a single thing. It’s your first line of defense.
Multimeter: For digging a little deeper, a multimeter is invaluable. It gives you an exact voltage reading, which confirms with 100% certainty whether the power is truly off. No guesswork.
Insulated Screwdrivers: Look for screwdrivers with a thick rubber or plastic coating that extends way up the metal shaft. That insulation adds a crucial layer of protection against accidental contact.
Wire Strippers/Cutters: A good pair will make clean cuts and strip insulation neatly without nicking the copper wire inside, which is key for a solid connection.
Needle-Nose Pliers: These are perfect for bending wires into the little J-hooks you need for a secure connection on an outlet’s terminal screws.
The Unbreakable Safety Protocol
Let me walk you through the exact safety process. Just flipping a breaker and hoping for the best isn't enough; you must verify. Following this sequence every single time builds a critical safety habit that protects you, your family, and your home.
| Safety Protocol Step | Why It's Critical | Pro Tip from Experience |
|---|---|---|
| Shut Off the Breaker | This is your first move to de-energize the entire circuit you'll be working on. | If your breakers aren't labeled, plug a small lamp or radio into the dead outlet. Flip breakers one by one until it shuts off. Then you've found it. |
| Post a Warning Note | Tape a note over the breaker switch saying "DO NOT TOUCH – WORK IN PROGRESS." | This prevents someone from wandering into the garage and unknowingly flipping the power back on while you're working. It happens more than you think. |
| Test for Power | Use your non-contact voltage tester first on the outlet, then confirm with your multimeter. | Test your tester! Before checking the dead outlet, test your tool on a known live outlet to make sure it's working right. This is a non-negotiable step. |
A faulty or unprotected outlet isn’t just an inconvenience; it can be a serious hazard, especially for the most vulnerable members of your family. This is why learning how to fix an outlet not working correctly is so important.
The risks are real, particularly in homes with young children. National data shows that thousands of kids end up in emergency rooms each year from incidents involving electrical outlets. Understanding these risks really drives home why taking every single safety step seriously is paramount. You can explore more about electrical receptacle injury statistics and see for yourself why these precautions are so vital.
Diagnosing Problems Beyond a Tripped Breaker
It’s a frustrating moment, isn't it? You’ve flipped the breaker back and forth, you’ve hunted down and reset every GFCI outlet in the house, but still, nothing. Honestly, this is where many homeowners give up, but you're just getting to the real diagnostic work. When you're trying to figure out how to fix an outlet not working after covering the basics, you have to start thinking like an electrician and follow the clues.
Let me explain. Electrical circuits can have some surprising quirks. A common one is a wall switch that controls an outlet, often intended for a lamp. Someone might have flipped it off without realizing it controls the outlet you're trying to use.
Another classic scenario I’ve seen countless times is a "daisy-chained" GFCI. A single GFCI outlet in the garage can be wired to protect other outlets, including one in an upstairs bathroom or even outside. If that garage GFCI trips, the bathroom outlet goes dead, leaving you scratching your head.
The Overlooked Culprits
Before pulling out more advanced tools, let's explore these common but often missed issues. It’s all about thinking through how your home might be wired.
The Hidden Wall Switch: Systematically check every light switch in the room. It’s surprising how often a “dead” outlet is simply switched off, especially in living rooms and bedrooms where they are commonly used for floor lamps.
The Rogue GFCI: Don't just check the GFCIs in the same room. Expand your search to the garage, basement, laundry room, and outdoor outlets. Any one of them could be the protector for the circuit you're on. Press the "RESET" button firmly on each one you find.
If you’ve checked all the switches and every GFCI you can find and are still at a dead end, it’s time to confirm your suspicions with a tool that doesn’t just guess.
Using a Multimeter for Certainty
You know what? A non-contact voltage tester is great for a quick "yes/no" on power, but a multimeter is your best friend for definitive answers. It gives you hard numbers, telling you exactly what’s happening inside those wires.
With the power turned off at the breaker, using a multimeter is a safe and effective way to test the outlet itself. It helps you determine if the issue is a lack of power reaching the outlet or if the receptacle has failed internally.
Set your multimeter to measure AC voltage (look for a V with a wavy line ~). Carefully insert the red probe into the shorter vertical slot (the "hot" side) and the black probe into the taller vertical slot (the "neutral" side). If the power is on, you should get a reading of around 120 volts.
No reading means no power is reaching the outlet. A reading significantly lower than 120V could signal a loose wire somewhere in the circuit. These complex situations are often when professional electrical troubleshooting services become essential to safely pinpoint the fault.
Safe and Simple DIY Electrical Outlet Repairs
So, you’ve done your diagnostic work, and the issue isn't a simple reset. This is where we get hands-on. Don’t worry; we’re focusing on the two most common and manageable repairs: tightening loose wires and replacing a standard outlet.
Honestly, a huge number of outlet failures are caused by nothing more than a wire that has worked itself loose over time. The constant heating and cooling from electricity use can cause connections to loosen, disrupting the flow of power. You now know how to fix an outlet not working by starting with the simple stuff, and this is the next logical step.
First things first: safety is non-negotiable. Before you even think about touching a screwdriver, go to your breaker panel and shut off the power to the circuit you're working on. Then, grab your non-contact voltage tester and confirm there is zero power at the outlet.
And please, test the tester on a known live outlet first to be sure it's working!
Tightening Loose Connections
Let me explain what you're looking for. Once the outlet is safely de-energized and you've removed the faceplate and unscrewed the receptacle from the box, gently pull it out. You’ll see wires connected to screws on the sides.
Hot Wire: This is usually black and goes to the brass-colored screw.
Neutral Wire: This is typically white and connects to the silver-colored screw.
Ground Wire: This is the bare copper or green wire connected to the green screw.
Gently tug on each wire. If one wiggles, that's almost certainly your problem. Use a screwdriver to tighten the corresponding terminal screw until the wire is snug and secure.
From my experience, a loose neutral (white) wire is a very common culprit. It can cause intermittent power issues or make the outlet stop working altogether. Giving each screw a firm, deliberate twist is often all it takes to solve the problem.
After tightening, carefully tuck the wires and outlet back into the box, screw it in place, reattach the cover plate, and turn the power back on. Then, test it out. More often than not, this simple fix does the trick.
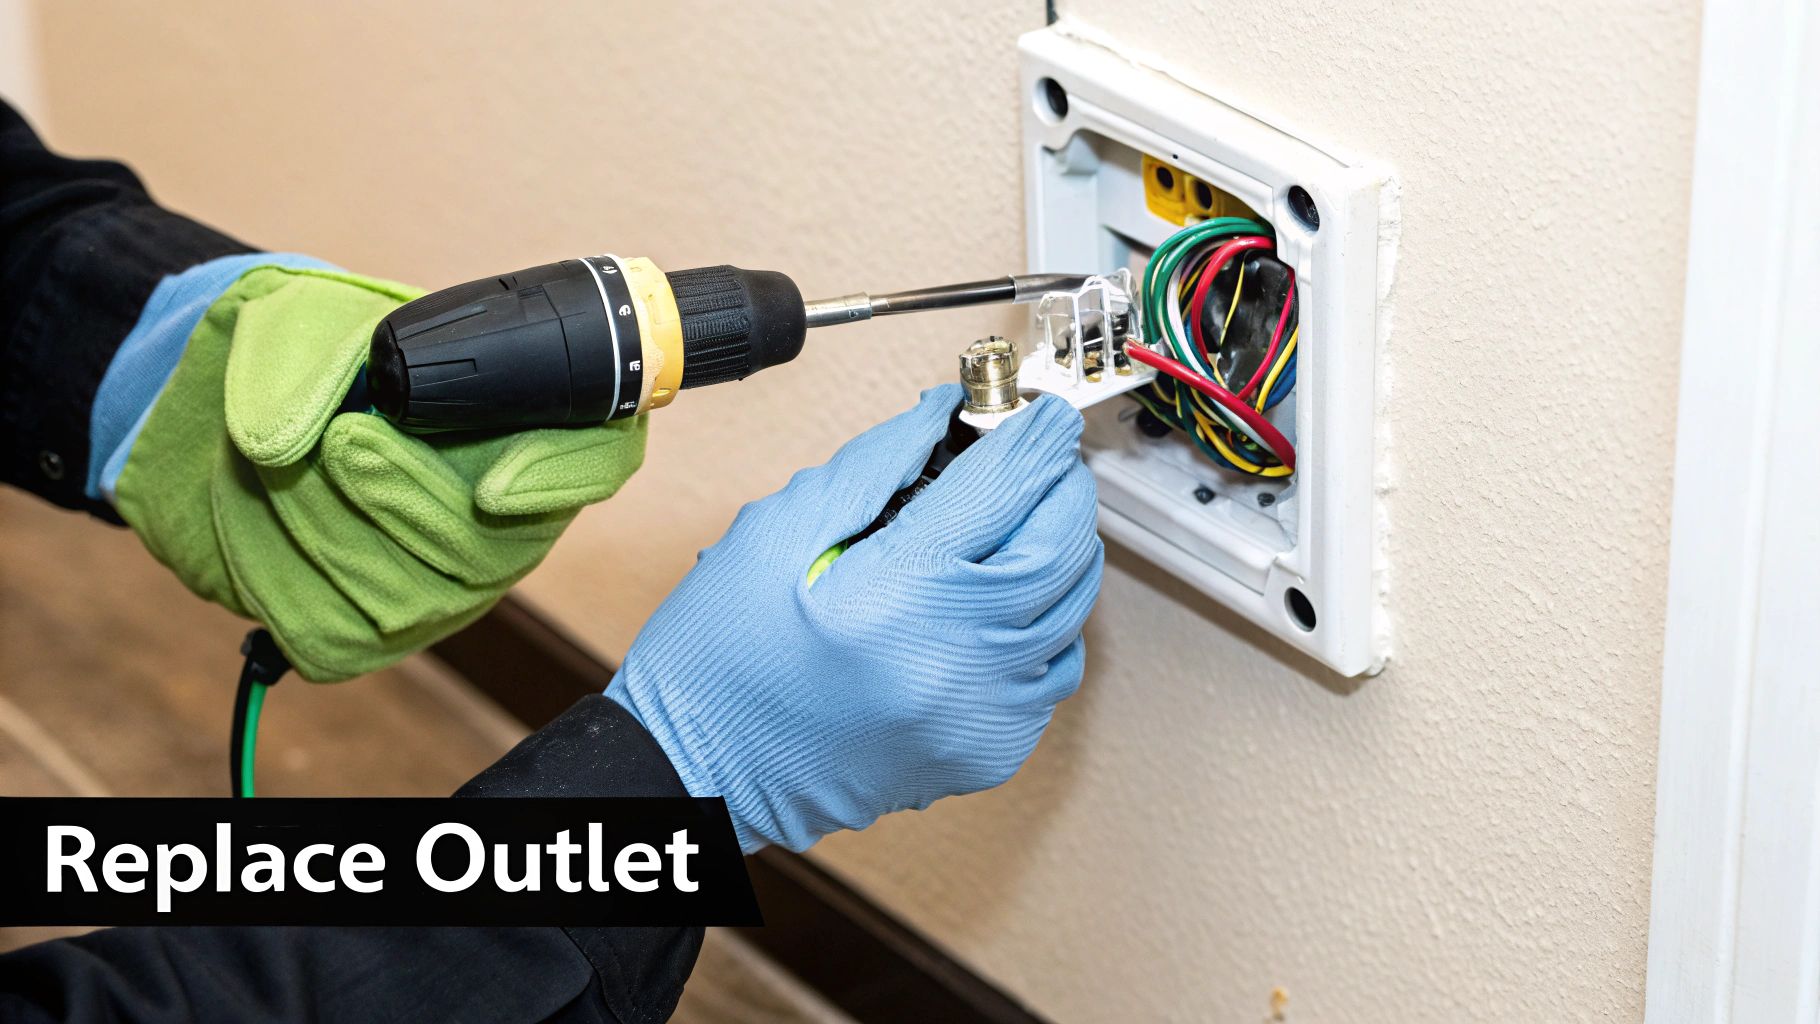
Replacing the Entire Outlet
What if the connections are tight, but your multimeter test showed the outlet itself is shot? Or maybe you see visible signs of damage, like cracks, scorch marks, or discoloration. In that case, a full replacement is the best and safest option.
Replacing an outlet is straightforward. Just make sure you buy the correct replacement—a standard 15-amp duplex receptacle is what you’ll find in most homes. Before you disconnect a single wire, take a quick picture of the setup with your phone. This gives you a perfect map for connecting the new one.
Here’s a pro tip for a rock-solid connection: when you strip the end of a wire, use needle-nose pliers to bend it into a small “J-hook.” Place this hook around the terminal screw in a clockwise direction. As you tighten the screw, it will pull the loop tighter, creating a secure, lasting connection.
Carefully connect the black, white, and ground wires to their correct screws on the new outlet, push it all back into the box, and secure it. This simple replacement not only fixes your problem but also improves the safety of your home's electrical system.
DIY Fix vs. Call an Electrician
It's tempting to tackle electrical issues yourself, but knowing your limits is crucial for safety. Some problems are simple fixes, while others are clear signs of a deeper issue that needs a professional eye.
This table should help you decide when to grab your tools and when to grab your phone.
| Symptom or Problem | Potential DIY Fix | When to Call a Professional |
|---|---|---|
| Single outlet is dead, no signs of damage | Check breaker/GFCI, tighten loose wires, replace the outlet. | If the problem persists after replacing the outlet. |
| Outlet is warm, discolored, or smells burnt | STOP. Do not touch. Turn off the breaker immediately. | This is a serious fire hazard. Call a licensed electrician right away. |
| Wires in the box are old, frayed, or brittle | STOP. Old wiring can be dangerous to handle. | Always call a pro for issues with old aluminum or brittle wiring. |
| Breaker trips instantly when you reset it | You likely have a short circuit somewhere in the line. | This requires professional diagnosis to find the source of the fault safely. |
Ultimately, your safety is what matters most. If you ever feel uncertain or the problem seems bigger than a loose wire or a bad receptacle, don't hesitate. That's what we're here for.
When You Should Call a Licensed Electrician

Here’s the thing: knowing your limits is the most important part of any DIY project, especially when electricity is involved. It’s empowering to learn how to fix an outlet not working, but it’s even more critical to recognize the red flags that mean it's time to put the tools down.
Honestly, some issues go far beyond a simple fix. From my experience, certain symptoms aren't just problems; they are immediate warnings of a serious hazard. If you pull the outlet from the wall and discover something that makes you pause, that's your cue to stop.
The moment you feel uncertain or discover something unexpected, like melted plastic or charred wires, your DIY project is over. A licensed electrician has the training and tools to diagnose these dangerous situations safely, ensuring your home remains up to code and, most importantly, protected from fire hazards.
Warning Signs You Cannot Ignore
If you run into any of these issues, the right move is always to call a professional. These aren't suggestions; they are serious safety warnings that require an expert's attention.
Burn Marks or Melting: Any sign of scorching, discoloration, or melted plastic on the outlet or surrounding wall is a major red flag for overheating and a potential fire risk.
Crackling or Buzzing Sounds: Electricity should be silent. If you hear strange noises coming from an outlet, it could indicate a dangerous loose connection or arcing inside the wall.
A Persistent Burning Smell: A faint smell of burnt plastic or ozone near an outlet means something is overheating. Don't ignore it.
Old Aluminum Wiring: If you discover stiff, silver-colored aluminum wiring (common in homes built from the mid-1960s to early 1970s), stop immediately. This type of wiring needs special handling to prevent fire hazards.
Understanding Professional Repair Costs
Calling an electrician shouldn't be a mystery, and understanding potential costs helps you make an informed decision. The demand for skilled electrical work is significant—the global electrical repair market was valued at around $142.8 billion and is expected to grow. This just shows how essential these professional services are. You can find more insights on the electrical services market on dataintelo.com.
Here's a realistic look at what you might expect to pay for common professional electrical repairs.
| Common Professional Electrical Repairs | Typical Estimated Cost Range |
|---|---|
| Standard Outlet Replacement | $75 – $150 |
| GFCI Outlet Installation/Replacement | $100 – $200 |
| Circuit Troubleshooting (per hour) | $75 – $125 |
| Replacing Old Aluminum Wiring | Varies greatly based on scope |
These costs can vary based on your location and the complexity of the job, but they provide a solid baseline. Investing in a professional ensures the work is done right, keeping your home safe and sound.
Common Questions I Hear About Fixing Outlets
Alright, let's wrap this up by tackling some of the most common questions I hear from homeowners. When you're trying to figure out how to fix an outlet not working, seeing how these ideas apply to real-world weirdness can make all the difference. Think of this as the "head-scratcher" section.
You'll find that electrical systems have their own unique quirks. Let's dive into a few that pop up all the time.
Why Is Only Half of My Outlet Working?
This one's a classic! But what does it mean when only one plug works? Nine times out of ten, you're dealing with a "split receptacle." This is an outlet where the top and bottom halves are wired to operate independently. It's a common setup where one half is always on, and the other is controlled by a wall switch, usually for a lamp.
So, what's gone wrong? It could be a few things:
The wall switch itself has failed and isn't sending power anymore.
That tiny metal tab connecting the two halves of the outlet has broken off inside.
There's a specific wiring issue right at that outlet.
Before you do anything else, check for a nearby wall switch you might have forgotten about. If flipping it doesn't solve the problem, the outlet itself is probably the weak link and needs to be replaced. A multimeter is your best friend here for figuring out if the switch or the receptacle is the real culprit.
Can One Bad Outlet Cause Others to Fail?
Absolutely, and this is a big one. Outlets in most rooms are wired in series, kind of like old-school Christmas lights. Power flows from one outlet to the next one down the line.
Here's the thing: if a single outlet in that chain has a loose wire or fails completely, it breaks the entire circuit. This immediately cuts off power to all the other outlets "downstream" from it. The problem is almost always in the last working outlet on the circuit or the very first dead one you find.
This is exactly why, if you discover a dead outlet, you need to test its neighbors, too. The real problem might not be with the outlet you first noticed, but with the one right next to it that's supposed to be feeding it power.
Is It Safe to Replace a Two-Prong Outlet?
This question comes up constantly, especially in older homes. The short answer is: it's only safe if your electrical box has a ground wire inside it. Simply swapping a two-prong outlet for a three-prong one without connecting a ground wire is both dangerous and a code violation—it gives you a false sense of security.
The right way to handle it is to either install a GFCI outlet (which provides shock protection even without a ground) and add a "No Equipment Ground" sticker, or have an electrician run a new ground wire. Whatever you do, don't use those little three-prong "cheater" adapters as a permanent solution. For more answers to common electrical head-scratchers, you can check out our extensive electrical FAQ page.
If your troubleshooting leads to more questions than answers, or if you run into any of the serious warning signs we talked about, don't hesitate. For safe, professional, and reliable electrical repairs in Northern Utah, trust the experts at Black Rhino Electric. Contact us today to schedule a service call and get your home’s electrical system back in top shape.