Switching to an electric vehicle is a big step, but the real game-changer is the convenience of charging at home. Getting a professional ev charging station installation ensures your vehicle is ready to go every morning, just like your smartphone. Honestly, the most common question we get from homeowners in Northern Utah is, “Where do I even begin?”
Contents
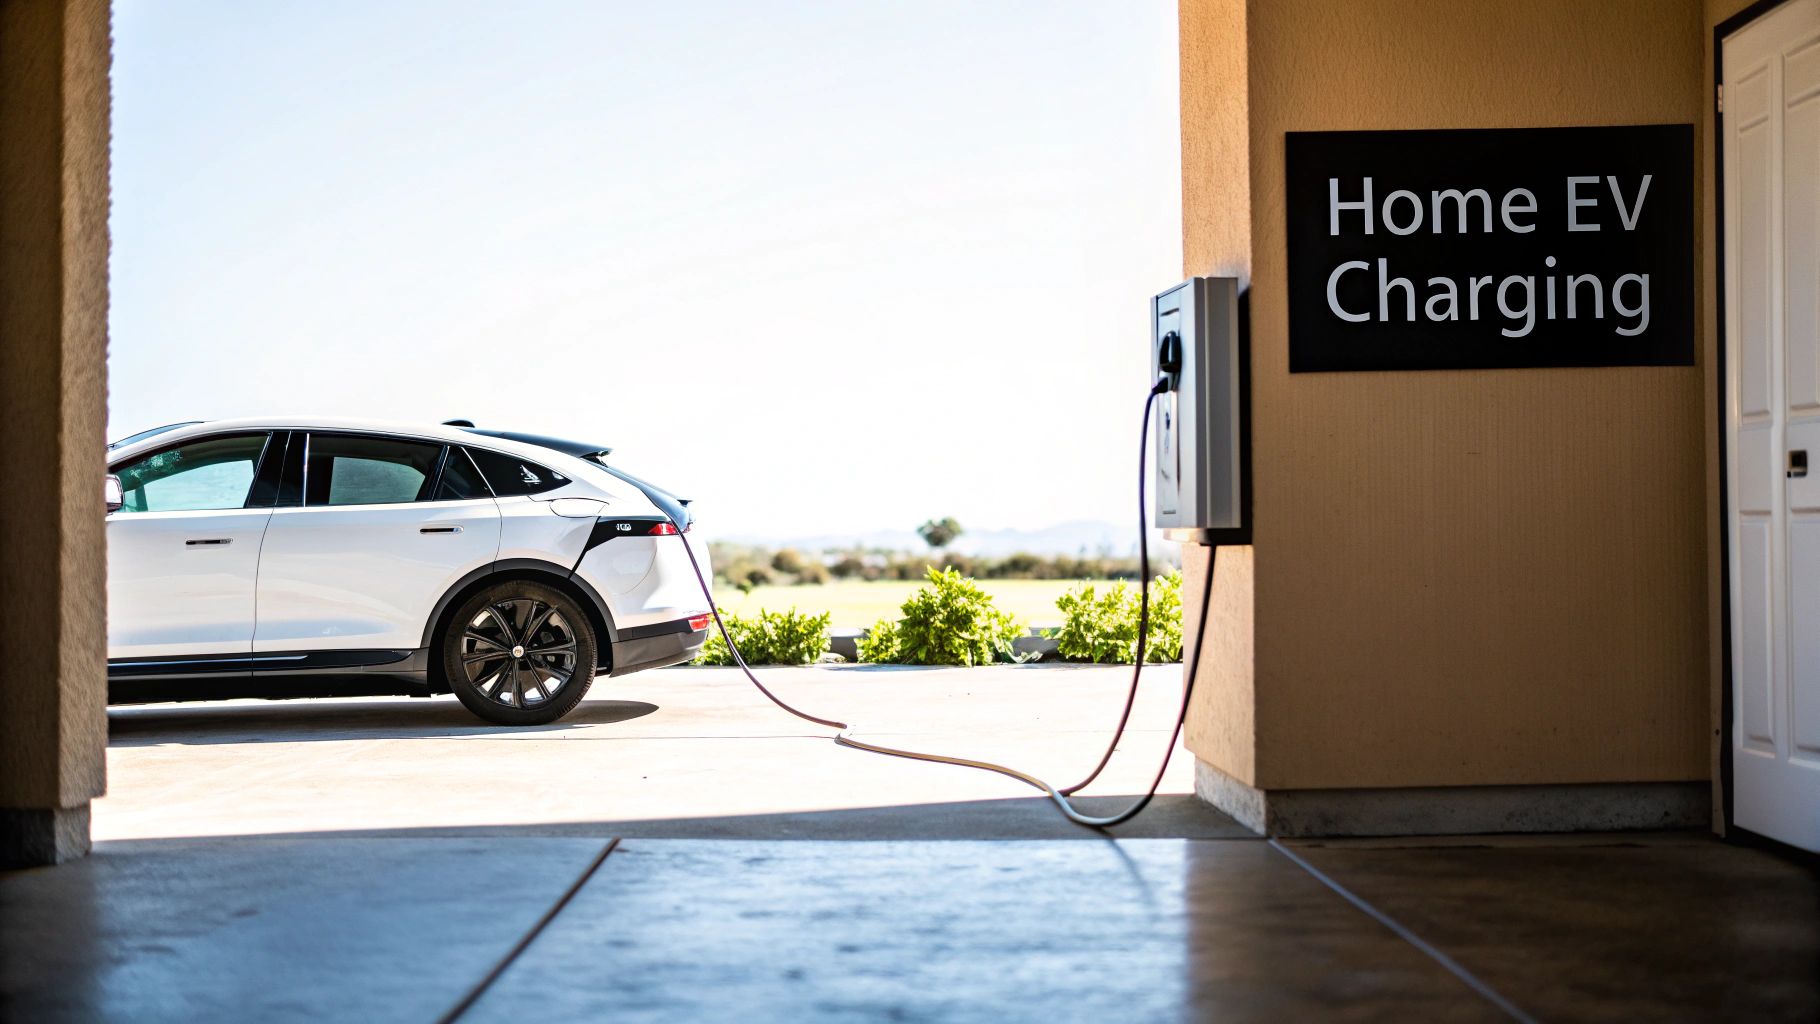
Starting Your Home EV Charging Journey
You know what? Making the switch to an EV is exciting, but that feeling multiplies when you no longer have to think about public charging stations. Imagine waking up every day to a "full tank" without ever leaving your garage.
This is the reality a home charging station offers, and it's more straightforward to achieve than you might think. It simplifies your daily routine and adds tangible value to your property.
Here’s the thing: about 80% of all EV charging happens at home. It’s not just about convenience; it’s about cost-effectiveness and reliability. You have a dedicated spot, pay lower residential electricity rates, and reduce wear on your battery by avoiding frequent, high-powered public DC fast chargers.
Why Level 2 Charging Is the Home Standard
When you get an EV, it usually comes with a Level 1 charger that plugs into a standard 120V wall outlet—the same kind you use for a lamp. While simple, it's incredibly slow, adding only about 3-5 miles of range per hour. For most drivers, that's just not practical for a full overnight charge.
Let me explain the alternative. A Level 2 charger is the gold standard for home use. It operates on a 240V circuit, similar to an electric dryer, and dramatically speeds up the process.
- Faster Charging: A Level 2 charger can add 20-60 miles of range per hour, easily recharging most EVs overnight.
- Future-Proofing: As EV batteries get larger, a Level 2 charger ensures you can keep up with future technology.
- Property Value: A professionally installed Level 2 station is a desirable feature for potential homebuyers, making your home more attractive on the market.
A Level 2 charger isn't just an accessory for your car; it's a permanent upgrade to your home's infrastructure. It transforms your garage into a personal refueling station, making range anxiety a thing of the past.
Choosing to install a dedicated Level 2 charger is an investment in a seamless EV ownership experience. It moves charging from a daily chore to an effortless, overnight routine. This sets the foundation for getting the most out of your electric vehicle, ensuring it’s always ready for your commute, errands, or a weekend trip to the mountains.
How to Choose the Right EV Charger
Ready to install an EV charging station but stuck on which charger to pick? It’s a common hurdle. The market is packed with options that all look great on the surface, and honestly, choosing the right one is critical for getting the most out of your electric vehicle.
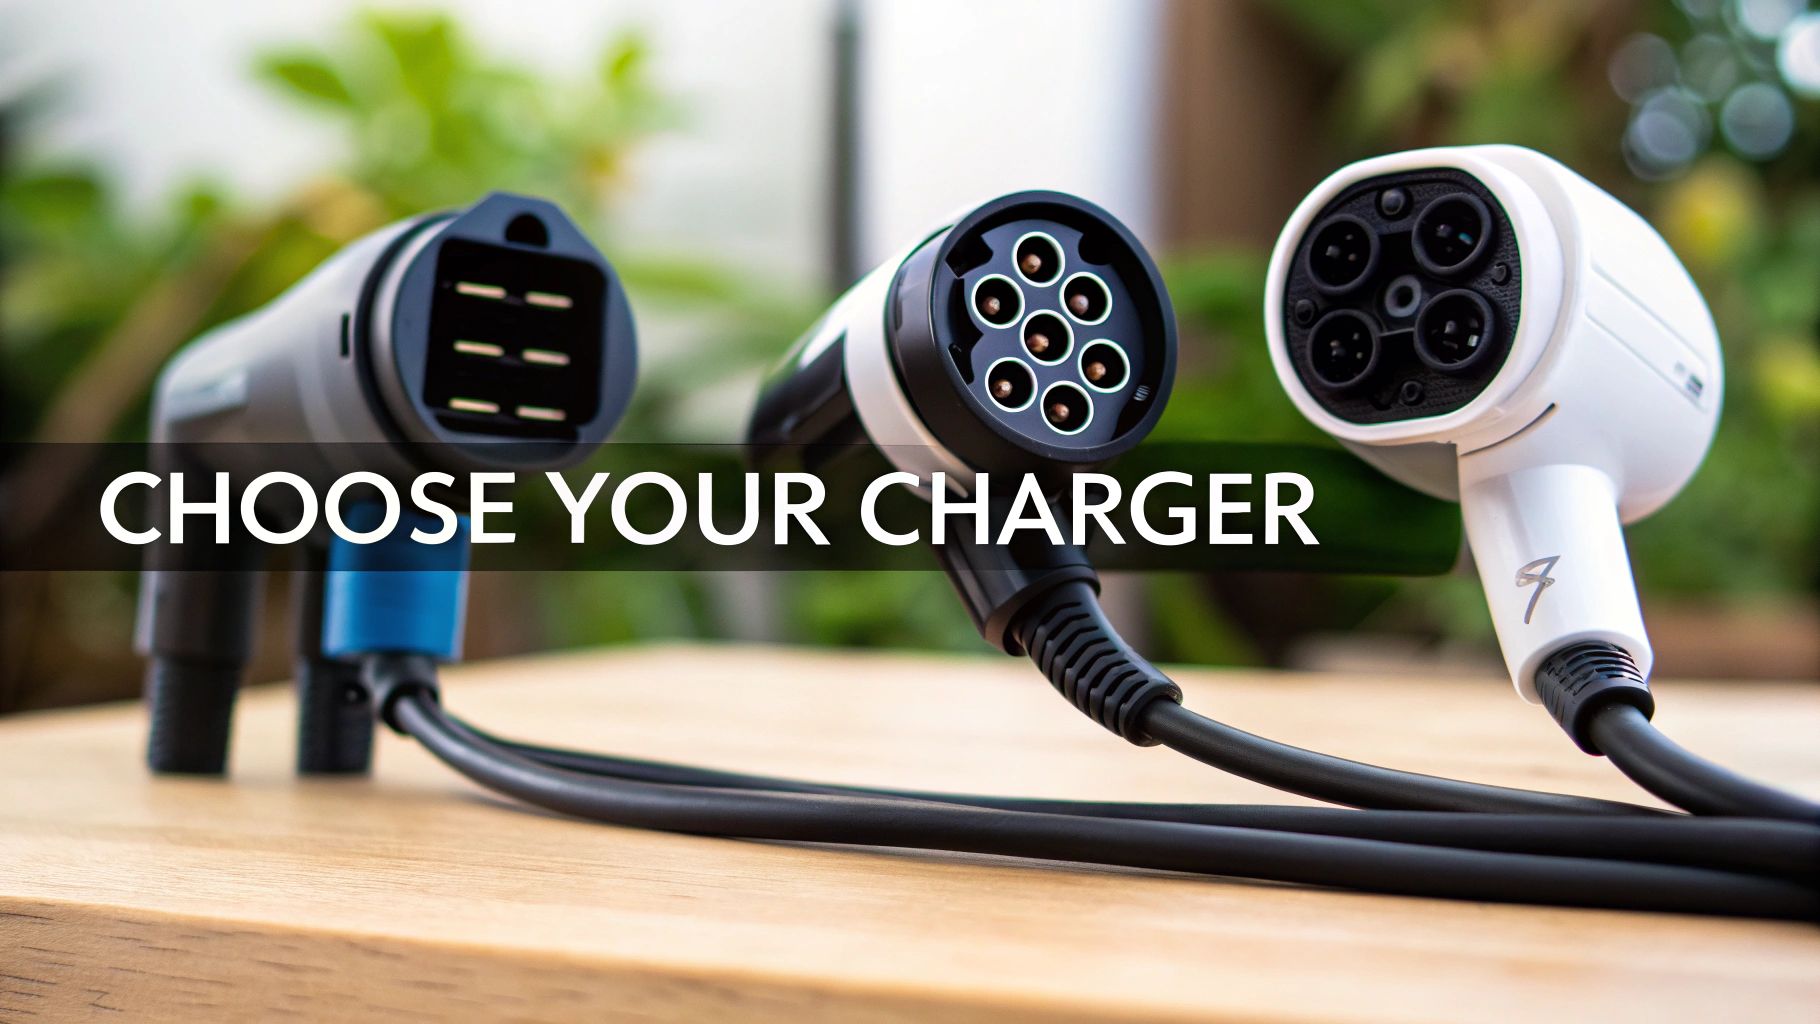
Not all chargers are created equal, and what works perfectly for your neighbor might be the wrong fit for you. Let me explain. The best choice really hinges on your specific vehicle, your daily driving habits, and the features that matter most—from raw charging speed to smart home integration.
The first big question is the connector type. Most non-Tesla EVs in North America use the J1772 plug, which is the universal standard. Teslas, on the other hand, use their own connector, now called the North American Charging Standard (NACS).
The good news? Adapters make this a non-issue. A Tesla can easily use a J1772 charger with an adapter, and a growing list of other automakers are adopting the NACS port for future models anyway.
Decoding Amperage and Charging Speed
When you start shopping for Level 2 chargers, you’ll see them rated by amperage (A), typically from 16A to 80A. What does this actually mean for you?
Simply put, higher amperage means faster charging.
A charger’s amperage determines its power output in kilowatts (kW), which translates directly to how many miles of range you add per hour. For example, a 48A charger on a 60A circuit delivers about 11.5 kW of power. This is the sweet spot for many modern EVs, powerful enough to fully charge a long-range battery overnight.
Think of it like filling a bucket. A 16A charger is a garden hose, while a 48A or 80A charger is more like a fire hose—it just gets the job done much faster. The key is matching the charger not only to your car's maximum charging speed but also to what your home’s electrical panel can safely handle.
Smart Chargers vs. Standard Chargers
Another key decision is whether you want a "smart" charger. A standard (or "dumb") charger does one thing well: it charges your car safely. They're often cheaper and perfect if you just want to plug in and forget about it.
Smart chargers, however, connect to your Wi-Fi and open up a world of useful features through a smartphone app.
- Scheduled Charging: Program the charger to run during off-peak hours when your utility rates are lowest. This is a huge money-saver.
- Energy Monitoring: See exactly how much electricity your EV is using, which helps you track your real-world costs.
- Remote Control: Start, stop, or just check on a charging session from anywhere.
- Load Balancing: Some advanced models can even talk to other smart devices, making sure you don't overload your home's electrical panel.
For many homeowners, the ability to schedule charging for off-peak hours is the single most valuable feature of a smart charger. Over a year, the savings on your electricity bill can be significant, often justifying the higher initial cost of the unit.
A Special Note for Tesla Owners
If you drive a Tesla, the Tesla Wall Connector is tough to beat. It’s designed to work flawlessly with your car, offering a clean look, high power output (up to 48A), and seamless integration with the Tesla app. While other chargers work fine with an adapter, the Wall Connector delivers a uniquely streamlined experience, including cool features like automatically opening the charge port door.
Comparing Popular Level 2 Home EV Chargers
This table breaks down a few top contenders, focusing on the features that matter most for a home installation.
| Charger Model | Max Amperage | Charging Speed (miles/hour) | Smart Features | Best For |
|---|---|---|---|---|
| Tesla Wall Connector Gen 3 | 48A | Up to 44 | Wi-Fi, Scheduling, Power Sharing | Tesla owners seeking seamless integration and high speed. |
| ChargePoint Home Flex | 16A – 50A | Up to 37 | Wi-Fi, Scheduling, Alexa Integration | Homeowners who want adjustable power and robust app features. |
| Grizzl-E Classic | 16A – 40A | Up to 30 | None (Standard Model) | Those needing a durable, simple, and powerful charger without smart tech. |
| JuiceBox 40 | 40A | Up to 30 | Wi-Fi, Scheduling, Voice Control | Tech-savvy users who want detailed energy tracking and smart home compatibility. |
Ultimately, the right charger feels like a natural extension of your home and your EV. It should be reliable, safe, and powerful enough to ensure you wake up every morning with a full "tank."
Preparing Your Home for an EV Charger
A successful EV charger installation starts long before an electrician ever shows up at your door. Honestly, the most important work is the upfront planning and assessment. Getting these early steps right is the key to a safe, efficient, and cost-effective setup that will serve you well for years.
You can't just point to a spot on the garage wall and hope for the best. A professional evaluation of your home’s electrical system isn't just a good idea—it's a non-negotiable safety measure. And it all begins with your electrical panel, the command center for your home's power.
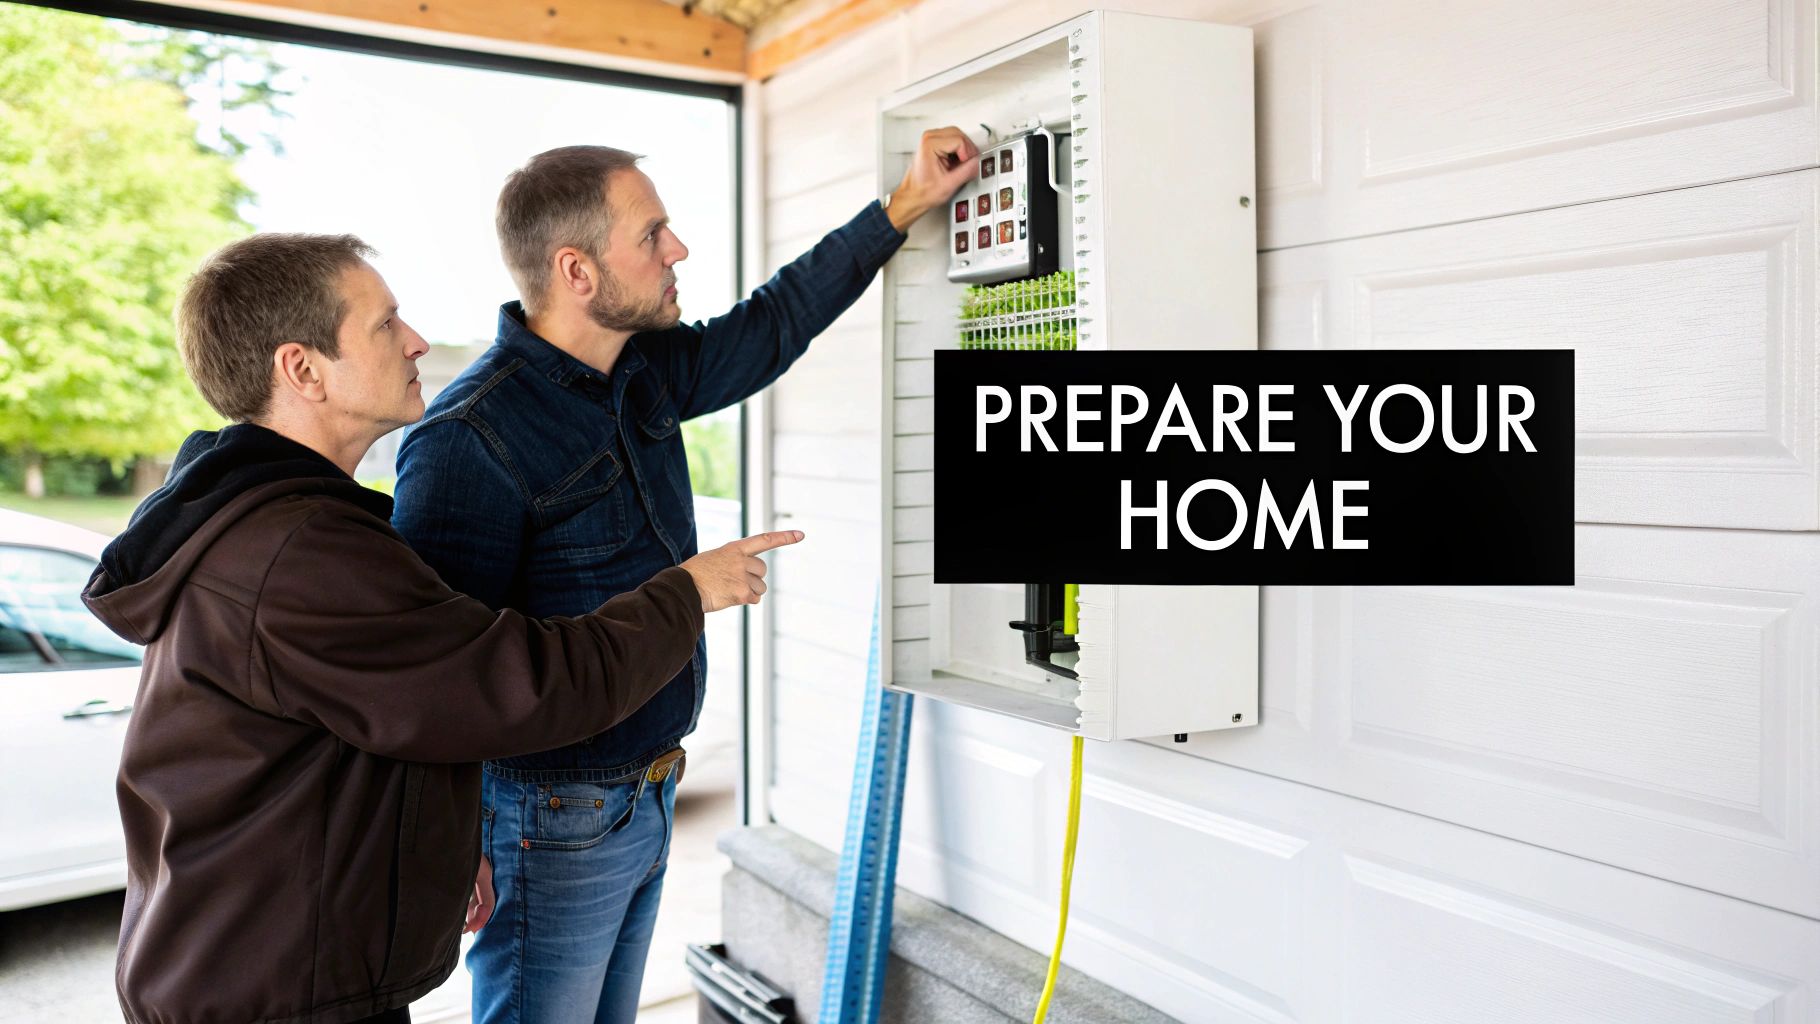
The All-Important Electrical Load Calculation
Ever wonder if your home can even handle a powerful new appliance like an EV charger? That's exactly what a load calculation tells you. Think of it as a thorough audit of your home's total electrical demand versus your panel's capacity.
Here’s how it works. An electrician tallies up the power drawn by all your major appliances—the HVAC system, water heater, oven, you name it. This total is then compared to the maximum amperage your panel can safely supply, which is typically 100A, 150A, or 200A in most modern homes.
A Level 2 EV charger is a big deal electrically; it’s a significant, continuous load. That means adding a dedicated 240V circuit, usually between 40A and 60A. The load calculation confirms whether your panel has enough spare capacity to take on this new demand without being pushed to its breaking point.
An overloaded electrical panel is a serious fire hazard. Performing a detailed load calculation isn't just a best practice; it's a critical safety step required by the National Electrical Code (NEC) to protect your home and family.
If the math shows your panel is already running near its limit, we have options. Sometimes, load management devices can solve the problem, but often, the safest and most reliable long-term solution is a panel upgrade. You can learn more about the specifics of working on breakers and electrical panels in our detailed guide. This ensures your system can safely power your new charger and any other electrical needs you might have down the road.
Choosing the Perfect Installation Spot
Beyond the panel, the physical location of your charger is just as critical. The ideal spot is a balance of convenience, safety, and installation cost. When we assess homes around Salt Lake City, we look at several key factors to find that sweet spot.
Think through these questions for your own property:
- Proximity to Panel: How far is your preferred spot from the electrical panel? A shorter distance means less wiring, which can significantly reduce material and labor costs.
- Cable Reach: Will the charger's cord comfortably reach your car's charge port, no matter how you park? It's smart to consider both your current EV and any future vehicles you might own.
- Weather Exposure: Planning an outdoor installation in your driveway? The charger needs to be rated for Utah's weather. An outdoor-rated (NEMA 4) charger is essential to stand up to our snow, rain, and sun.
- Physical Protection: Is the location safe from accidental bumps from your car or other garage activities? Mounting it slightly to the side of a parking space is often smarter than directly in front or behind.
The unique layout of your home plays a huge role here. A house with an attached garage usually offers a straightforward path from the panel. A detached garage, on the other hand, might require trenching to run conduit underground, adding a layer of complexity and cost to the project. By thinking through these details upfront, we make sure your charger installation is perfectly suited to your daily routine.
What Happens During a Professional Installation
So, the day has arrived. You’ve picked your charger, the site assessment is done, and a licensed electrician from Black Rhino Electric is at your door. What’s next? Let me tell you, it’s a lot more than just mounting a box on the wall.
The first order of business is always safety. We’ll start by turning off the power at your main breaker panel. This ensures a completely de-energized work environment. It's not just a precaution; it's a fundamental step that protects our team and your home's electrical system from any mishaps.
Running New Wiring and Conduit
Now for the most labor-intensive part of the job. A Level 2 charger needs its own dedicated 240V circuit, which means running a new, heavy-gauge wire directly from your electrical panel to the charger's location. We don’t just string this wire across your attic or staple it along a wall.
To protect the wiring and comply with the National Electrical Code (NEC), we run it inside a protective conduit. Think of this as a metal or durable plastic pipe that shields the wire from physical damage, moisture, and wear over time. The path it takes—whether through walls, an attic, or a crawlspace—was already mapped out during our initial site assessment to be the most efficient and least intrusive route.
The Importance of Wire Gauge and Breaker Size
Here’s the thing: not all wires are the same. The size, or gauge, of the wire is critically important. A wire that's too small for the circuit's amperage can overheat, creating a serious fire risk.
We meticulously match the wire gauge to the circuit breaker and your specific charger. For example, a common 48-amp charger requires a 60-amp circuit breaker and hefty 6-gauge copper wire. Using the correct components is a non-negotiable part of a safe, code-compliant installation.
- Circuit Breaker: This is the circuit's primary safety device. It's designed to trip and cut power if it detects an overload.
- Wire Gauge: This determines how much electrical current the wire can handle safely without getting dangerously hot.
- GFCI Protection: Most modern EV charger installations now require a Ground Fault Circuit Interrupter (GFCI) breaker. This device adds another layer of safety by immediately shutting off power if it detects a current imbalance, which could signal a dangerous ground fault.
A professional installation is all about precision. Every component, from the breaker in the panel to the screws mounting the unit, is chosen and installed according to strict electrical codes and manufacturer specifications. This attention to detail is what separates a safe, reliable system from a hazardous one.
Local Permitting and Inspections in Weber and Davis Counties
Ever wonder why permits are such a big deal? Honestly, it's all about your safety and accountability. In areas like Weber and Davis counties, pulling an electrical permit is a required step for installing a new 240V circuit. Black Rhino Electric handles this entire process for you, so you don't have to worry about the paperwork.
This step ensures a third-party expert—a city or county inspector—reviews and approves our work. They verify that the installation meets all local and national safety codes, giving you documented proof that the job was done right. This is crucial not just for your peace of mind, but also for your homeowner's insurance policy, which may not cover damages from unpermitted electrical work. You can learn more about our certified process on our professional EV charger installation electrician services page.
Mounting and Final Connections
With the heavy lifting done, the final steps are to securely mount the charging unit to the wall and make the final electrical connections. We test everything thoroughly—checking voltage, confirming connectivity, and making sure the charger communicates properly with your vehicle. The need for this precise work is growing fast; the EV charging infrastructure market is projected to hit $18,589.0 million by 2026, a massive jump from $1,700 million in 2018. You can read more about this explosive market growth on Research Dive.
Once everything checks out, we walk you through how to use your new charger, answer any questions you have, and leave you ready to enjoy the incredible convenience of charging your EV right at home.
Understanding Costs and Utah Incentives
Let’s talk numbers. When you're planning an EV charging station installation, one of the first questions on your mind is probably, "What's this going to set me back?" The honest answer is that the final price can vary quite a bit, but we believe in being completely transparent about what goes into it.
The total investment isn't just the charger itself. It includes the professional labor to get it done right, materials like heavy-gauge wiring and conduit, and any city or county permits. This process ensures everything is safe, reliable, and up to code.
Breaking Down Installation Costs
So, what makes one installation more expensive than another? A few key things come into play. A "standard" installation is usually pretty straightforward: the charger is mounted inside an attached garage, close to an electrical panel that has plenty of room to spare.
However, the job gets more complex—and the cost goes up—if:
- The charger needs to be located far from the electrical panel, which means a long and expensive run of copper wire.
- Your home’s electrical panel is already maxed out and needs a full upgrade to safely handle the new 240V circuit.
- We have to trench underground to run wiring to a detached garage or an outdoor charging pedestal.
- The installation requires cutting through tough materials like concrete or brick.
To give you a clearer picture, here’s a breakdown of what you might expect.
Estimated EV Charger Installation Cost Breakdown
The table below outlines typical cost ranges for both standard and more involved projects right here in Northern Utah. It helps set a realistic budget before you start.
| Cost Component | Standard Installation Range | Complex Installation Range (e.g., panel upgrade) | Notes |
|---|---|---|---|
| Labor & Materials | $600 – $1,200 | $1,500 – $3,000+ | Includes electrician's time, wiring, conduit, and breaker. |
| Electrical Panel Upgrade | $0 (if not needed) | $2,000 – $4,500 | Required if your current panel lacks capacity for a new 240V circuit. |
| Permit Fees | $50 – $250 | $150 – $500 | Varies by municipality in Weber, Davis, and Salt Lake counties. |
| Level 2 Charger Unit | $400 – $800 | $400 – $800 | This is the cost of the charger itself, which you purchase separately. |
| Total Estimated Cost | $1,050 – $2,250 | $3,950 – $8,800+ | These are solid estimates; a custom quote will give you an exact price. |
As you can see, the biggest variable is often the health of your existing electrical panel. But don't worry, we figure all this out during our initial site assessment.
Utah Incentives That Can Lower Your Cost
Here’s the good news: you probably won't have to pay that full price. Both federal and local programs exist specifically to make home charging more affordable. Think of it as a thank-you for switching to cleaner transportation.
One of the biggest helps is the Federal Tax Credit for Alternative Fuel Vehicle Refueling Property. This credit can cover 30% of the cost of your charger and installation, up to a maximum of $1,000.
On top of that, local utility companies here in Utah, like Rocky Mountain Power, often have rebates for installing a smart Level 2 charger. These programs can change from year to year, so it’s always a good idea to check their websites for the latest info. We stay on top of these incentives to help our clients save every dollar they can.
The diagram below gives you a simple visual of the core steps involved in the hands-on installation.
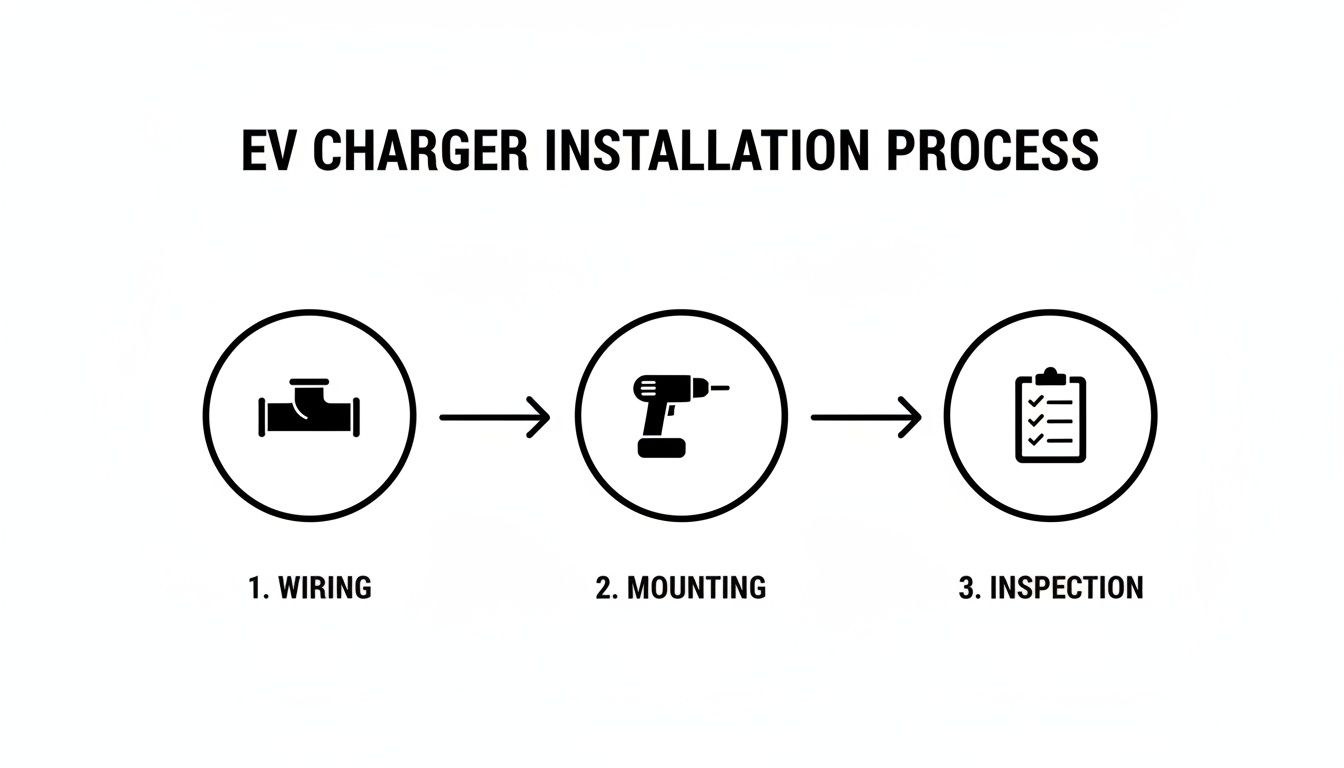
This just shows that a professional installation follows a clear, safety-focused path from the initial wiring to the final sign-off from the inspector.
This investment in home charging puts you right at the center of a massive global trend. Projections show the market for EV charging stations is expected to reach nearly $112 billion by 2030. You can see more insights on this rapid expansion in Arizton's market research.
Why a Professional Installation Matters
After looking at the costs and incentives, you might be tempted to turn your ev charging station installation into a weekend DIY project. Honestly, we can't stress this enough: this is one job you should always leave to a licensed professional.
The risks that come with doing it yourself far outweigh any money you might save.
Here’s the thing: a botched installation isn't just a minor mistake. It can lead to some pretty severe consequences, like electrical fires, damage to your expensive EV, and even voiding your vehicle's warranty. Professional electricians, like our team here at Black Rhino Electric, are trained to navigate the complexities of the National Electrical Code (NEC). We make sure every connection is safe and every component is correctly sized for the continuous load an EV charger demands.
That expertise is built on years of experience installing hundreds of chargers across Northern Utah. It’s how we guarantee your system is both safe and reliable for the long haul.
Common EV Charger Installation Questions
Venturing into the world of home EV charging is exciting, but it naturally comes with a lot of questions. Honestly, it’s one of the biggest and most useful upgrades you can make to your home, so it’s smart to have all the facts straight before you start.
We've pulled together answers to the most common queries we get from homeowners in Utah planning their ev charging station installation. Getting these points clear from the start makes for a smooth, transparent process.
Do I Need a Permit to Install an EV Charger in Salt Lake County?
Yes, in almost every single case. Installing a new 240V circuit for an EV charger in Salt Lake, Weber, or Davis counties requires an electrical permit.
You know what? This isn't just bureaucratic red tape; it's a critical safety step. It ensures all the work is performed to the latest electrical code standards, protecting you, your home, and your investment. A licensed and insured electrician, like our team at Black Rhino Electric, handles the entire permitting process—the application, coordinating with local inspectors, and making sure the final sign-off is documented.
Can My Current Electrical Panel Handle a Level 2 Charger?
That’s the million-dollar question, isn't it? The answer completely depends on your panel's total capacity and your home's existing electrical load. A Level 2 charger is a powerful appliance that needs its own dedicated 240V circuit, and your panel must have enough spare capacity to handle it safely.
To figure this out, we perform a professional "load calculation."
- This audit tallies up the power consumption of all the major appliances in your home.
- We compare that total against your panel's maximum amperage rating.
- If there isn't enough room, a panel upgrade might be necessary to support the new load without risking overloads.
This assessment is a standard part of our quoting process. It ensures there are no surprises and that the final installation is 100% safe.
How Long Does the Installation Typically Take?
For a standard, straightforward installation, our electricians can often get the entire job done in just a few hours—usually between 2 to 4 hours.
However, the timeline can extend if the project is more complex. Factors that add time include needing a full panel upgrade, running wiring over a long distance from the panel to the garage, or trenching conduit to a detached garage. The permitting and inspection schedule can also add a few business days to the overall process.
We have answers to even more specific scenarios, so check out our frequently asked questions page for more details.
Ultimately, the goal is a seamless, efficient installation that minimizes disruption to your day. A clear plan, established during our initial visit, is key to making this happen.
Choosing the right partner for your project ensures every question is answered and every detail is handled correctly. At Black Rhino Electric, we're committed to providing safe, reliable, and code-compliant installations that give you peace of mind. If you're ready to make home charging a reality, call us at 385-396-7048 or request a free quote today.