Are you tired of that sinking feeling you get watching heavy snow pile up on your roof, knowing the threat of ice dams is real? For homeowners in Northern Utah, a properly installed system is your best defense against costly water damage. When installed correctly, heat tape for roofs and gutters provides peace of mind by creating clear drainage paths, stopping destructive ice dams before they can even start.
Contents
- 1 The Hidden Winter Threat to Your Utah Home
- 2 Understanding How Roof and Gutter Heat Tape Works
- 3 Choosing Between Self-Regulating and Constant-Wattage Cables
- 4 Understanding Critical Safety and Electrical Needs
- 5 Analyzing the Costs and Long-Term Value
- 6 Why You Should Always Hire a Licensed Electrician
- 7 A Few Common Questions About Roof Heat Tape
The Hidden Winter Threat to Your Utah Home
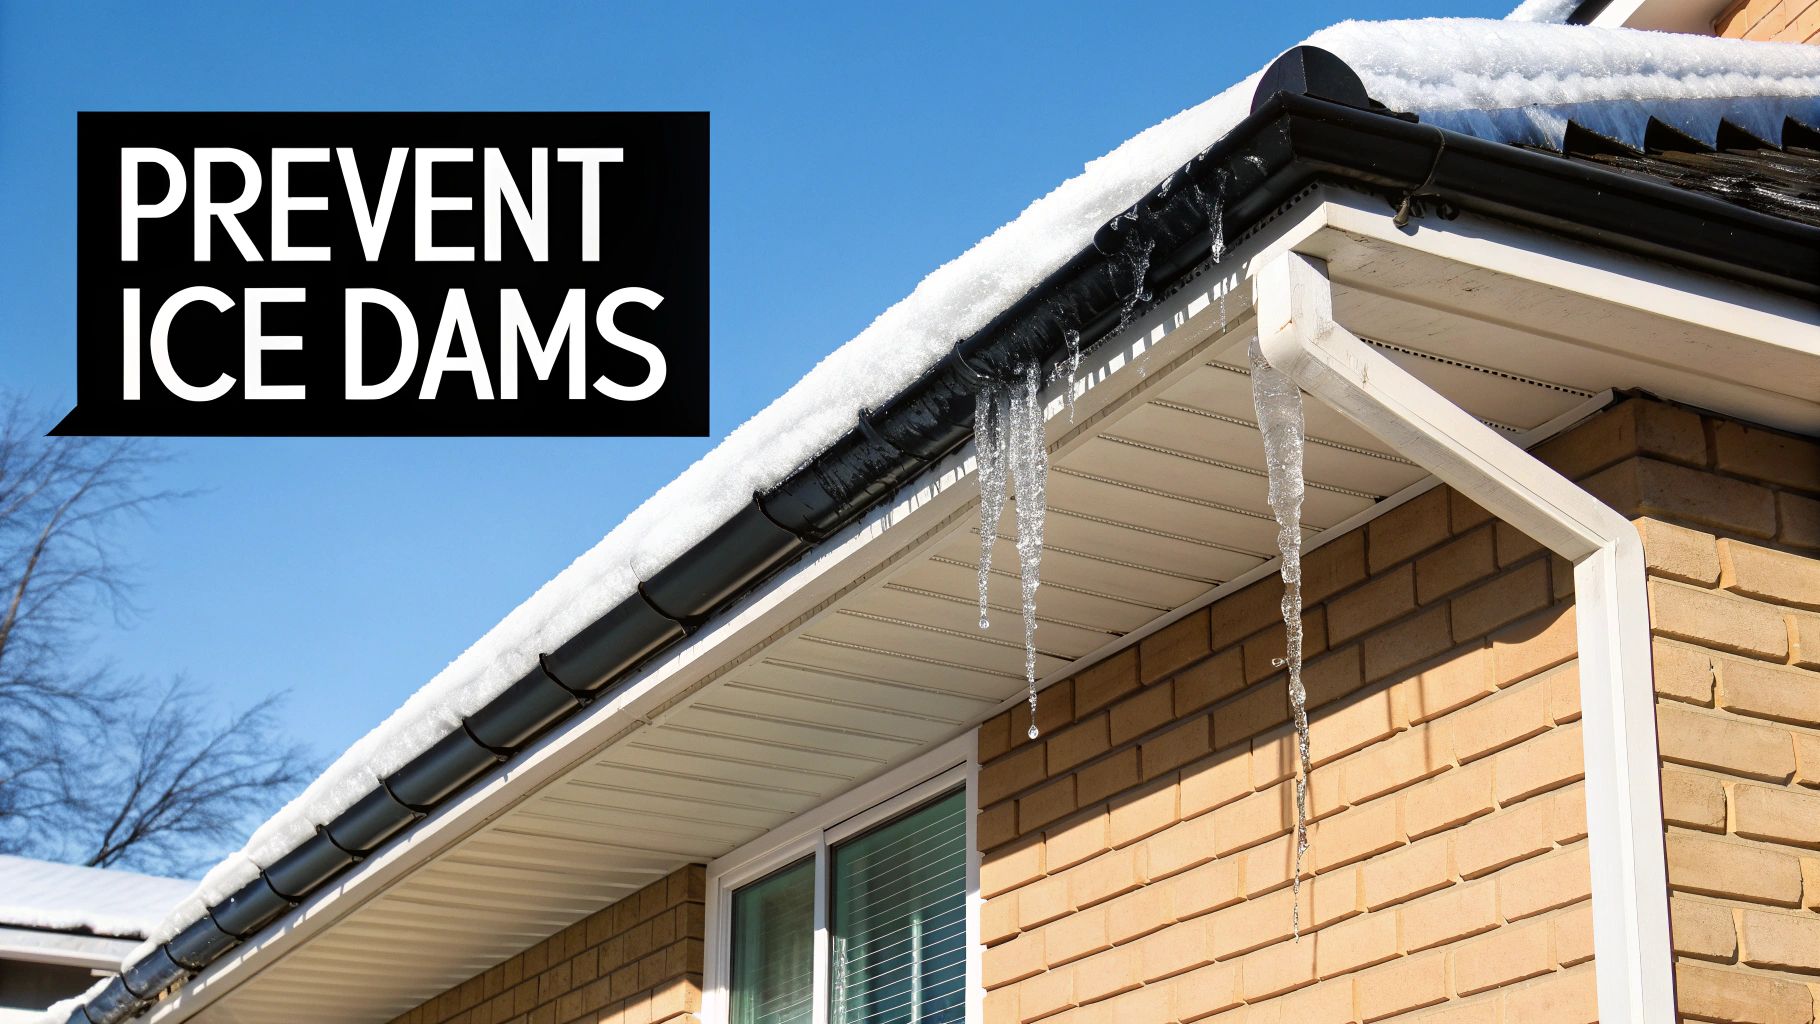
Here in Northern Utah, our winters mean business. The constant cycle of snow, melting, and refreezing is the perfect recipe for ice dams. These thick ridges of ice build up right at the edge of your roof, trapping the meltwater from the snow above. When that water has nowhere to go, it gets forced backward and upward, seeping under your shingles and right into your home's structure.
Honestly, the damage can get a lot worse than most people think. It might start with a simple water stain on the ceiling or some peeling paint, but it can escalate quickly.
The Real Cost of Ice Dams
What starts on the roof rarely stays there. Trapped water can trigger a whole cascade of expensive problems that go way beyond a simple leak. Here’s what’s actually at stake:
- Compromised Insulation: Once insulation gets wet, it’s useless. Worse, it becomes a perfect breeding ground for mold and mildew, which can seriously impact your home's air quality.
- Structural Wood Rot: That persistent moisture can rot out your roof decking, wall studs, and framing. We’re talking major structural repairs that are both disruptive and incredibly costly.
- Damaged Gutters and Downspouts: The sheer weight of an ice dam can bend, warp, or even rip your gutters right off the house, forcing you to replace the entire system.
This isn’t just some minor headache; it's a huge financial risk. It’s no surprise the demand for roof and gutter de-icing cables has shot up as homeowners face the expensive truth of an ice dam incident. In snowy places like ours, a single leak can cost anywhere from $1,500 to $5,000 to fix. A professionally installed system is proven to slash these ice-related damages by over 90%, making it a smart, proactive investment. You can discover more insights about the growing heat tracing market and its impact on protecting properties. A proactive approach is always cheaper than a reactive repair.
The goal isn’t to melt every snowflake on your roof. It's to create and maintain clear drainage paths for meltwater, making sure it flows safely away from your home instead of into it.
Protecting your home is all about managing water flow, and that's exactly what a well-designed heat tape system does. It’s an active defense against the worst that winter can throw at you.
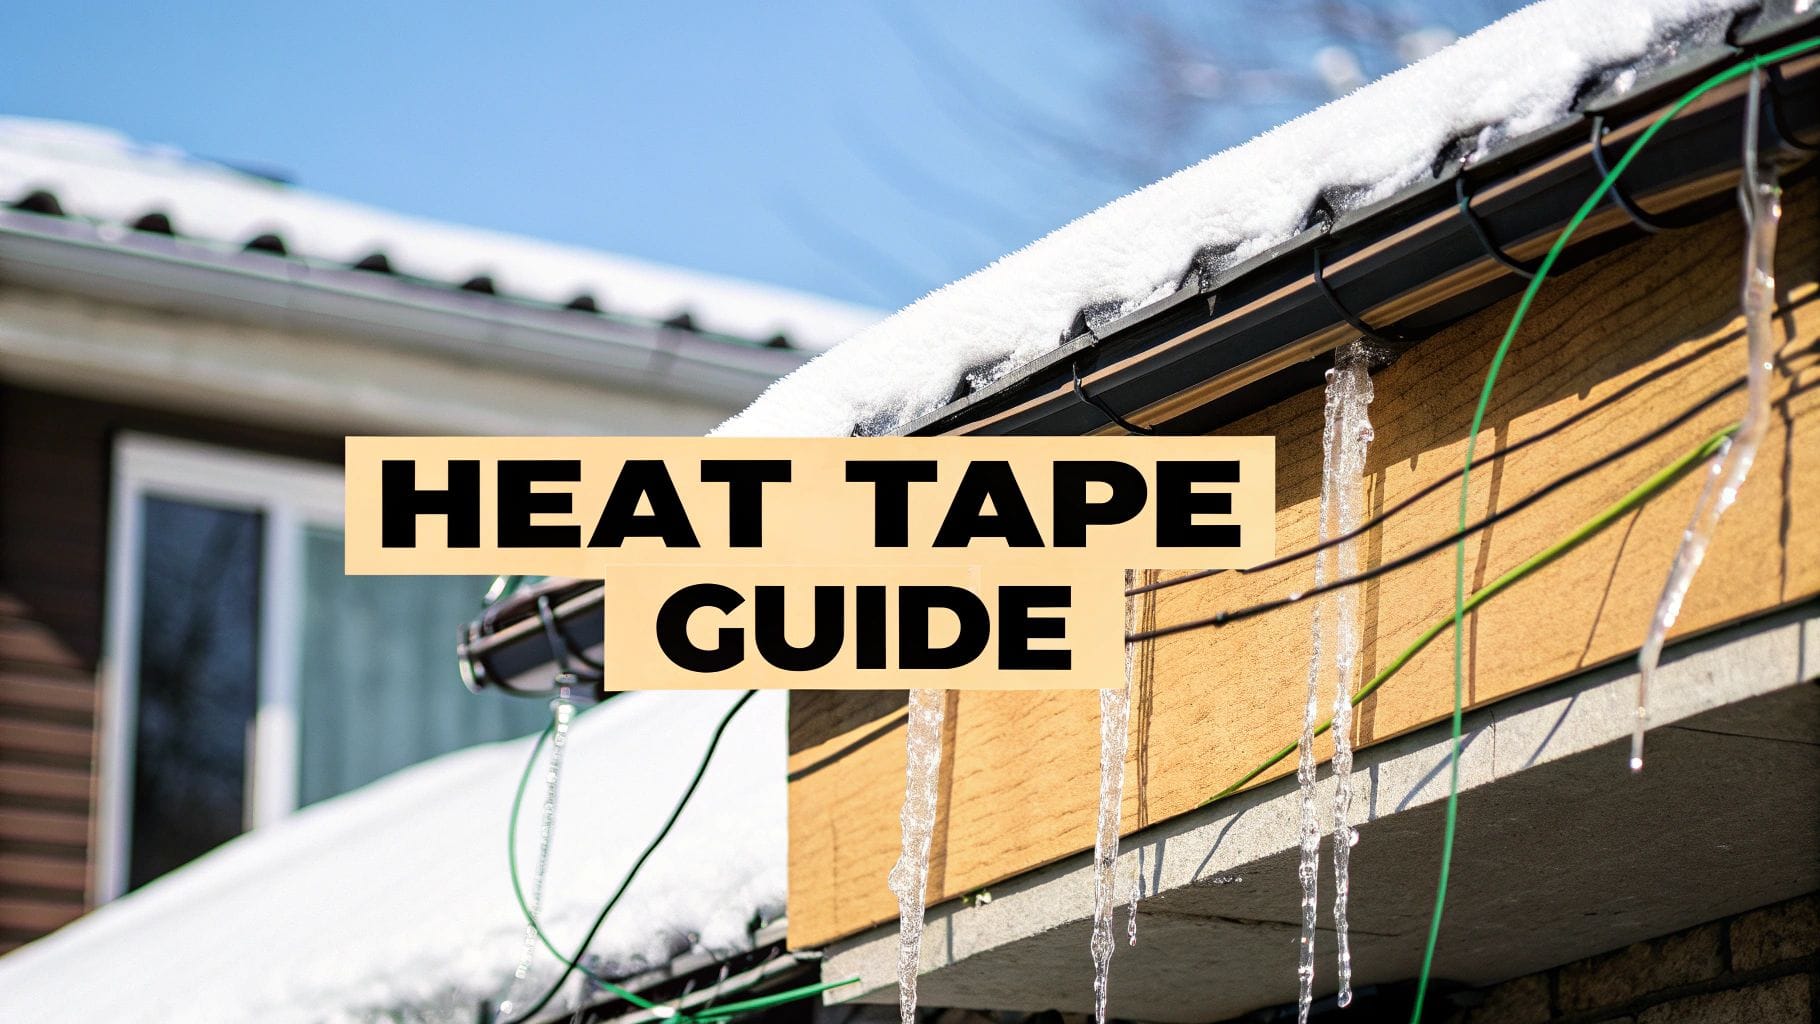
Understanding How Roof and Gutter Heat Tape Works
Ever wonder how to stop those destructive ice dams before they even start? The secret is a clever, targeted solution that works a lot like a smart electric blanket for the very edges of your roof. When it’s installed right, heat tape for roofs and gutters creates and maintains clear drainage paths so meltwater flows harmlessly away. It short-circuits the freeze-thaw cycle that leads to heavy, damaging ice buildup.
It’s a common misconception that heat tape is supposed to melt all the snow off your roof. You know what? That would take a colossal amount of energy and, frankly, it isn't necessary. Its job is far more strategic and efficient.
The Science Behind the System
Think of it this way: ice dams form because the upper part of your roof is a little warmer than the eaves. Snow melts up high, trickles down, and then hits the freezing-cold edge, where it refreezes solid. Heat tape interrupts this damaging cycle right where it matters most.
The system uses specialized electrical heating cables, which a pro installs in a specific pattern along the critical areas. These spots almost always include:
- Roof Eaves: A zigzag pattern is laid out along the first few feet of the roof edge to stop that initial ice ridge from forming.
- Gutters: A cable is run right inside the gutter channel. This keeps it from turning into a solid block of ice and becoming useless.
- Downspouts: The cable is then dropped down into the downspouts to make sure meltwater has a complete, clear path all the way to the ground.
By applying just enough gentle, consistent warmth to these key zones, the cables melt small channels through the snow and ice. This allows any water from above to flow freely through the gutters and downspouts, just as it would on a warm day.
The core principle here is proactive water management, not brute-force snow removal. The system’s goal is to keep water moving, preventing the static, frozen blockades that cause leaks and structural damage.
The Role of Temperature and Timing
Here’s the thing: for a heat tape system to work well, it needs to be on before the ice dam is already a monster. Once a massive ridge of ice is in place, the cables have to work much harder and might only manage to melt small tunnels through it instead of clearing a proper path. That’s why many systems include thermostats or sensors.
These little controllers automatically kick the system on when temperatures drop into the critical freezing range (typically between 15°F and 35°F) and there's moisture. This intelligent control ensures the system runs only when it's actually needed, which helps manage energy costs while giving you reliable protection all winter. Ultimately, it’s this targeted, automated approach that makes heat tape for roofs and gutters such a powerful tool for safeguarding your home.
Choosing Between Self-Regulating and Constant-Wattage Cables
When you start looking into heat tape for roofs and gutters, you’ll quickly find out not all systems are built the same. The two main players are self-regulating and constant-wattage cables. Choosing the right one is a big deal for how well it works and what it costs you on your power bill.
Think of it like this: it's the difference between a smart thermostat that adjusts to the weather and a simple on/off switch. Both can get the job done, but one is a whole lot smarter and more efficient. Understanding this difference is the key to making a good investment. One type is a modern, energy-saving workhorse, while the other is a more basic, budget-friendly option.
This is how it all comes together to protect your home. The system creates a clear path for meltwater to drain, stopping ice dams before they ever get a chance to form.
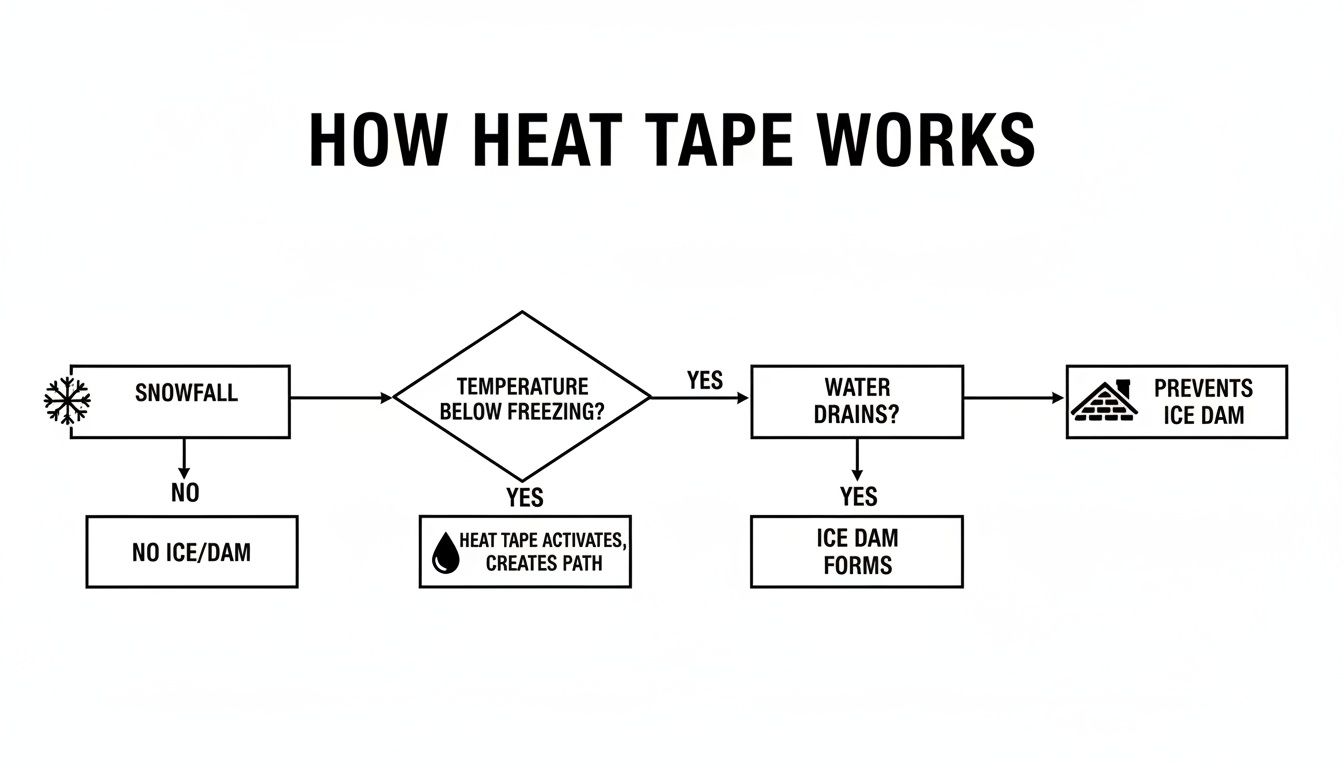
The goal isn't to melt every snowflake. It's to strategically manage water flow and keep it moving right off your roof where it belongs.
Self-Regulating Heat Cables: The Smart Choice
Self-regulating heat tape is the more advanced—and frankly, the superior—technology for homes. Its secret is a "smart" conductive core that automatically adjusts its heat output along every single inch of the cable.
Here’s how it works: the cable’s core becomes more conductive (producing more heat) in colder spots, like inside a frozen gutter. In warmer spots, like a patch of roof getting hit by the sun, it becomes less conductive and dials the heat way down. This targeted approach makes it incredibly energy-efficient. It also pretty much eliminates the risk of overheating, which could otherwise damage shingles or PVC gutters.
This self-adjusting tech is a game-changer, especially for roofs with tricky layouts or areas that get different amounts of sun. Studies show this technology can cut energy use significantly, potentially saving up to 40% on electricity compared to old-school constant-output heaters. In fact, remote monitoring for these systems has grown by 35% in recent years, giving homeowners even more control. You can learn more about these industrial heat tape findings and see how the technology keeps getting better.
Constant-Wattage Heat Cables: The Basic Alternative
Constant-wattage cables are the simpler, more traditional option. Just like the name says, they push out a consistent, steady amount of heat per foot whenever they’re on. They are either fully "on" or fully "off," with no middle ground and no ability to adapt to changing conditions.
Because they deliver the same heat everywhere, they are much less energy-efficient. A section of cable baking in the sun will pull the same amount of electricity as a section buried deep in a frozen downspout. While they cost less to buy upfront, their running costs can be a lot higher over the life of the system.
The biggest drawback with constant-wattage cables is the risk of overheating. If the cables overlap or get covered with leaves, they can create hot spots. These can damage your roofing materials or even pose a fire hazard if not installed with extreme care.
A Head-to-Head Comparison
Making the right call really comes down to weighing the long-term benefits against the initial cost. For most homeowners we work with, the better safety and energy savings of self-regulating cables make them the clear winner. To help you decide, let's put them side-by-side.
Heat Tape Comparison: Self-Regulating vs. Constant-Wattage
This table breaks down the key differences to help you figure out which option is the best fit for your home and budget.
| Feature | Self-Regulating Heat Tape | Constant-Wattage Heat Tape |
|---|---|---|
| Energy Efficiency | High. Automatically reduces power in warmer areas, saving electricity. | Low. Uses the same amount of power no matter the temperature. |
| Safety | Very Safe. Can't overheat, even when overlapped. Safe for all roof types. | Moderate. Can create hot spots and risk damaging materials if installed improperly. |
| Upfront Cost | Higher. The advanced technology comes with a bigger initial price tag. | Lower. More affordable to buy, making it seem like a budget-friendly choice. |
| Lifespan | Longer. Built tougher to withstand harsh winters for many years. | Shorter. More prone to burnout from being "on" at full power all the time. |
| Installation | Requires a pro to ensure proper electrical connections and layout. | Can be a DIY project, but professional oversight is highly recommended for safety. |
While the lower sticker price of constant-wattage cables can be tempting, the higher running costs and safety risks often wipe out those initial savings. For a reliable, efficient, and worry-free heat tape for roofs and gutters system, self-regulating technology is the professional standard we stand by.
Understanding Critical Safety and Electrical Needs
When you decide to protect your home with heat tape for roofs and gutters, it’s easy to focus on the outcome—no more ice dams. But here’s the thing: installing these systems isn't a simple plug-and-play project like setting up holiday lights. This is a permanent electrical installation exposed to the harshest weather, and that means safety and proper electrical work are non-negotiable.
Let me explain. A heat tape system is a powerful electrical appliance that runs for hours, sometimes days, at a time. If it isn't wired correctly from the start, you're trading one problem (ice dams) for a much more dangerous one, like a fire hazard or electrical shock.
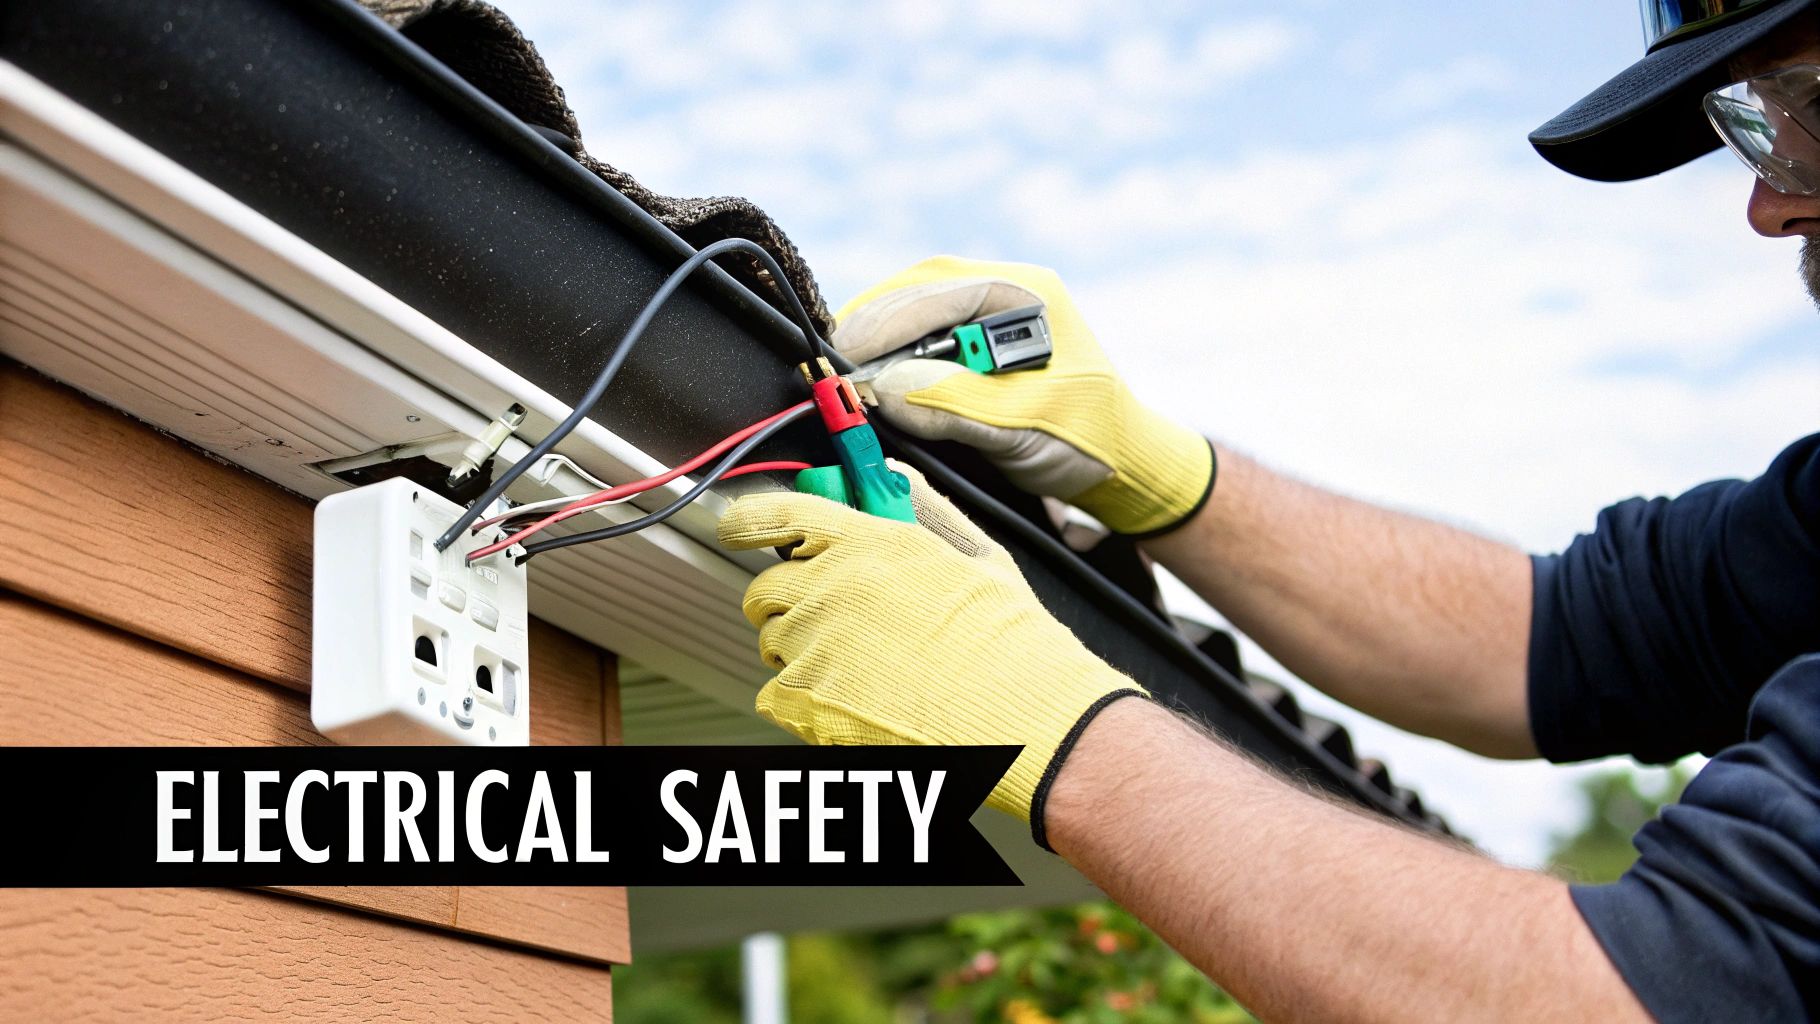
This is where our professional expertise as licensed electricians becomes absolutely essential to ensure the system is both effective and, most importantly, completely safe.
The Need for a Dedicated Circuit
Think about the appliances in your kitchen. Your microwave and toaster probably share a circuit, but a high-draw appliance like an electric oven gets its own. A roof de-icing system is similar; it needs a significant and continuous supply of power to do its job.
Plugging a long run of heat tape into an existing outdoor outlet that also powers your garage lights or other devices is a recipe for disaster. The combined electrical load can easily overwhelm the circuit, leading to constant and annoying breaker trips. Even worse, overloading a circuit can cause wires to overheat, creating a serious fire risk inside your walls.
A licensed electrician will ensure your system is powered by a dedicated circuit, sized correctly for the specific wattage and length of your heat tape. This guarantees the system has the consistent power it needs to operate without compromising the rest of your home’s electrical system. For homeowners curious about how circuits are managed, you can learn more about the role of breakers and electrical panels in our detailed guide.
Why GFCI Protection Is Not Optional
Water and electricity are a lethal combination. Because heat tape for roofs and gutters operates in a wet, snowy environment, protecting against electrical shock is the top priority. This is the job of a Ground Fault Circuit Interrupter, or GFCI.
A GFCI is a smart safety device that constantly monitors the flow of electricity in a circuit. If it detects even a tiny imbalance—like electricity flowing to the ground through water or a person—it shuts off the power in a fraction of a second, preventing a dangerous or even fatal shock. The National Electrical Code (NEC) mandates GFCI protection for virtually all outdoor electrical outlets and systems, and roof de-icing cables are no exception.
Attempting to install a heat tape system without proper GFCI protection is a dangerous gamble with the safety of your home and family. It’s a critical safety layer that a professional electrician will always install correctly and to code.
Using the Right Weather-Resistant Hardware
It’s not just about the wiring inside your walls; the components outside must be tough enough to handle a Utah winter. Standard indoor outlets and junction boxes will quickly fail when exposed to snow, ice, and UV radiation. A professional installation uses only weather-resistant (WR) and "in-use" (bubble) covers for all outdoor receptacles.
Here’s why this matters:
- Weather-Resistant Outlets: These are built with corrosion-resistant materials and UV-stabilized plastics to prevent cracking and degradation from sun exposure.
- "In-Use" Covers: These protective covers are designed to shield the plug and outlet from rain, snow, and ice while the system is plugged in, ensuring a safe and continuous connection.
- Proper Mounting and Sealing: An electrician will mount junction boxes securely and seal any entry points to prevent moisture from getting inside and causing shorts.
Every component, from the outlet to the clips holding the cable, must be rated for outdoor use and installed according to best practices. This attention to detail is what separates a safe, long-lasting system from a hazardous DIY attempt that could fail in its first season. Getting these electrical details right is the most important part of the entire project.
Analyzing the Costs and Long-Term Value
When you’re thinking about an upgrade like heat tape for roofs and gutters, the conversation always comes around to cost. It’s important to look at this as a real investment. This isn't just a seasonal gadget; it's a permanent protective measure for your home.
So, is the upfront cost really worth it? The right way to frame it is to compare a one-time investment against the potential for recurring, brutal repair bills. The initial price for a professionally installed system might seem like a lot, but it’s a drop in the bucket compared to the thousands you could shell out for water damage remediation, mold removal, or structural repairs after a single bad ice dam.
Breaking Down the Installation Cost
So, what actually makes up the final price tag for a heat tape system? It's more than just the cable itself. A handful of key factors determine the total investment, and a good electrician accounts for all of them to make sure the system is a perfect fit for your home’s unique layout.
A professional quote will typically factor in these variables:
- Type of Cable: Like we've covered, self-regulating cables cost more upfront than constant-wattage ones, but they pay you back with better safety and long-term energy savings.
- Total Length Required: The linear footage of your roof eaves, gutters, and downspouts directly impacts how much cable and hardware you'll need. A bigger or more complex roof simply requires more material.
- Roof Complexity: A simple, straight ranch-style roof is much easier to work on than a roof with multiple gables, valleys, and dormers. The trickier the installation pattern, the more labor it takes.
- Electrical Work: If a new, dedicated GFCI-protected circuit has to be installed, that will be part of the cost. This isn’t optional—it’s a critical step for keeping the system safe and reliable.
The Long-Term Value Proposition
Let's think beyond that first invoice. The real value of a properly installed heat tape system is measured over years of winters where you don't have to worry. It's an investment in preventative maintenance that actively protects your home.
A professionally installed system isn't an expense; it's insurance against catastrophic water damage. By preventing the root cause of ice dams, you're safeguarding your home's structural integrity, insulation, and interior finishes from costly harm.
Think about the cost of doing nothing. One major ice dam can easily lead to thousands of dollars in repairs, not to mention the headache and disruption it causes. The average cost for water damage restoration can run from $1,300 to $5,600—and often much more. When you stack that up against the one-time cost of a heat tape system, the financial peace of mind is pretty clear.
Maximizing Your System's Lifespan and Effectiveness
Once your system is in, a little annual maintenance goes a long way. This isn't complicated or time-consuming, but it’s key to making sure your investment performs perfectly for years to come.
Here are a few simple tips:
- Clear Debris Every Fall: Before the first snow, get your gutters and downspouts completely clear of leaves, pine needles, and whatever else has collected up there. Clogs stop the heat tape from creating a clear path for water to drain.
- Perform a Visual Inspection: Give the cables a quick once-over. Look for any visible damage, like fraying or disconnected clips. Make sure the cable is still snug in its zigzag pattern along the roof edge.
- Test the System Early: Don't wait for a blizzard to find out if your system is working. Flip it on during a cool day in late fall just to confirm it's heating up properly.
This proactive approach makes sure your system is ready to roll when you actually need it.
Why You Should Always Hire a Licensed Electrician
After digging into all the technical details, let's put it all together. Installing heat tape for roofs and gutters is a serious electrical project, not a weekend DIY task. From sizing the circuit correctly and getting the GFCI protection right to knowing the local codes, the risks of getting it wrong are just too high.
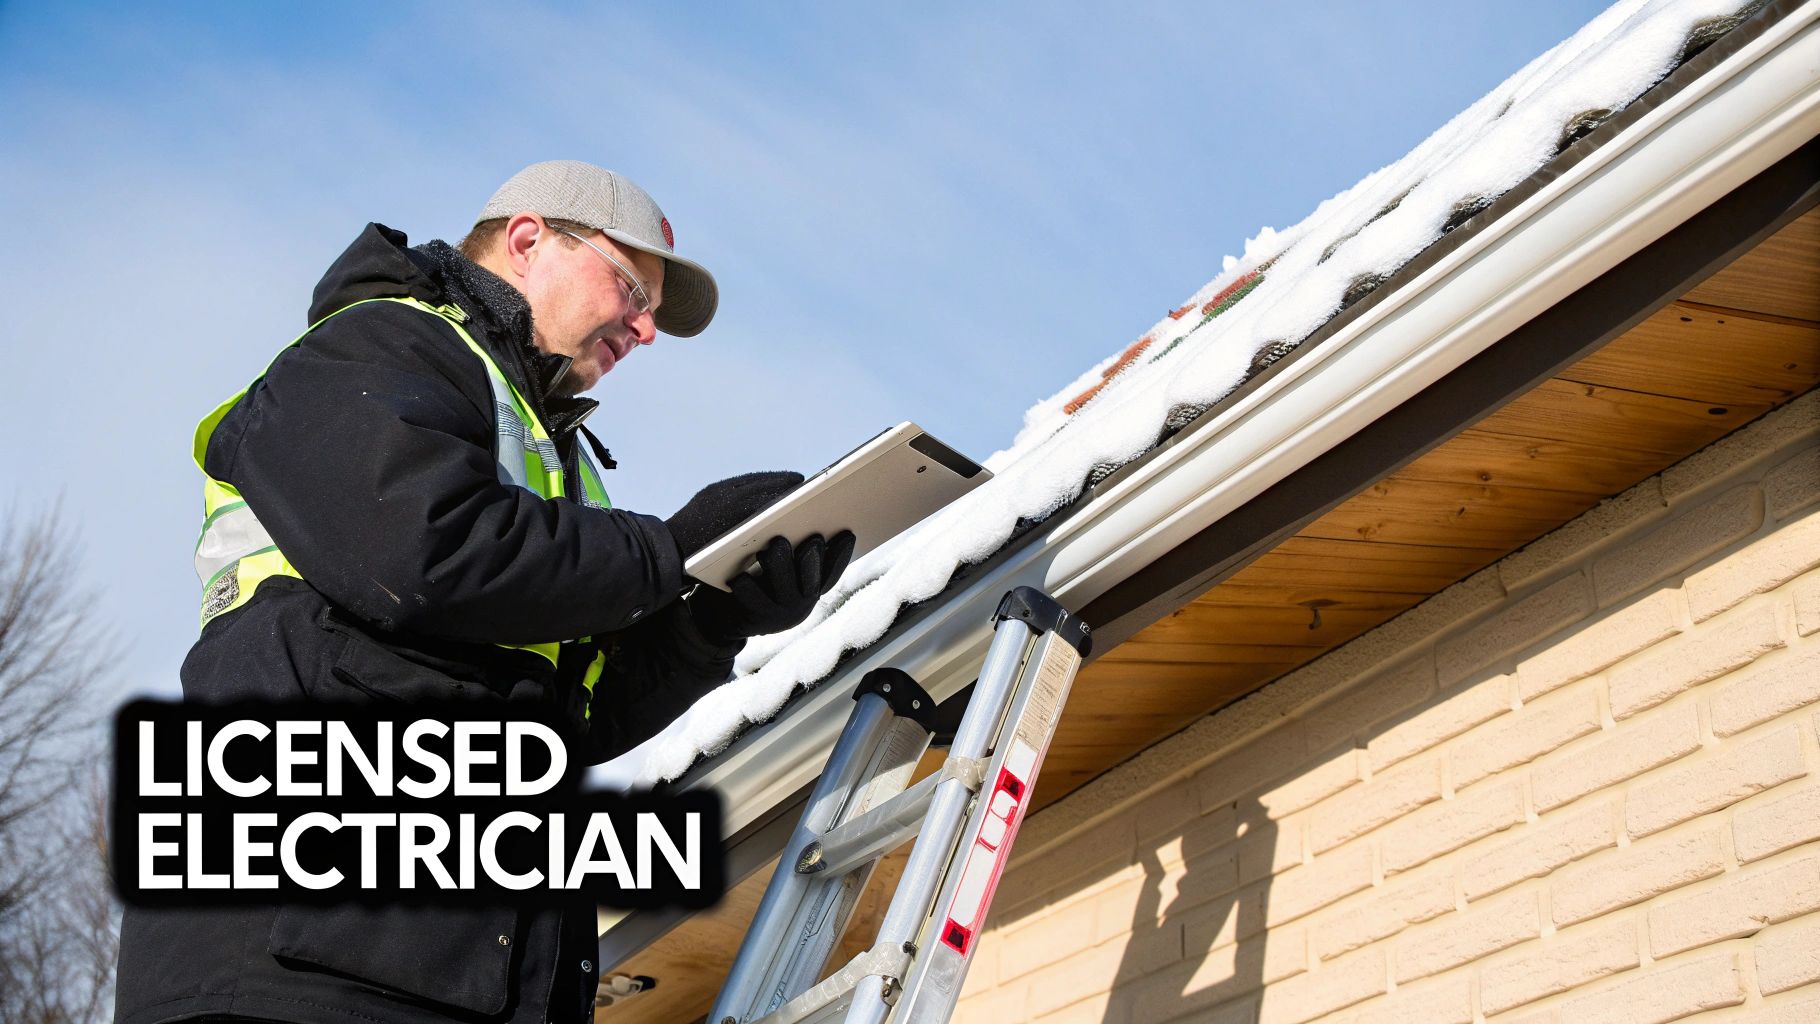
This is about more than just making sure the system melts snow. It’s about protecting your home and family from hazards that are completely preventable. An improper installation can kick off a chain of problems far more expensive and dangerous than the ice dams you were trying to solve in the first place.
The Dangers of a DIY Installation
It’s always tempting to try and save a few bucks by doing it yourself, but is that a risk you're willing to take with your home's safety? The expertise of a licensed electrician is your best defense against the hidden dangers that come with this type of outdoor electrical work.
Here are the critical risks you sidestep by hiring a professional:
- Fire Hazards: Incorrect wiring, an overloaded circuit, or using the wrong type of cable can cause wires to overheat. This creates a significant fire risk, often hidden away in your walls or attic where you won't see it until it's too late.
- Electrical Shock: Without proper GFCI protection and truly weather-resistant connections, the entire system is a shock hazard waiting for a wet day. A licensed electrician makes sure every connection is secure, sealed, and up to code.
- Voided Warranties and Insurance: Most heat tape product warranties are instantly voided if they aren't installed by a qualified professional. Worse yet, if a fire or damage happens because of a DIY installation, your homeowner's insurance might deny the claim.
- Poor Performance: An incorrectly installed system just won't work efficiently, if it works at all. An electrician ensures the layout is right, the power supply is stable, and the system is ready to perform when the first storm hits.
By hiring an expert, you’re not just paying for an installation—you’re investing in peace of mind. You get the assurance that the job is done right the first time, ensuring your system is safe, efficient, and fully compliant with all local and national electrical codes.
A professional is your partner in safety and reliability. They have the training, the right tools, and the hands-on knowledge to handle the complexities of installing heat tape for roofs and gutters correctly. To learn more about our commitment to safety and quality work, feel free to read about the values that drive our team at Black Rhino Electric.
When it comes to your home’s electrical system, there’s simply no substitute for professional expertise. Don't leave your family’s safety to chance.
A Few Common Questions About Roof Heat Tape
When you’re thinking about protecting your home from a Wasatch Front winter, a few questions always come up. That’s a good thing. Understanding how heat tape for roofs and gutters really works helps you see its value. Here are the clear, no-nonsense answers we give homeowners every day.
How Much Heat Tape Do I Actually Need for My Roof?
This is a great question, but there’s no one-size-fits-all answer here. The amount of cable you need is completely dependent on your roof's shape and size, and getting it right is the difference between a system that works and one that just wastes electricity.
A professional electrician doesn’t guess. We calculate the length by measuring a few key things:
- The linear footage of your roof eaves where ice dams love to form.
- The total length of your gutters that have to stay clear.
- The height of your downspouts, ensuring meltwater has a clear path all the way to the ground.
- The width of your roof overhang, which dictates how tall the zigzag pattern needs to be for proper coverage.
A common mistake we see is underestimating the length needed. That creates cold spots where ice can still grab hold. An expert will map out the layout to guarantee complete, seamless protection.
Can Heat Tape Be Installed on Any Type of Roof Material?
Yes, modern, high-quality heat tape systems—especially the self-regulating kind—are designed to be safe on pretty much any common roofing material. We install them on asphalt shingles, metal roofs, slate, tile, and even wood shakes.
Here’s the thing: the safety isn't just about the cable itself, but the hardware used to install it. A professional will use manufacturer-approved, non-penetrating clips and hangers that hold the cable securely without putting holes in your shingles or messing with your roof's warranty. For metal roofs, we use special clips designed to prevent any corrosion between the cable and the metal surface.
When Is the Best Time to Turn My Heat Tape System On?
Timing is everything. You want to turn the system on before a winter storm rolls in and temperatures are about to drop near freezing. The goal here is to be proactive, not reactive.
Once a massive ice dam has already formed, the cables have to work incredibly hard to melt through it, and they might only manage to create small tunnels in the ice. For the best performance and energy efficiency, flip the switch when temps are between 15°F and 35°F and there’s snow or ice in the forecast. Better yet, many professionally installed systems include automatic controllers with thermostats and moisture sensors that do all the thinking for you. They turn it on and off so you never have to.
Does Roof Heat Tape Use a Lot of Electricity?
The energy use of heat tape for roofs and gutters comes down almost entirely to which type of cable you choose.
- Constant-wattage cables are the less efficient option. They draw full power the entire time they're on, no matter what the actual temperature is. That can definitely lead to higher electricity bills.
- Self-regulating cables are much smarter and way more energy-efficient. They automatically adjust their heat output based on the ambient temperature, using more power only in the coldest spots and dialing it way back in warmer areas or when the sun comes out.
When you pair a self-regulating system with an automatic controller, it runs only when it’s absolutely necessary. This keeps the operating costs surprisingly low while giving you reliable, worry-free protection.
If you're ready to protect your home from ice dams with a professionally installed heat tape system, the team at Black Rhino Electric is here to help. Call us today at 385-396-7048 or request a free quote for a safe, reliable, and code-compliant solution designed specifically for your home.