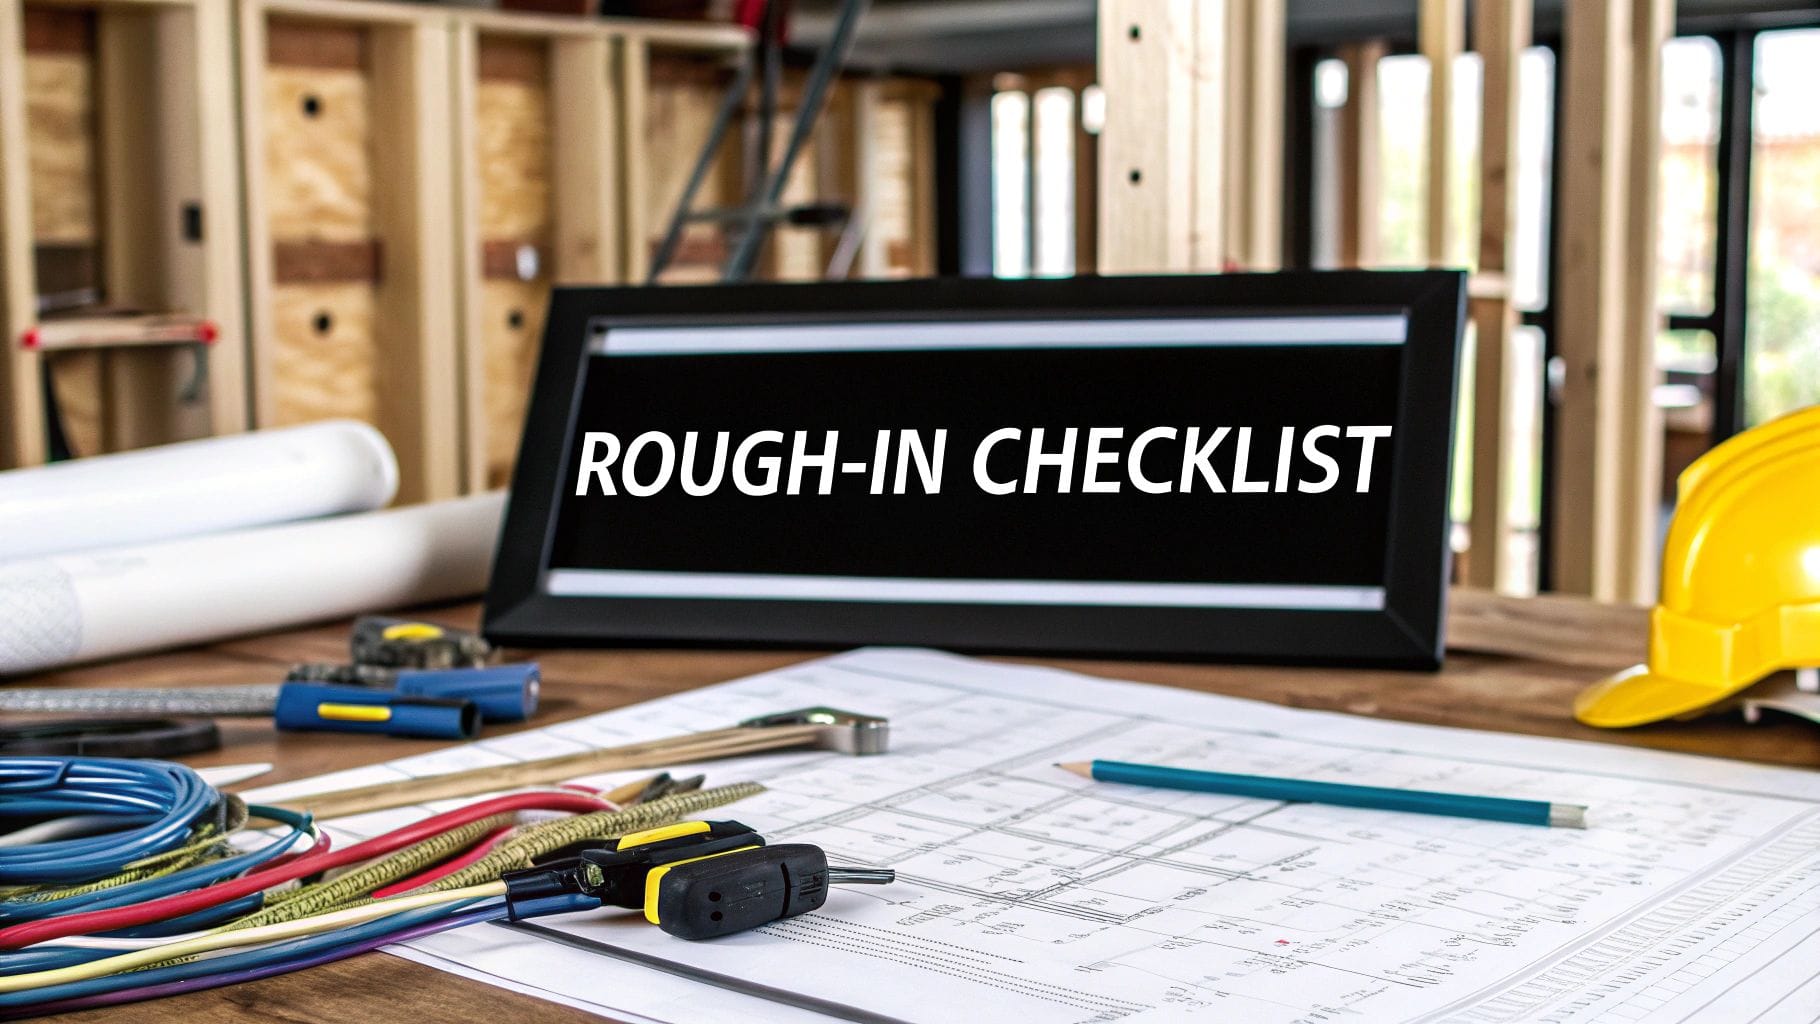
Getting the electrical rough-in right is one of the most critical stages of any new construction or major remodel, and having a thorough electrical rough in checklist is absolutely essential for a smooth project. Honestly, it's the hidden backbone of your entire home or business, and overlooking a single detail can lead to failed inspections, costly tear-outs, and future safety hazards. This guide is designed to be your comprehensive resource before the drywall goes up.
We will walk you through every crucial step, from initial planning and load calculations to the final preparations for your inspection. Let me explain what we'll cover. You’ll find actionable details on box placement for outlets and switches, proper wire sizing for different circuits, and the specific GFCI and AFCI protection requirements that keep your family safe and your project compliant with local codes here in Northern Utah.
Think of this as your project blueprint. We will break down everything from organizing your breaker panel and implementing robust grounding systems to pre-wiring for modern amenities like EV chargers and smart home technology. Following this checklist will not only prepare you for a successful inspection but also ensure the electrical system you can’t see is just as reliable and well-planned as the fixtures you use every day. Let’s get started.
Contents
- 1 1. Circuit Layout and Load Calculation
- 2 2. Conduit Installation and Routing
- 3 3. Outlet and Switch Box Placement
- 4 4. Breaker Panel Organization and Labeling
- 5 5. Wire Sizing and Selection
- 6 6. Cable Termination and Connection Methods
- 7 7. Grounding and Bonding Systems
- 8 8. Inspection Points and Code Compliance Verification
- 9 8-Point Electrical Rough-In Comparison
- 10 Need an Expert Eye on Your Northern Utah Rough-In?
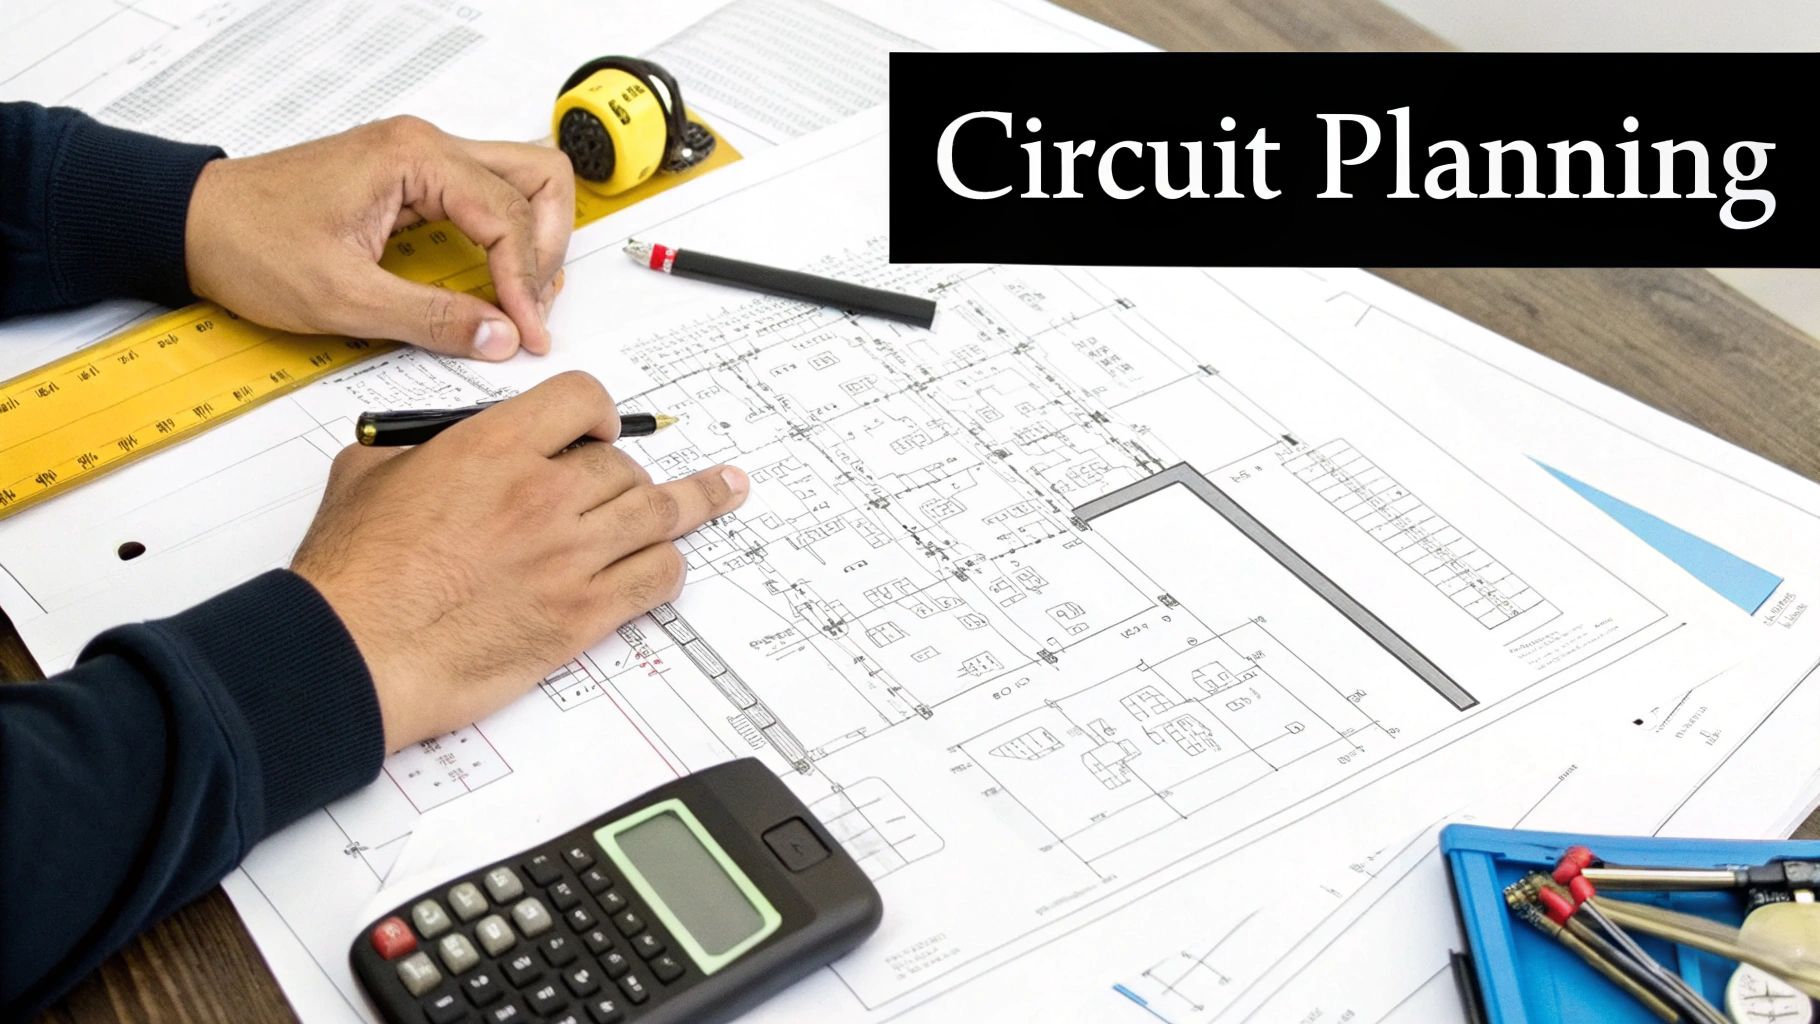
1. Circuit Layout and Load Calculation
Before a single wire is pulled or a box is set, the most critical phase of your electrical rough-in checklist begins: mapping out the entire system. This foundational step involves meticulously planning every circuit and performing a detailed load calculation. This process ensures the electrical system can safely and efficiently handle the anticipated power demands of the home or commercial building, preventing overloaded circuits and potential fire hazards down the line. It's the blueprint that dictates the entire electrical installation.
Why is this the First Step?
Think of it this way: you wouldn't build a house without an architectural plan, so why would you install an electrical system without a circuit plan? This initial calculation, guided by the National Electrical Code (NEC), determines the total amperage the main service panel needs to supply. A standard Northern Utah home might require a 200-amp service, while a commercial space with heavy-duty kitchen equipment or multiple HVAC units will need significantly more.
Proper planning dictates:
- The number of circuits required: Separating lighting from outlets, and dedicating circuits for major appliances like ranges, dryers, and microwaves.
- The amperage of each circuit: Using 15-amp circuits for general lighting and 20-amp circuits for outlets in kitchens, bathrooms, and garages.
- Wire gauge for each circuit: Ensuring the conductor size is appropriate for the amperage to prevent overheating.
- Load balancing: Distributing high-demand circuits across the different phases in the panel to ensure stable, reliable power.
Pro Tip: Always plan for at least 20% extra capacity in your main panel. This "future-proofing" saves significant time and money when you decide to add a hot tub, an EV charger, or finish the basement later on.
Neglecting this step can lead to failed inspections, costly rework, and a system that is fundamentally unsafe. For a deeper look into the planning involved in new builds, you can find more information about the new construction electrical process and how experts ensure it's done right from the start. This initial planning phase is non-negotiable for a safe and compliant electrical rough-in.
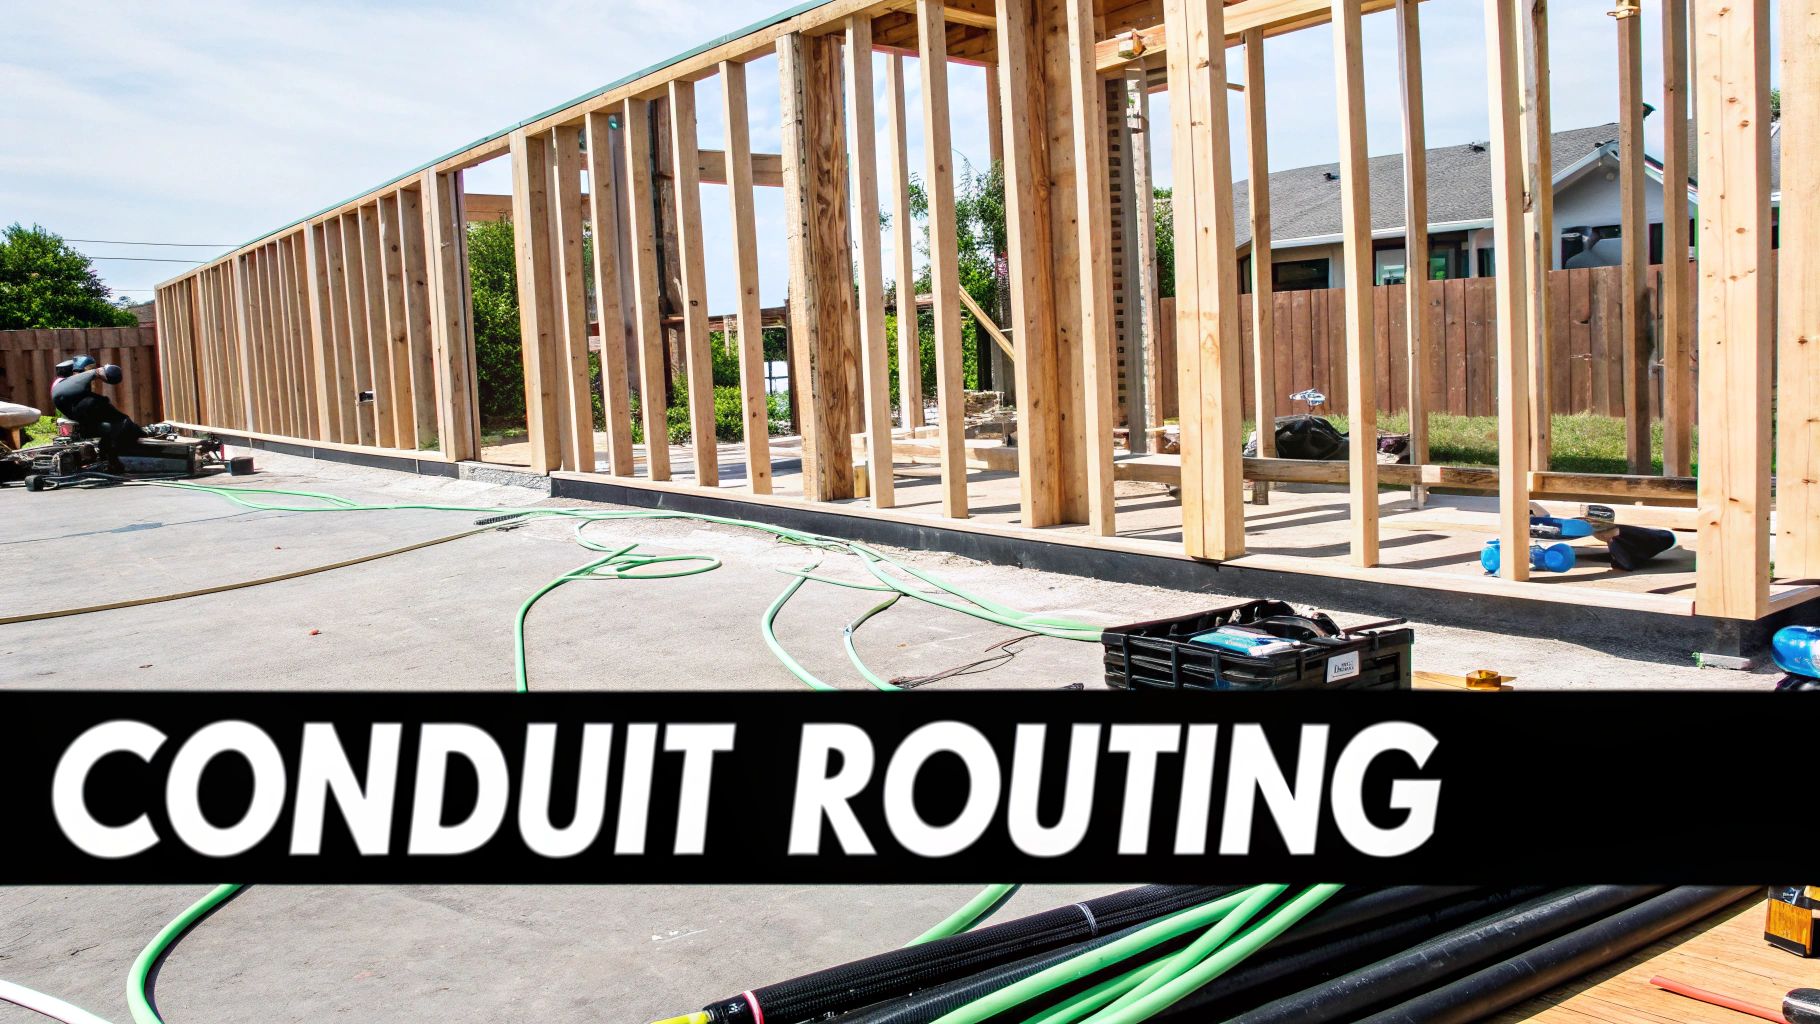
2. Conduit Installation and Routing
Once the circuit plan is finalized, the next step on your electrical rough-in checklist is creating the physical pathways for your wiring. This is where conduit installation and routing comes in. Conduit consists of durable tubes, typically made of metal or plastic, that are installed within walls, ceilings, and floors to house and protect electrical wires from physical damage, moisture, and chemical vapors. It's an essential element for ensuring the longevity and safety of the electrical system, especially in commercial settings or specific residential areas.
Why is Proper Routing a Critical Step?
Think of conduit as the skeletal system for your home’s wiring. A well-planned network of conduit not only protects wires from being pierced by drywall screws but also makes future upgrades or repairs significantly easier. In Northern Utah, conduit is mandatory in certain applications, such as in commercial buildings with metal studs, outdoor installations exposed to the elements, or when wiring is run along the surface of walls in garages and basements.
Proper routing and installation are dictated by NEC standards and involve:
- Choosing the right material: Using rigid metal conduit (RMC) or electrical metallic tubing (EMT) for superior protection in commercial spaces and garages, and PVC conduit for outdoor or underground runs where corrosion is a concern.
- Securing the conduit: Properly supporting and strapping conduit runs at required intervals (typically every 3 to 10 feet depending on the type) to prevent sagging and stress on the wires.
- Executing clean bends: Ensuring all bends are smooth and wide, adhering to the minimum bend radii specified by the NEC to prevent kinking the tube and making wire pulling difficult or impossible.
- Preparing for future needs: Installing slightly larger conduit than immediately necessary or leaving a pull string inside makes adding new circuits later a much simpler task.
Pro Tip: Always deburr the cut ends of metal conduit with a reaming tool. This simple step removes sharp edges that could otherwise strip the insulation off your wires during the pull, creating a dangerous and hard-to-find short circuit.
Failing to install conduit correctly can lead to damaged wiring, failed inspections, and a system that is vulnerable to hazards. A professional electrician ensures every run is secure, protected, and perfectly planned for both present needs and future possibilities.
3. Outlet and Switch Box Placement
Beyond the high-level circuit plan, the next crucial step in your electrical rough-in checklist is determining the precise physical location of every single outlet and switch. This isn't just about convenience; strategic placement of electrical boxes is fundamental to the home's functionality, safety, and compliance with building codes. It dictates how you interact with your living space every day, from plugging in a lamp to turning on the kitchen lights.
Why is Box Placement So Important?
Think about it: how frustrating is it when a light switch is on the wrong side of the door, or there's no outlet where you need to place a piece of furniture? Proper box placement, guided by the National Electrical Code (NEC) and accessibility standards, prevents these daily annoyances and ensures a safe, intuitive environment. This phase translates the circuit blueprint into a tangible, user-friendly layout within the walls.
Careful planning at this stage dictates:
- Code Compliance: The NEC mandates specific spacing for outlets, requiring that no point along a wall is more than six feet from a receptacle. This prevents the unsafe use of extension cords.
- Functionality and Flow: Placing switches near entryways and outlets where they are most needed (like near bedsides, in home offices, or on kitchen islands) makes a home significantly more livable.
- Accessibility: Following Americans with Disabilities Act (ADA) guidelines for switch and outlet height ensures the home is accessible for everyone.
- Specialty Requirements: Bathrooms, kitchens, and garages have specific rules, such as requiring Ground Fault Circuit Interrupter (GFCI) protected outlets near water sources.
Pro Tip: Before the drywall goes up, walk through the space and physically mark the exact location for each box with spray paint. Visualize furniture placement and daily routines. It’s far easier to move a box during the rough-in stage than to cut into finished walls later.
Getting box placement wrong can lead to failed inspections, frustrating daily use, and expensive modifications. A well-thought-out layout considers not just current needs but also future possibilities, such as adding smart home devices or rearranging a room. This attention to detail is a hallmark of a professional and thorough electrical rough-in.
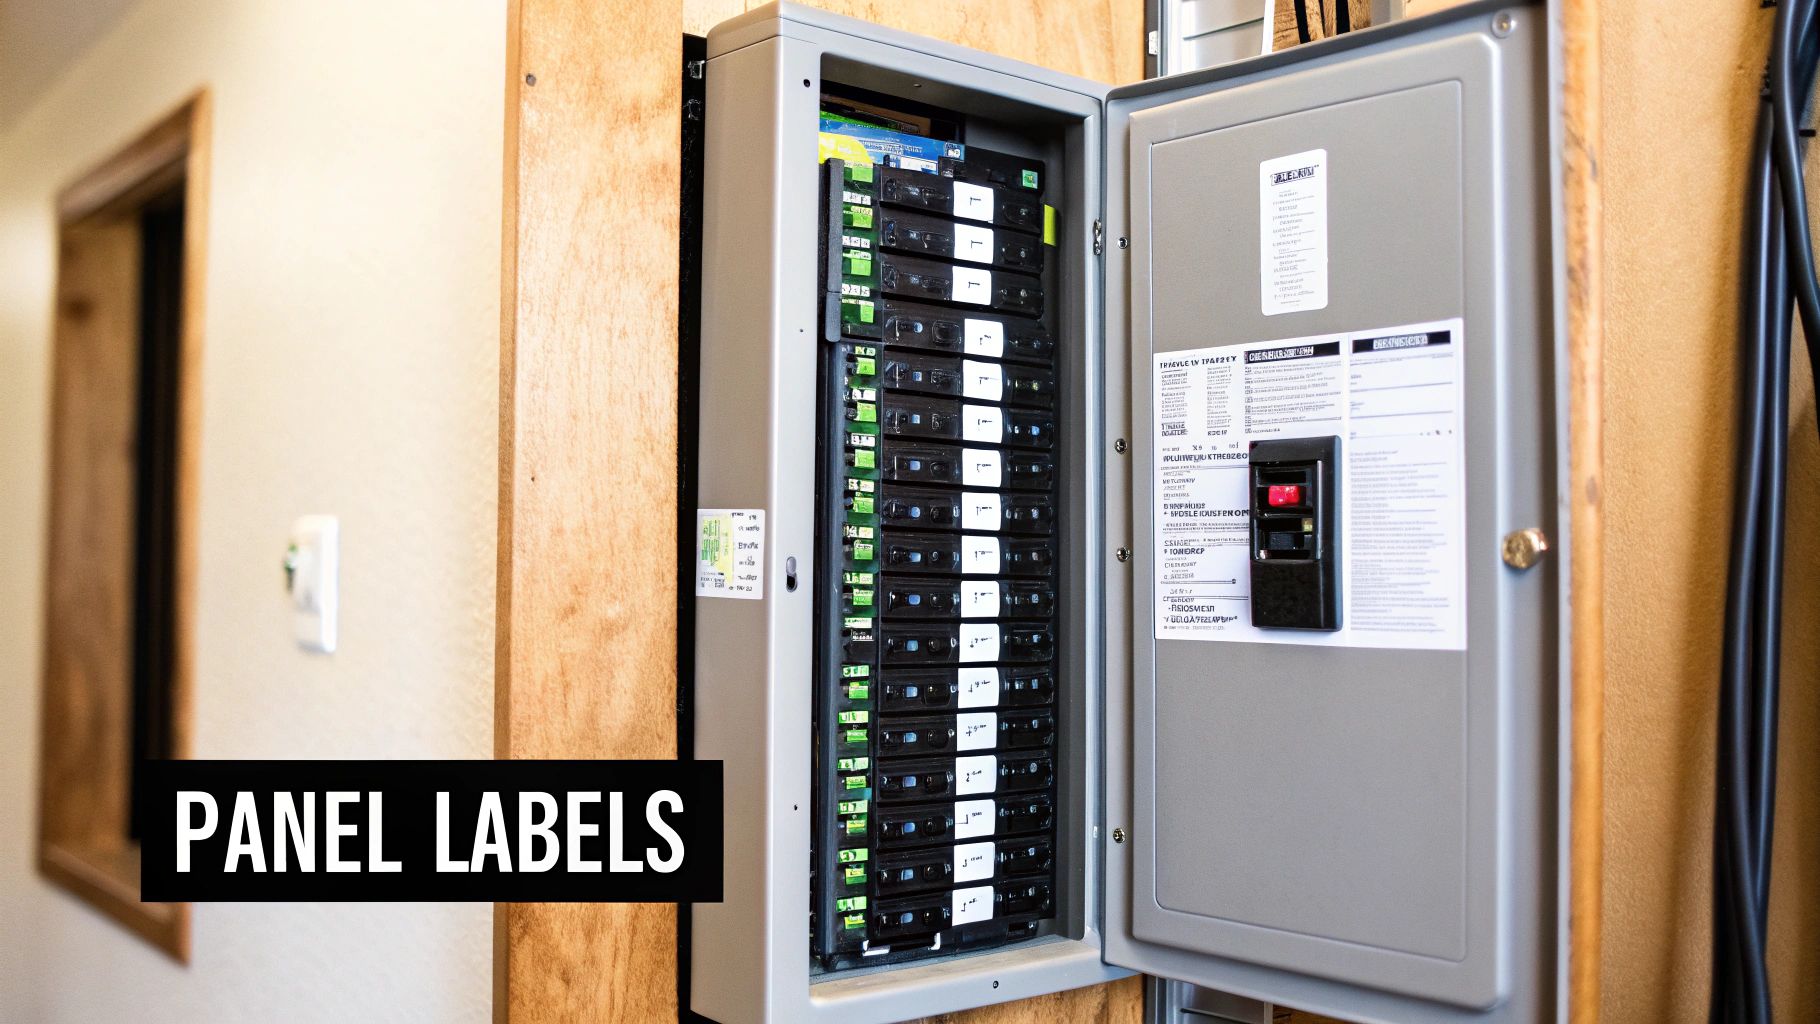
4. Breaker Panel Organization and Labeling
The electrical panel is the central nervous system of your home’s electrical system, the distribution point for every circuit. Proper organization and clear labeling during the rough-in phase are not just a matter of convenience; they are critical for safety, troubleshooting, and future-proofing. This step ensures that anyone, from a homeowner to an emergency responder, can quickly and accurately identify and control specific circuits, turning a potential crisis into a manageable situation.
Why is this the First Step?
Think of your breaker panel as a meticulously organized library. Without a card catalog (or in this case, a clear directory), finding the right book is a frustrating and time-consuming guess. A poorly labeled panel is a safety hazard, forcing you to frantically flip breakers in the dark during an emergency. Proper organization from the start, a key part of any comprehensive electrical rough-in checklist, establishes a safe and logical foundation for the entire system.
This initial organization dictates:
- Logical Circuit Grouping: Placing related circuits, such as all kitchen outlets or all upstairs lighting, near each other in the panel for intuitive access.
- Load Balancing: Strategically placing 240-volt circuits (like for your dryer or range) and high-demand 120-volt circuits across the two main "legs" or phases of the panel to prevent overloading one side.
- Emergency Access: Ensuring that in a hazardous situation, like a sparking appliance, the correct breaker can be shut off immediately without guesswork.
- Future Expansion: Allocating space for new circuits, making future upgrades like an EV charger installation or a hot tub hookup simpler and more cost-effective.
Pro Tip: Don't use a pencil or generic handwritten labels that can smudge or fade. Use a permanent marker, a label maker with durable tape, or pre-printed directories. Taking a high-resolution photo of the completed, labeled panel provides a permanent digital backup.
Failing to properly organize and label the panel can lead to confusion, failed inspections, and dangerous delays in an emergency. For a deeper understanding of how these central hubs work and what goes into a professional installation, you can learn more about the crucial role of breaker panels from the experts who ensure they are installed with precision and care. This step transforms the panel from a simple metal box into the command center of a safe and reliable electrical system.
5. Wire Sizing and Selection
Once the circuit layout is planned, the next crucial step in your electrical rough-in checklist is selecting the correct wire for each circuit. This isn't a one-size-fits-all situation; using the wrong wire gauge (its thickness) can lead to dangerous overheating, significant voltage drop, and failed inspections. Proper wire sizing ensures that each circuit can safely carry its intended electrical load without posing a fire risk, making it a non-negotiable aspect of a professional installation.
Why is This a Critical Checkpoint?
Think of electrical wires like water pipes. A small pipe can't handle the flow required for a fire hydrant, and similarly, an undersized wire can't safely handle the amperage demanded by a high-power appliance. The National Electrical Code (NEC) provides strict guidelines in Article 310 to prevent this exact problem. Selecting the right wire is a balancing act between the circuit's amperage, the length of the wire run, and the conditions of the installation.
Proper wire selection dictates:
- Safety and Code Compliance: The primary goal is to match the wire's ampacity (its current-carrying capacity) to the circuit breaker protecting it.
- Performance and Efficiency: Correct sizing prevents voltage drop, which can cause lights to flicker, motors to run inefficiently, and electronics to perform poorly.
- Specific Appliance Needs: High-demand appliances require much thicker wires. For example, a 15-amp lighting circuit typically uses 14-gauge wire, while a 50-amp electric range needs a robust 6-gauge wire.
- Conduit and Cable Management: The number of wires running through a piece of conduit (conduit fill) can affect heat dissipation, sometimes requiring a larger wire gauge than you might expect.
Pro Tip: When in doubt, it's always safer to upsize a wire gauge, never downsize. For any run over 50-75 feet, consider using the next larger wire size to compensate for voltage drop, especially for critical motor loads like a well pump or an HVAC unit.
Failing to choose the correct wire is one of the most common and dangerous mistakes in DIY electrical work. It can lead to melted insulation, arcing, and fires. That’s why relying on the expertise of a licensed electrician who understands NEC tables and local Northern Utah requirements is essential for ensuring a safe, efficient, and fully compliant electrical system.
6. Cable Termination and Connection Methods
After wires are pulled and routed, the next crucial step in your electrical rough-in checklist is making proper connections. This process, known as cable termination, involves stripping insulation, joining conductors, and securing them within boxes or at the panel. A secure, clean termination is the difference between a reliable, lifelong electrical system and one plagued by intermittent failures, arcing, and significant fire hazards. Every single connection point is a potential point of failure if not done with precision.
Why is this Step so Critical?
Think of it this way: the wire is the highway for electricity, but the connection is the off-ramp. If that ramp is poorly constructed, traffic (current) can't flow correctly, causing a dangerous pile-up. In electrical terms, a loose or improper connection creates high resistance, which generates heat. Over time, this heat can melt wire insulation, damage devices, and ignite surrounding building materials. Companies like Ideal Industries, Wago, and 3M have engineered specific connectors to prevent this, but they only work when installed correctly.
Proper termination ensures:
- A solid mechanical and electrical bond: This guarantees a low-resistance path for current, preventing overheating at receptacles, switches, and breakers.
- Safety and longevity: Well-made connections using the correct connectors (like wire nuts, push-in connectors, or lugs) will last for the life of the system without loosening.
- Code Compliance: The NEC has strict rules for how connections must be made, including how much insulation to strip and how wires must be joined and protected inside an approved enclosure.
- System Reliability: Prevents frustrating issues like flickering lights or dead outlets that are often traced back to a single failed connection point hidden in a wall or ceiling.
Pro Tip: When terminating wires in a box, neatly fold them in an accordion or "S" shape. This prevents stress on the connections when the device is installed and makes future service much easier than dealing with a tangled mess. Always leave at least 6 inches of free conductor extending from the box.
From the panel lugs connecting to the main breakers to the simple wire nut joining wires for a light switch, every termination matters. Getting this step right is a non-negotiable part of a professional and safe electrical rough-in.
7. Grounding and Bonding Systems
Often unseen but critically important, the grounding and bonding system is your electrical installation’s primary safety net. This system creates a safe, low-resistance path for stray electrical current (fault current) to travel directly to the earth, preventing electrical shock, equipment damage, and potential fires. It is a non-negotiable part of any electrical rough-in checklist that ensures circuit breakers and fuses can trip instantaneously when a fault occurs, protecting both people and property.
Why is this System So Crucial?
Think of grounding as the emergency exit for electricity. Without a proper ground path, a short circuit could energize metal components like appliance casings, plumbing pipes, or conduit, turning them into severe shock hazards. The National Fire Protection Association (NFPA) and the NEC place immense emphasis on these systems for a reason. Proper grounding and bonding are what make your circuit protection devices work as intended during a fault.
A robust grounding system requires:
- A Grounding Electrode System: This typically involves one or more ground rods driven deep into the earth, establishing a direct connection to the ground. In Northern Utah, soil conditions can vary, so proper installation is key.
- Equipment Grounding Conductors (EGCs): These are the bare copper or green-insulated wires inside your cables that connect every outlet, switch, and fixture back to the ground bus bar in your panel.
- System Bonding: All metallic systems within the building, such as water pipes, gas lines, and structural steel, must be bonded together and connected to the grounding system to ensure they are at the same electrical potential.
Pro Tip: Use listed clamps specifically designed for ground rod connections and apply an antioxidant compound to prevent corrosion. A poor connection at the ground rod can render the entire safety system ineffective. Regular testing with equipment from brands like Fluke or Megger can verify the system's integrity, ensuring resistance is low (typically under 25 ohms).
Neglecting the grounding and bonding system is one of the most dangerous mistakes one can make. It can lead to immediate inspection failure and creates a hidden, life-threatening hazard. For a comprehensive review of your grounding needs during a remodel or new build, consulting with a qualified electrician is essential to ensure every connection is safe and up to code.
8. Inspection Points and Code Compliance Verification
After all the boxes are mounted, the wires are pulled, and the circuits are made up, you reach a critical gatekeeper in your project: the official rough-in inspection. This is where a certified building inspector from your local municipality visits the site to meticulously review every aspect of your work. They verify that the entire installation complies with the National Electrical Code (NEC) and any local amendments before any drywall or insulation can be installed, ensuring the system's safety and integrity.
Why is this a Mandatory Checkpoint?
Think of the rough-in inspection as the ultimate quality control for your electrical system. It's an independent, expert review designed to catch potentially dangerous errors while they are still visible and easily correctible. Covering up non-compliant work with drywall isn't just a code violation; it's a significant safety hazard that can lead to fires or electrical shock. Passing this inspection is a non-negotiable step before you can proceed with construction.
This verification is essential for:
- Safety Assurance: The inspector confirms proper grounding, wire sizing, box fill, and protection methods are in place to prevent future hazards.
- Legal Compliance: A passed inspection provides the official record that your project meets the legal standards required by your city or county.
- Avoiding Rework: Identifying issues now saves you from the costly and destructive process of tearing out finished walls to fix a problem later.
- Project Progression: You cannot legally move on to insulation and drywall until the electrical rough-in inspection is signed off.
Pro Tip: Take detailed photos of your entire rough-in before the inspection. Document how wires are run, where boxes are located, and how circuits are grouped in the panel. This provides a valuable record for the inspector and for any future troubleshooting or remodeling.
Failing an inspection can cause significant project delays and added costs. For example, a commercial project in Salt Lake County might fail due to insufficient GFCI protection in a breakroom, or a residential build in Weber County could be flagged for incorrect spacing of living room outlets. Understanding these requirements is key, and if you're dealing with a failed inspection, it's crucial to address the issues correctly. You can get professional help in navigating and resolving even complex commercial code violation repairs to get your project back on track.
8-Point Electrical Rough-In Comparison
| Item | Implementation complexity | Resource requirements | Expected outcomes | Ideal use cases | Key advantages |
|---|---|---|---|---|---|
| Circuit Layout and Load Calculation | Medium–High — requires NEC knowledge and calculations | Licensed electrician/engineer, load-calculation tools, time, plans | Balanced circuits, correct amperage sizing, inspection readiness | New construction, major remodels, commercial builds | Prevents overloads, ensures code compliance, simplifies future troubleshooting |
| Conduit Installation and Routing | Medium — mechanical routing, bends, supports | Conduit (RMC/EMT/PVC), fittings, hangers, bending tools, labor | Protected wiring runs, organized pathways, easier future pull-through | Exposed runs, wet/outdoor areas, commercial/industrial projects | Physical protection, easier maintenance, supports heavy/long runs |
| Outlet and Switch Box Placement | Low–Medium — planning critical during framing | Boxes, mounting hardware, coordination with architectural plans | Accessible outlets/switches, ADA and NEC spacing compliance | Residential kitchens, living rooms, home offices | Improves usability, reduces extension-cord use, meets placement codes |
| Breaker Panel Organization and Labeling | Medium — load balancing and systematic labeling | Panel space, breakers, labeling materials, electrician time | Clear circuit identification, safer maintenance, balanced loads | Any service installation or panel upgrade, multi-panel systems | Faster troubleshooting, prevents accidental disconnections, inspection-friendly |
| Wire Sizing and Selection | Medium–High — ampacity and voltage-drop calculations | Appropriate gauge conductors, insulation types, sizing references | Safe ampacity, minimized voltage drop, compliant installations | Long runs, high-load circuits, service upgrades | Prevents overheating, improves performance, allows future load growth |
| Cable Termination and Connection Methods | Medium — requires skill and correct connectors | Wire nuts, lugs, crimp tools, torque tools, skilled labor | Secure low-resistance terminations, reduced arcing and failures | Panel hookups, outlet/switch wiring, retrofit connections | Reliable connections, easier maintenance, meets safety inspections |
| Grounding and Bonding Systems | High — system-wide continuity and specialized testing | Ground rods, conductors, clamps, testers (clamp/megger), labor | Effective fault clearing, shock protection, surge mitigation | All installations (critical for multi-story/commercial/lightning-prone) | Protects personnel/equipment, enables breakers to operate, code-required |
| Inspection Points and Code Compliance Verification | Low–Medium — coordination and documentation | Inspection scheduling, load docs, testing records, photos | Early detection of code issues, official rough‑in approval | Every project prior to drywall/finishes | Prevents costly rework, ensures legal compliance and safety |
Need an Expert Eye on Your Northern Utah Rough-In?
Navigating the journey from bare studs to a fully powered, safe, and functional space is a significant undertaking. This comprehensive electrical rough-in checklist has provided a detailed roadmap, guiding you through the critical stages of planning, execution, and verification. We've moved beyond a simple list of "what to do" and delved into the "why" and "how" behind each step.
From meticulously planning your circuit layout and calculating loads to ensure your system never falters, to the strategic placement of every single outlet and switch box for maximum convenience and code compliance, the details matter immensely. We covered the foundational importance of proper wire sizing, the non-negotiable safety net of grounding and bonding systems, and the precision required for clean cable terminations. Honestly, each of these elements is a critical link in a chain that powers your daily life. A single weak link, whether it's a poorly routed conduit or an overlooked AFCI requirement, can compromise the entire system's safety and reliability.
Distilling the Essentials: Your Key Takeaways
Thinking back on everything we've covered, let's crystallize the most vital takeaways. These are the core principles that separate a passable rough-in from a truly professional installation:
- Proactive Planning Prevents Problems: The most successful electrical rough-in is won long before the first wire is pulled. Your initial circuit planning, load calculations, and thoughtful device placement dictate the project's entire trajectory. Rushing this phase is the most common and costly mistake.
- Code Isn't Just a Guideline, It's a Lifeline: The National Electrical Code (NEC) and local amendments across Weber, Davis, and Salt Lake counties are not suggestions. They represent the minimum standard for safety. Mastering the nuances of GFCI/AFCI requirements, box fill calculations, and proper grounding is non-negotiable for protecting your property and family.
- Documentation is Your Best Friend: Let me explain. When your inspector arrives, a clean installation is only half the battle. Having clear photos of in-wall work, a well-organized panel with a future-proof layout, and detailed notes can make the inspection process smooth and painless. This documentation is also invaluable for future maintenance or upgrades.
- Future-Proofing is Smart-Proofing: Your needs will evolve. Installing conduit for future low-voltage wiring, pre-wiring for an EV charger, or adding a dedicated circuit for a potential hot tub during the rough-in stage is exponentially cheaper and easier than trying to retrofit it later. Think ahead.
Your Next Step: From Checklist to Completion
You now hold a powerful tool: a detailed electrical rough-in checklist that empowers you to approach your project with confidence and a sharp eye for detail. This knowledge allows you to ask smarter questions, better understand the scope of work, and hold your project to a higher standard, whether you're a hands-on DIYer or a general contractor overseeing a build. The ultimate goal is to create an electrical foundation that is not only functional today but is also safe, efficient, and ready for tomorrow's technology. By internalizing these concepts, you're not just wiring a house; you are investing in its long-term value and safety.
You know what? This checklist covers a lot, but navigating the nuances of the NEC and local codes across Weber, Davis, and Salt Lake counties is a full-time job. Here's the thing: a small mistake at the rough-in stage can become a giant headache later. Instead of risking it, let the licensed and insured experts at Black Rhino Electric ensure your project is done right the first time. For peace of mind and a flawless electrical foundation, call us today at 385-396-7048 or request a free quote online.