Honestly, learning how to fix wiring in house safely is a vital skill for any homeowner who wants to avoid electrical hazards and keep their family protected. Walking into a room and hearing a faint buzzing sound is enough to make anyone nervous, but with the right diagnostic steps, you can handle minor repairs without causing a disaster. Let me explain how you can identify red flags and maintain your home’s electrical system with confidence.
Contents
- 1 How to fix wiring in house: Identifying the Red Flags
- 2 Essential Safety and Tools for how to fix wiring in house
- 3 How to fix wiring in house fixtures and 3-way switches
- 4 Troubleshooting Loose Outlets and Overlamping
- 5 Professional Standards for DIY Electrical Repairs
- 6 The Hidden Dangers of Aluminum and Knob-and-Tube Wiring
- 7 Planning a Full Home Rewire and Modern Upgrades
- 8 Conclusion: Ensuring Long-Term Electrical Safety
How to fix wiring in house: Identifying the Red Flags
Here’s a quick overview of how to fix common wiring issues in your house:
- Turn off power at the breaker before touching any wires
- Identify the problem – flickering lights, hot outlets, buzzing sounds, or burning smells
- Use a non-contact voltage tester to confirm power is off
- Fix simple issues yourself – tighten loose outlet screws, replace bulbs within wattage limits, cover open junction boxes
- Call a licensed electrician for aluminum wiring, knob-and-tube wiring, panel work, or any issue you’re unsure about

You know what? Electrical problems are more common than most people realize. According to the Electrical Safety Foundation International (ESFI), over 51,000 home fires start from electrical problems every single year – that’s nearly 1,000 homes affected every week. And a huge chunk of those fires trace back to issues that showed warning signs long before disaster struck.
The good news? Many wiring problems give you early clues. A flickering light here. A warm outlet there. A faint burning smell you can’t quite place. These are your home’s way of asking for help before things get serious.
This guide walks you through the most common wiring problems, which ones you can safely tackle yourself, and – just as importantly – which ones you should never attempt without a licensed electrician.

Glossary for how to fix wiring in house:
Before you grab a screwdriver, you need to know what you’re looking at. Electrical issues rarely stay quiet; they usually ‘scream’ at you through visual or auditory cues. Have you ever touched a light switch and felt it was unusually warm? Or noticed a brown scorch mark on an outlet? These aren’t just cosmetic issues – they are signs of heat buildup caused by arcing or overloaded circuits.

Common Warning Signs
- Flickering or Dimming Lights: This often happens when a high-energy appliance (like a vacuum or microwave) kicks on. It suggests your circuit is overloaded or the wiring is inadequate for modern demands.
- Buzzing or Crackling: Electricity should be silent. If you hear a sizzle, it’s likely ‘arcing’ – electricity jumping across a gap in a loose connection.
- Burning Smells: This is an emergency. If you smell ozone or burning plastic, turn off the main breaker immediately.
- Frayed Wires: Often caused by age or rodents. Rodents love sharpening their teeth on copper wiring, which strips the insulation and creates a massive fire risk.
- Hot Outlets or Switches: If an outlet is warm to the touch even when nothing is plugged in, there is a serious internal struggle happening with the current.
Let me explain: these symptoms are like the ‘check engine’ light in your car. Ignoring them doesn’t make the problem go away; it just makes the eventual breakdown more expensive – and dangerous.
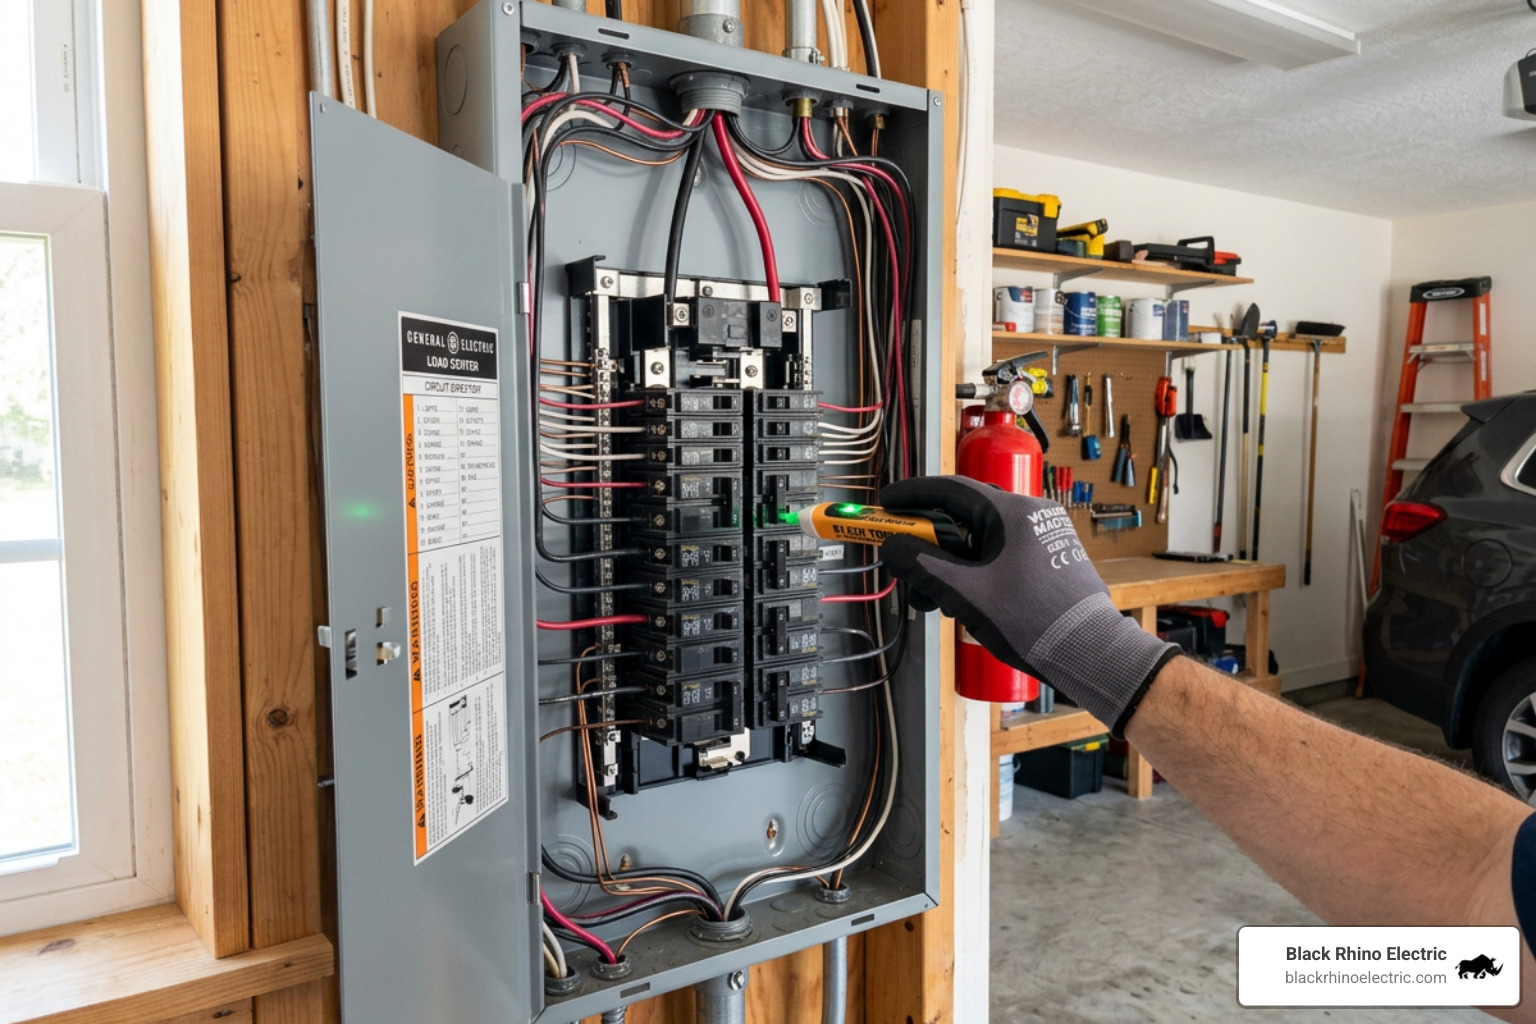
Essential Safety and Tools for how to fix wiring in house
Honestly, safety first isn’t just a catchy phrase; it’s the difference between a successful repair and a trip to the emergency room. Before you even think about how to fix wiring in house, you must de-energize the area.
The “Golden Rules” of Electrical Safety
- Kill the Power: Don’t just flip the wall switch. Go to the main service panel and turn off the specific breaker. If you aren’t sure which one it is, turn off the main lug.
- Verify with a Tester: Never trust a label in the breaker box. Use a non-contact voltage tester to ensure the wires are truly “dead” before touching them.
- Use Insulated Tools: Ensure your screwdrivers and pliers have rubberized, insulated handles rated for electrical work.
Your Basic Toolkit
| Tool | Purpose |
|---|---|
| Non-Contact Voltage Tester | Detects live current without touching bare wires. |
| Wire Strippers | Removes insulation cleanly without nicking the copper. |
| Multimeter | Measures voltage and continuity to find “shorts.” |
| Insulated Screwdrivers | Prevents your hand from becoming a path to ground. |
| Electrical Tape & Wire Nuts | Secures and protects new connections. |
For a deeper dive into staying alive while working, check out our guide on How to Safely Conduct Electrical Wiring Repair.
How to fix wiring in house fixtures and 3-way switches
One of the most common DIY requests we see in Ogden is how to replace a light fixture or fix a confusing 3-way switch. If your light fixture is old and the wires look “crispy,” it’s time for a refresh.
Step-by-Step: Rewiring a Light Fixture
- Remove the Old Fixture: After confirming the power is off, unscrew the canopy and disconnect the wire nuts.
- Inspect the Box: Ensure the junction box is secure. If it’s loose, the weight of the new fixture could pull it out of the ceiling.
- Match the Colors: Generally, you’ll connect Black to Black (Hot), White to White (Neutral), and Green or Bare Copper to the Ground screw.
- Secure Connections: Twist the wires together clockwise before capping them with a wire nut. Give them a “tug test” to make sure they won’t slip out.
The 3-Way Switch Puzzle
3-way switches allow you to control one light from two different locations (like the top and bottom of a staircase). They are notoriously tricky because they use “traveler” wires.
- The Common Terminal: This is usually the darkest screw on the switch. It connects to the power source or the light itself.
- The Travelers: These two wires (often red and black in a 14/3 cable) connect the two switches to each other.
- Common Mistake: Mixing up the traveler wires with the common wire is why your switch might only work when the other switch is in a certain position.
If you find yourself staring at a “rat’s nest” of wires in a switch box, it might be one of those common electrical issues a residential electrician can fix in a fraction of the time it takes to troubleshoot it yourself.
Troubleshooting Loose Outlets and Overlamping
You know what? Loose wires are the main culprit behind most home electrical “ghosts.” When wires aren’t snug, they create resistance. Resistance creates heat. Heat creates fires.
Fixing Loose Outlets
If your plugs fall out of the wall or the outlet jiggles when you use it, you have a problem.
- The Fix: Turn off the power, pull the outlet out, and check the screw terminals. Many older homes used “backstabbing”—where wires are simply pushed into holes in the back of the outlet. This is a weak connection.
- The Pro Way: Always wrap the wire around the side screw terminals in a clockwise direction. This ensures that as you tighten the screw, it pulls the wire tighter.
The Danger of Overlamping
Overlamping sounds like a minor issue, but it’s actually a top cause of electrical fires. It happens when you put a 100-watt bulb into a fixture rated for only 60 watts. The intense heat can melt the socket and the wire insulation.
- The Solution: Always check the sticker on the fixture for the maximum wattage. Better yet? Switch to LEDs. They provide more light with a fraction of the heat and energy.
Professional Standards for DIY Electrical Repairs
Here’s the thing about local codes: they aren’t there to make your life difficult; they are there to keep your house from burning down. In many parts of Weber County, including Roy and West Haven, any work beyond replacing a basic light fixture or outlet requires a permit and a professional inspection.
DIY vs. Professional: A Reality Check
While saving money is great, the stakes are high. If a DIY electrical job causes a fire, your insurance company may deny the claim if the work wasn’t permitted or performed by a licensed contractor.
| Project Type | DIY Difficulty | Estimated DIY Cost | Pro Cost Range |
|---|---|---|---|
| Replace Outlet/Switch | Easy | $5 – $20 | $150 – $250 |
| Rewire Light Fixture | Medium | $20 – $50 | $200 – $400 |
| Install New Circuit | Hard (Not Recommended) | $100+ | $500 – $1,200 |
| Panel Upgrade | Extreme (Pro Only) | N/A | $2,500 – $5,000 |
The Hidden Dangers of Aluminum and Knob-and-Tube Wiring
Honestly, some things shouldn’t be DIY. If your home was built between 1965 and 1972, there’s a high chance you have aluminum wiring. Aluminum expands and contracts more than copper, leading to loose connections and oxidation. It is 50 times more likely to reach fire conditions than copper.
Similarly, knob-and-tube wiring (found in homes pre-1940) lacks a ground wire and uses cloth insulation that becomes brittle and turns to dust over time. If you see ceramic knobs in your attic or basement, stop what you’re doing. These systems were never designed to handle modern loads like big-screen TVs, computers, and EV chargers.
Upgrading these systems is a major investment, but it’s essential for safety and property value. You can learn more about the cost to rewire a house to plan your budget effectively.
Planning a Full Home Rewire and Modern Upgrades
If you’re living in a 40-year-old home in Pleasant View or North Ogden, your wiring is likely reaching its retirement age. A full rewire is a big project, but it’s the perfect time to “future-proof” your home.
The Two Stages of Rewiring
- The First Fix: This happens while the walls are open (or by fishing wires through crawlspaces). We run the actual cables, install back-boxes, and set up the infrastructure for your smart home devices and ethernet.
- The Second Fix: This happens after the walls are closed and painted. This is when we install the “pretty” parts—the switches, decorative outlets, and light fixtures.
During a rewire, consider adding dedicated circuits for high-demand items. Are you planning on getting a Tesla or Ford F-150 Lightning? You’ll need a dedicated 240V circuit for an EV charger. Thinking about a hot tub for those chilly Utah winters? That requires specialized GFCI protection and specific burial depths for the conduit.
There are massive benefits of hiring a residential electrician for these large-scale projects, including ensuring your panel can actually handle the new load without tripping constantly.
Conclusion: Ensuring Long-Term Electrical Safety
Learning how to fix wiring in house can be empowering, but knowing your limits is the hallmark of a smart homeowner. Simple tasks like tightening a loose screw or swapping an old light fixture are great ways to maintain your home. However, when it comes to buzzing panels, flickering whole-house lights, or outdated aluminum systems, the risk to your family and your investment is simply too high for guesswork.
At Black Rhino Electric, we’re proud to be your local experts throughout Weber County. Whether you’re in Ogden needing a panel replacement, in North Ogden setting up a backyard hot tub, or in Roy looking to future-proof your home with an EV charger, we bring the expertise and licensing required to do the job right the first time. We specialize in everything from minor residential services to complex commercial electrical repairs.
Don’t let a small wiring “hiccup” turn into a major disaster. If you’re ready to ensure your home is up to code and safe for the next generation, call our experts at 801-810-4292 or Request a Free Quote today.