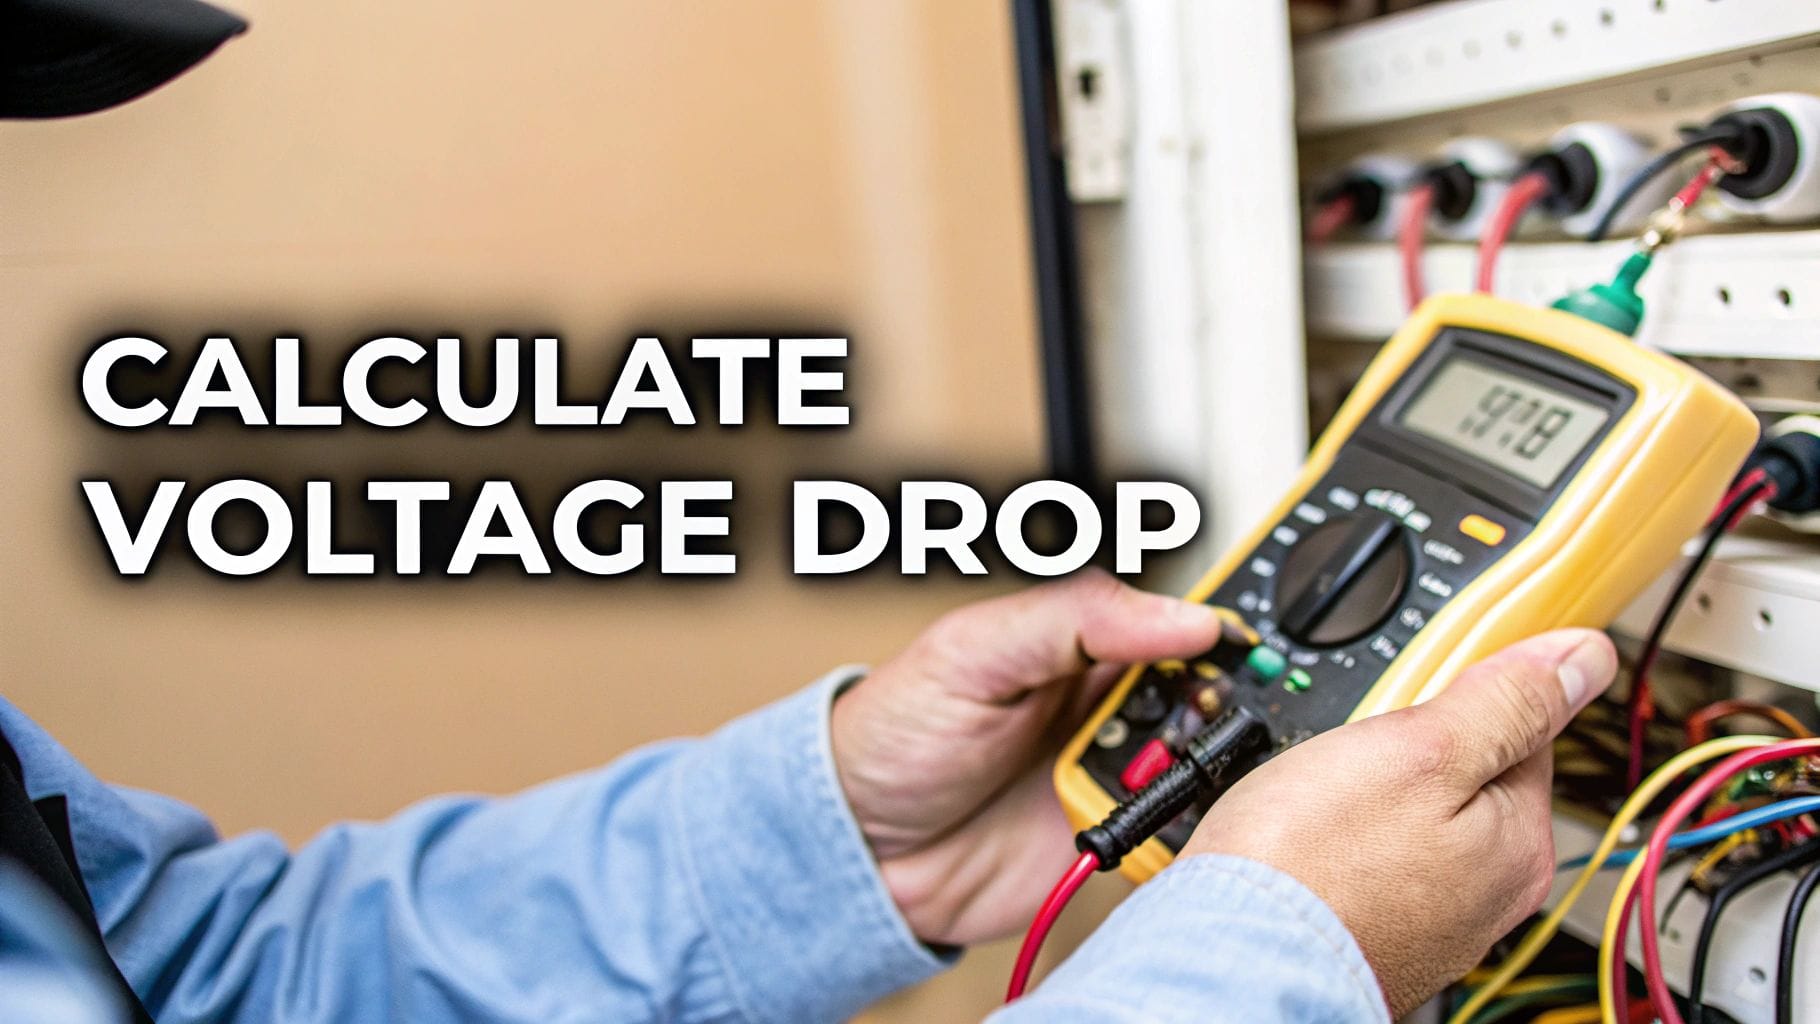
Ever noticed your lights flicker when the air conditioner kicks on? That subtle dimming is voltage drop, and learning how to calculate voltage drop is key to understanding your home's electrical health. It’s essentially a measure of lost electrical "pressure" as power travels down a wire, and getting it right is crucial for safety and efficiency.
Contents
Why Voltage Drop Matters for Your Home's Safety
Voltage drop isn't just some quirky electrical phenomenon; it has tangible, real-world consequences every homeowner should understand. Have you ever wondered why it’s such a big deal? Let me explain. Think of your wiring like a water hose; if the hose is too long or narrow for the amount of water you're pushing through, the pressure at the other end will be disappointingly weak.
Electricity works the same way.
When a wire is too small for the electrical load it’s carrying or the distance it has to cover, a surprising amount of energy gets lost as heat. Honestly, this is where the danger lies. That lost energy means your appliances underperform, and more critically, it creates a potential fire hazard.
The Real-World Impact on Your Appliances
Imagine you just installed a brand-new, expensive hot tub in the backyard. That circuit needs a long run of wire from your main panel. If that wire isn't sized correctly, the voltage reaching the hot tub's powerful motors and heaters will be lower than what they were designed for. This small difference can cause big problems.
Here’s what we often see in the field:
- Reduced Performance: The hot tub jets might feel weak, or the water takes forever to heat up, never quite hitting the temperature you set.
- Motor Strain and Burnout: Motors forced to run on low voltage have to work harder, which means they draw more current and overheat. Over time, this strain leads to premature failure and some really costly replacement bills.
- Shortened Lifespan of Electronics: The sensitive electronics in modern appliances are built to operate within a specific voltage range. Consistently low voltage can damage these delicate parts, shortening the appliance's overall lifespan.
From Annoyance to Genuine Risk
Beyond just damaging your appliances, excessive voltage drop poses a direct safety threat. Remember that energy lost in the wire? It's converted into heat. An undersized or overloaded wire can get dangerously hot, melting its insulation and seriously increasing the risk of an electrical fire.
Those flickering lights might just be the first warning sign. If you're noticing these kinds of symptoms, our guide on electrical troubleshooting for homeowners can offer some more immediate insights.
Protecting your home isn't just about locking the doors. It's also about ensuring the electrical system that powers your life is safe and efficient. Proper wire sizing is a non-negotiable part of that protection.
Ultimately, understanding voltage drop is about more than just numbers and formulas. It’s about protecting your investments—from the big-screen TV to that new EV charger—and most importantly, ensuring the safety of your home and family.
The Essential Formulas for Voltage Drop Calculations
Ready to get into the numbers? Don't worry, we'll keep this practical. Knowing how to calculate voltage drop isn't about memorizing complex electrical theory—it's about using a straightforward formula to make sure your projects are safe and work correctly. The whole trick is using the right numbers in the right places.
For the single-phase circuits that power most things in a home, the formula is refreshingly simple. Here’s the thing: it just pulls together a few key details to tell you exactly how much voltage you can expect to lose over a specific run of wire.
The Single-Phase Voltage Drop Formula
The go-to formula you'll use most often is:
Voltage Drop (VD) = (2 x K x I x L) / CM
Let's break that down into plain English:
- K (K-factor): This is a constant for the resistivity of your wire material (usually copper). It’s a standard number that simplifies the math.
- I (Current): This is the amount of current your circuit will draw, measured in Amperes (Amps).
- L (Length): This is the one-way distance in feet from your electrical panel to the device. The formula multiplies it by 2 to account for the round trip.
- CM (Circular Mils): This value is a precise way of stating the wire's cross-sectional area. You can find this for any wire gauge in the National Electrical Code (NEC) Chapter 9, Table 8.
This diagram nails the three biggest culprits we see: long wire runs, heavy loads from power-hungry equipment, and old or damaged wiring that just can't keep up. As distance and amperage climb, so does the risk of a significant voltage drop.
Before we jump into examples, that "K" value is key. It's different for copper and aluminum, and whether the wire is coated or not can make a small difference.
K-Factor Values for Common Conductors
This responsive table provides the approximate K-factor values essential for the voltage drop formula.
| Conductor Material | Coating | K-Factor (Approximate) |
|---|---|---|
| Copper | Uncoated | 12.9 |
| Copper | Coated | 12.9 |
| Aluminum | Uncoated | 21.2 |
For most residential jobs, you'll be using uncoated copper, so 12.9 is the number you'll want to remember.
Putting the Formula Into Action
Let's walk through a couple of real-world examples we tackle all the time.
Example 1: 120V Workshop Lighting Circuit
Imagine you're running power to a new workshop in your garage, about 75 feet from your main panel. You plan on installing bright LED shop lights that will draw a total of 10 Amps on a 120V circuit, and you're using standard 12 AWG copper wire.
- K-factor for copper is 12.9.
- The circular mils (CM) for 12 AWG wire is 6,530.
Plugging those values into the formula:
VD = (2 x 12.9 x 10 Amps x 75 ft) / 6,530
VD = 19,350 / 6,530
Voltage Drop = 2.96 Volts
That's a perfectly acceptable drop. On a 120V circuit, that's only about 2.5%, well within the recommended limits.
Example 2: 240V EV Charger Circuit
Now for a bigger job: installing a Level 2 EV charger that needs a 40 Amp circuit. The charger is going to be 100 feet from the panel, so we'll run beefier 6 AWG copper wire to handle the load.
- K-factor is still 12.9 for copper.
- The CM for 6 AWG wire is 26,240.
Here's how the math shakes out:
VD = (2 x 12.9 x 40 Amps x 100 ft) / 26,240
VD = 103,200 / 26,240
Voltage Drop = 3.93 Volts
On a 240V circuit, a drop of less than 4 volts is fantastic—only a 1.6% loss. That ensures your EV charger gets all the juice it needs to work efficiently.
Pro Tip: Always double-check your wire's circular mil value in the NEC tables. Using the wrong CM value is the single most common mistake we see in DIY calculations, and it can throw your results off enough to cause real problems down the line.
Alright, you’ve crunched the numbers and figured out the voltage drop for your circuit—that’s a huge step. But what does that number actually mean in the real world? This is where the National Electrical Code (NEC) steps in with some critical, experience-based guidance.
These aren't just arbitrary rules; they're safety standards built over decades to protect your equipment and prevent hazards. Think of them as the electrical equivalent of a speed limit—designed to keep everything running smoothly without pushing your system to a dangerous edge.
The 3% and 5% Rules of Thumb
The NEC lays out a couple of key recommendations that have become the gold standard for acceptable voltage drop. Let me break down the two most important benchmarks you need to know:
- The 3% Limit for Branch Circuits: This is the maximum recommended voltage drop for an individual circuit running from your panel to the final outlet or device. On a standard 120V outlet circuit, this means you shouldn't lose more than 3.6 volts by the time power gets to your appliance.
- The 5% Total Limit: This guideline applies to the entire system, from where the power enters your home to the furthest point of use. It covers the combined drop in both the main feeder lines and the final branch circuit, making sure the total loss doesn't exceed 5%.
You know what? Exceeding these limits isn't just a code issue; it's a performance issue. We once helped a homeowner who had wired a new backyard shed himself. The run was long, and he used the same gauge wire he'd used indoors.
His power tools constantly seemed weak, and the motor on his new table saw would overheat and trip its internal breaker. When we helped him re-run the calculation, it showed a voltage drop of nearly 7%. That "small" extra loss was enough to starve his equipment of the power it needed, causing poor performance and risking permanent damage. Switching to a thicker gauge wire fixed it instantly.
Sticking to NEC recommendations isn't just about passing an inspection; it's about guaranteeing your appliances and tools get the stable voltage they need to operate correctly and last longer.
For complex systems or major upgrades, understanding how these limits apply to your main electrical panel is crucial. You can learn more about breakers and electrical panels in our detailed guide. Sticking to these guidelines ensures every part of your electrical system, from the panel to the plug, works in harmony.
Key Factors That Influence Voltage Drop
So, you've got the formulas and you've seen the NEC guidelines. Great. But plugging numbers into a calculator is only half the battle. To really understand voltage drop, you need to know what makes that number tick up or down. It’s the “why” behind the math.
Let’s say you’re wiring up a new detached garage workshop. Getting these next few details right is the difference between a powerhouse shop where your table saw sings and a frustrating space where the lights dim every time the compressor kicks on. Three core factors are always in play.
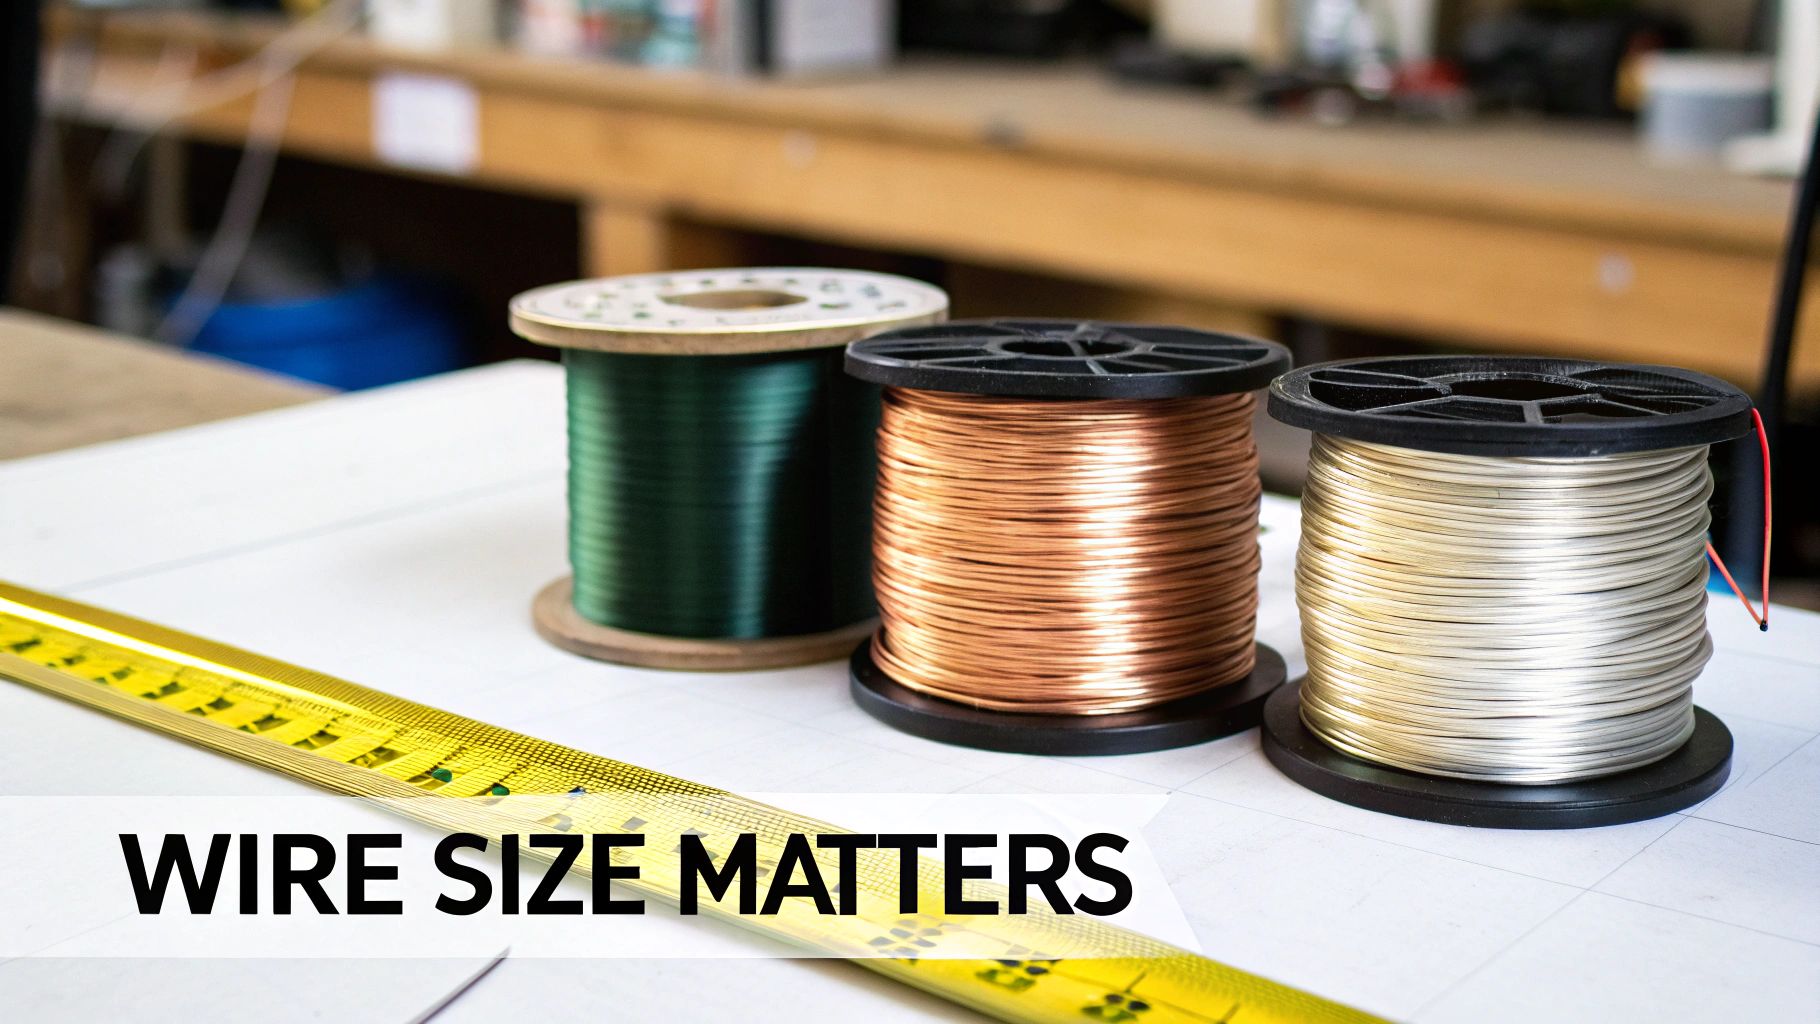
Conductor Size (Wire Gauge)
The physical thickness of the wire, measured in American Wire Gauge (AWG), is probably the biggest piece of the puzzle. Here’s the thing that trips people up: it’s counterintuitive. A lower AWG number means a thicker wire.
Think of it like a highway. A wide, six-lane freeway can handle way more traffic with less congestion than a narrow two-lane country road. In the same way, a thicker wire has less electrical resistance. This lets current flow more freely, which means you lose less voltage along the way. Trying to run a heavy-load circuit on a 14 AWG wire where a 10 AWG is needed is just creating an electrical traffic jam. Energy gets wasted as heat, and less "pressure" makes it to the other end.
Conductor Material: Copper vs. Aluminum
The stuff your wire is made of matters. A lot. The two materials you’ll run into are copper and aluminum, and they are not created equal.
- Copper: This is the gold standard for most residential and commercial wiring, and for good reason. It’s an incredible conductor, meaning it has very low resistance for its size. It’s also tough, durable, and doesn’t corrode easily.
- Aluminum: It’s lighter and often cheaper, but there’s a trade-off. Aluminum is only about 61% as conductive as copper. To get the same low resistance as a copper wire, you have to use a much thicker aluminum wire.
For most projects—like that new garage—copper is the hands-down winner. It gives you better performance in a smaller, easier-to-work-with package.
Circuit Length and Load
This last one is just simple physics. The farther electricity has to travel, the more energy it loses. Every single foot of wire adds a tiny bit more resistance to the circuit. A short 15-foot run to a bedroom outlet will have a voltage drop so small you’d never notice it. But a 150-foot run out to a well pump or a barn? That’s a completely different animal.
This effect gets magnified by the circuit’s load—how many amps are being pulled through the wire. The higher the amps, the more significant the voltage loss will be over that same distance.
This isn't just a residential issue; distance is a constant challenge in electrical work. Even modern solar installations grapple with it. One detailed solar energy analysis found that energy losses over code-minimum wiring ranged from 0.642% in cloudy Seattle to a more significant 1.57% in sunny Phoenix, showing just how much distance and conditions impact performance.
These three factors—wire size, material, and length—are all tied together. If you have to increase the length of a circuit, you might need to compensate by bumping up the wire gauge to keep your voltage drop in a safe and acceptable range.
Practical Solutions for Excessive Voltage Drop
So, you've crunched the numbers and the calculation is staring back at you—the voltage drop is over that 3% limit. Don't sweat it. Catching this on paper is a win. It saves a massive headache and extra cost down the line, and there are straightforward, field-tested ways to fix it before a single wire is pulled.
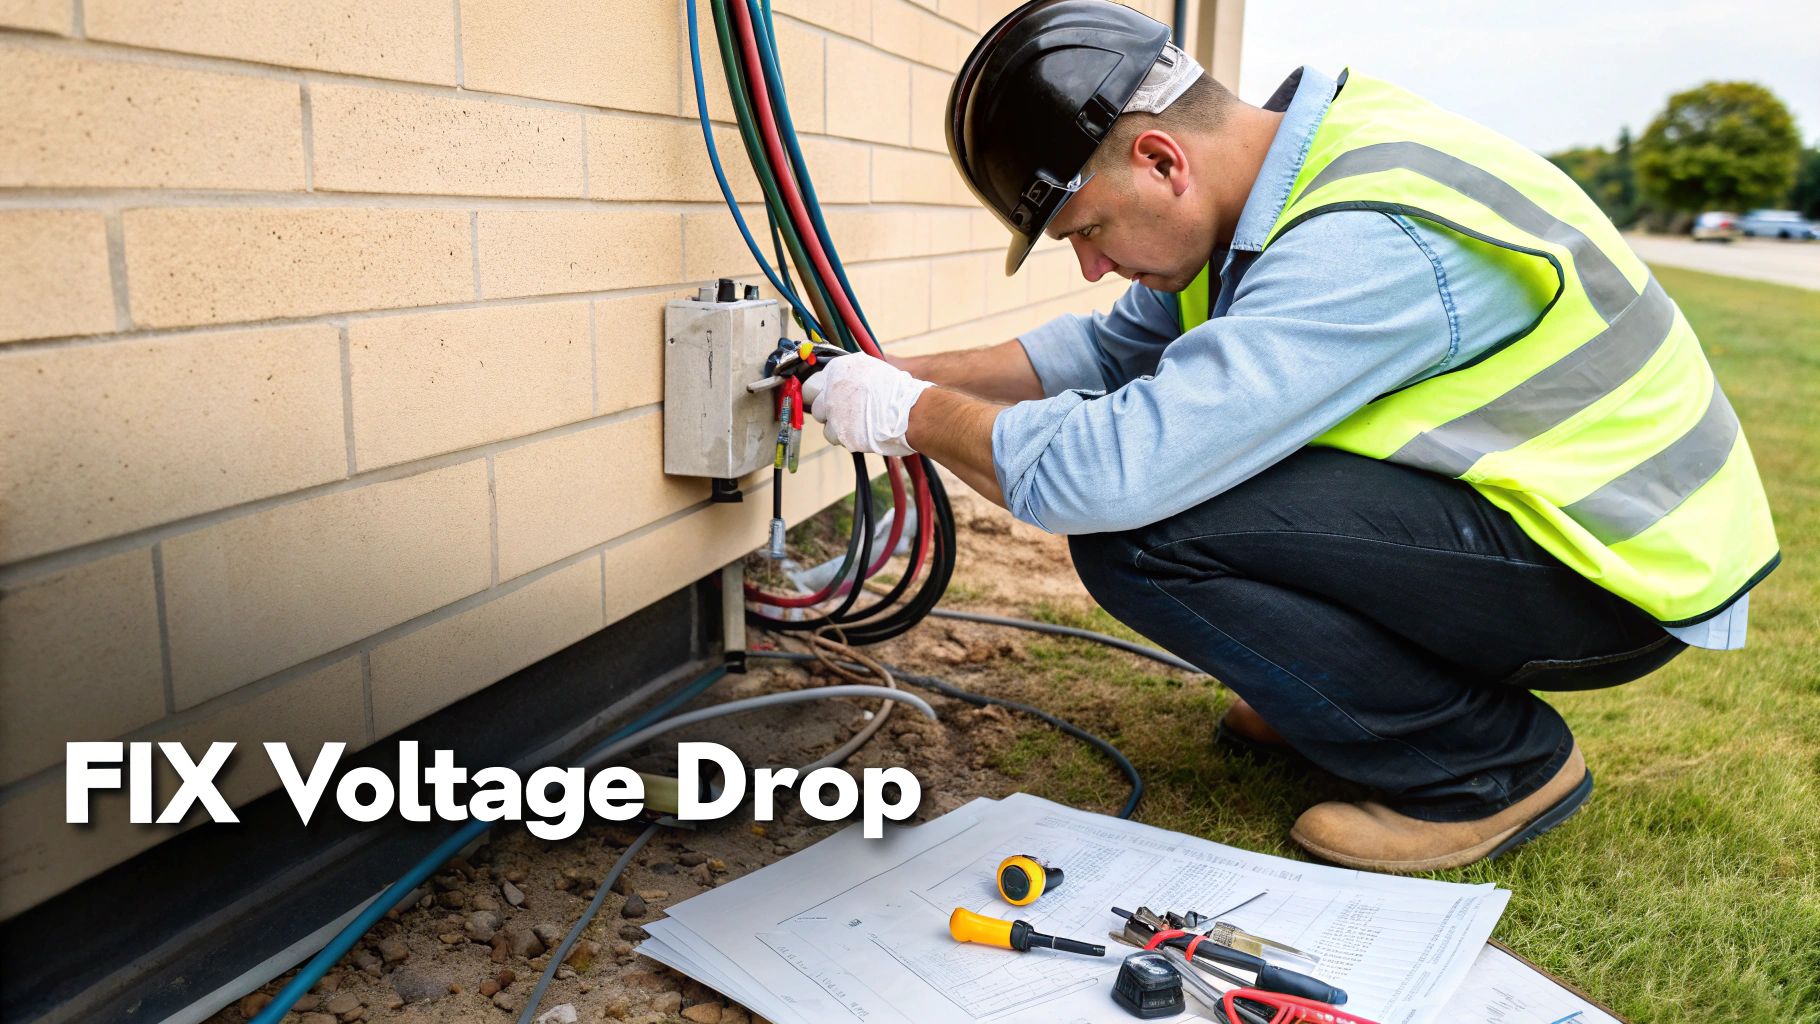
This is the exact moment when knowing how to calculate voltage drop goes from theory to practical, money-saving action. Let's walk through the most effective strategies we use on the job.
Increasing the Conductor Size
The most direct fix is almost always using a thicker wire. Plain and simple.
When you step up the wire gauge—say, from a 12 AWG to a 10 AWG wire—you're basically widening the highway for electricity. A bigger wire has less resistance, which means less voltage gets lost along the way. The current flows easier, and your equipment gets the power it needs.
The main trade-off here is cost. Larger copper wire is more expensive, and on a really long run, that can add up. But for most residential jobs, the small bump in material cost is cheap insurance for making sure your tools, lights, and appliances run correctly and safely.
Redesigning the Circuit Path
Sometimes the smartest move isn't a bigger wire, but a shorter one. Can you map a more direct route? Every foot of wire you can eliminate shaves off a little resistance, and in turn, a little voltage drop.
A few things to think about:
- Relocating the Power Source: Could a new subpanel closer to a detached workshop or a big addition make more sense?
- Optimizing the Route: Instead of hugging the walls all the way around a room, could you take a shortcut through a crawlspace or attic?
This takes a bit more planning upfront, but it can be more cost-effective than buying a much heavier, more expensive wire. We often help homeowners find clever routing solutions, especially for projects like an EV charger installation, where the distance from the panel is everything.
Exploring Advanced Options
On big commercial jobs or for very long runs with high power demands, a single wire sometimes just won't cut it. In these cases, electricians might run parallel conductors. This means using two or more smaller wires side-by-side to act as one giant conductor, splitting the load and slashing the voltage drop. It’s a complex solution that has to follow strict NEC guidelines and is definitely not a DIY job.
The industry is also getting smarter about how it calculates these things. For years, standard formulas often led to oversizing cables by 20-30% just to be safe. Newer probabilistic methods, however, can recommend smaller, more cost-effective wire sizes that save clients thousands on huge projects while still keeping everything well within safe limits.
At the end of the day, finding a voltage drop problem is a good thing. It lets you make a smart decision that balances cost, safety, and performance, ensuring your electrical circuit is not just functional, but truly dependable for years to come.
When to Trust a Professional Electrician
Knowing the theory behind how to calculate voltage drop is a fantastic skill. It makes you a smarter homeowner and helps you plan projects more effectively. But is knowing the math the same as doing the hands-on work inside a live electrical panel?
When it comes to your home's electrical system, especially the main panel, safety isn’t negotiable. Implementing that knowledge is a job that absolutely demands a licensed professional. DIY electrical work is, without a doubt, one of the riskiest home improvement projects you can tackle.
The Dangers of DIY Electrical Work
Even a project that seems simple, like running a new circuit for the garage, is packed with risks if you don't do it perfectly to code. And the consequences are a lot bigger than just a circuit that doesn't work.
- Code Violations and Failed Inspections: Local building codes are complex and they exist for one reason: safety. A tiny mistake can get you a failed inspection, forcing you to tear out all your hard work and pay a pro to do it right. You end up paying twice.
- Electrical Fire Hazards: This is the most serious risk. Using the wrong size wire, making a loose connection, or installing a breaker incorrectly can create a hidden hot spot inside your walls. It could smolder for months before it turns into a disaster.
- Personal Safety Risks: Working in an energized electrical panel without proper training and safety gear can lead to severe electrical shock or electrocution. It’s a risk that is just not worth taking. Period.
When Professional Expertise is Non-Negotiable
While you can run the numbers for a project, the physical installation is where years of field experience really matter. Some jobs are firmly in the "call a pro" category, no matter how confident you feel with a pair of wire strippers.
Your ability to calculate voltage drop makes you an informed homeowner, not an electrician. The real value is in spotting a potential problem on paper so you can have an intelligent conversation with a professional about the right way to fix it.
This includes any work on your main panel, installing major circuits for things like hot tubs or EV chargers, or altering any of your home's main wiring. These jobs require a deep understanding of load balancing, local code requirements, and safe installation practices that only come from doing this work day in and day out.
If your calculations point to a voltage drop problem, or if you're planning any electrical project that's more involved than changing a light fixture, let our experienced team at Black Rhino Electric make sure it's done right. For safe, reliable results you can count on, give us a call at 385-396-7048 or request a free quote online today.