Electrical wiring repair can feel overwhelming, especially when safety is a top concern. As homeowners ourselves, we understand the risks and common issues you may face. That’s why we’re here to guide you step-by-step so you can protect your Home, and possibly save on expenses. Let’s dive into how you can safely handle electrical wiring repair without breaking a sweat.
Contents
- 1 Why Safety Is Non-Negotiable with Wiring Repairs
- 2 Understanding Common Electrical Issues
- 3 Essential Tools for Electrical Repairs
- 4 When to Consider Hiring a Professional
- 5 Identifying the Circuit Breaker Panel
- 6 How to Safely Shut Off Power
- 7 Step-by-Step Guide to Fixing Frayed Wires
- 8 Testing Your Repairs
- 9 Tips for Preventing Future Wiring Problems
- 10 Why Trust Black Rhino Electric for Your Home Repairs?
- 11 Let’s Keep Your Home Safe Together
Why Safety Is Non-Negotiable with Wiring Repairs
When working with electricity, safety should always come first. Electrical currents are powerful forces that can lead to property damage, serious injury, or even worse if mishandled.
Whether it’s fixing an outlet, replacing a wire, or Troubleshooting a flickering light, improper handling could have lasting consequences. Following proper safety measures protects you, your home, and everyone living under your roof.
Understanding Common Electrical Issues
Before jumping into repairs, it’s crucial to recognize what you’re up against. Some common electrical issues we frequently encounter include faulty outlets, worn or frayed wiring, circuits that trip repeatedly, or light switches that don’t work as expected.
Addressing these problems may seem straightforward, but identifying the underlying source of the issue is often where the challenge lies. Understanding what might be wrong helps you make informed decisions before tackling the repair.
Essential Tools for Electrical Repairs
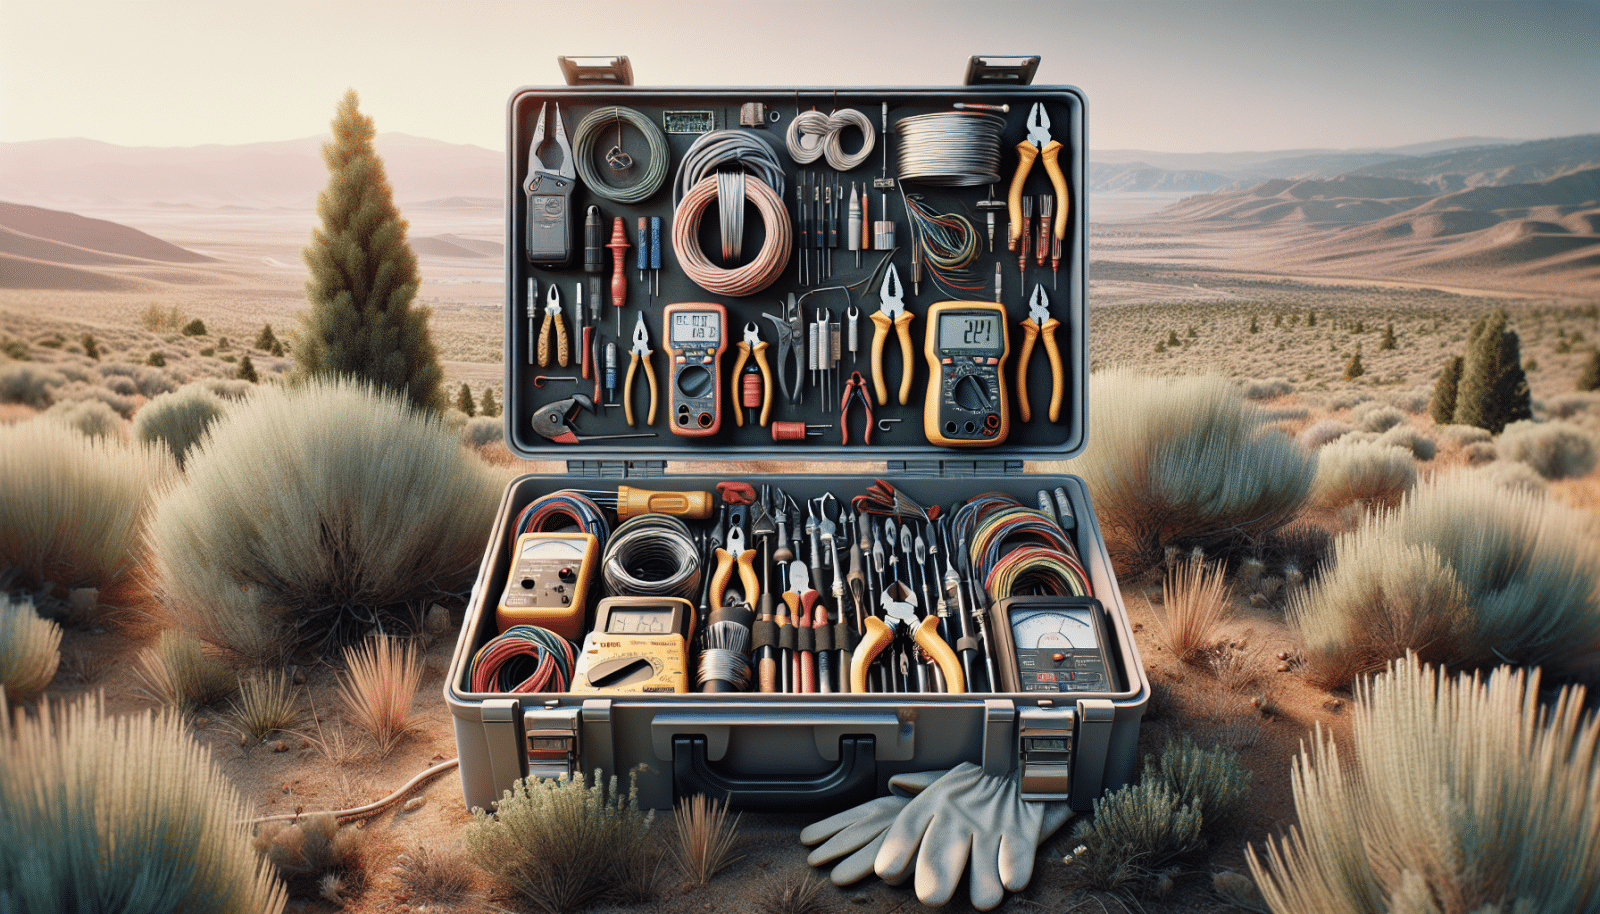
To perform any electrical repair, you’ll need the right tools by your side. Having these essentials on hand ensures you’re not caught off guard mid-project.
- Voltage Tester: A reliable tool to check whether electrical currents are active in wires or outlets.
- Wire Strippers: These allow you to neatly remove insulation from wires without damaging them.
- Electrical Tape: Great for insulating exposed wires and ensuring they’re securely covered.
- Screwdrivers: A mix of flathead and Phillips screwdrivers is essential for any electrical job.
- Safety Gloves: Non-conductive gloves provide an extra layer of protection while working with wires.
When to Consider Hiring a Professional
While some minor electrical fixes can be tackled solo, there are times when you should leave it to professionals like us. Projects like replacing fuse boxes, dealing with outdated knob-and-tube wiring, or addressing major Code violations typically go beyond DIY capabilities.
When in doubt, it’s always better to err on the side of caution. Electricity is no place for guesswork, so if you’re unsure about a repair, our expertise is just a phone call away.
Identifying the Circuit Breaker Panel
Your circuit breaker panel is essentially the brain of your electrical system. Knowing where it’s located and how the Breakers are labeled is key to tackling nearly any wiring issue.
Shut off the correct breaker before beginning any repair to avoid the risk of electric shock. If the breakers aren’t labeled, take a moment to write them down for future reference—it’ll save you time and confusion later.
How to Safely Shut Off Power
Turning off the power to the area you’re working on is one of the simplest, yet most critical steps in any electrical project. To do this, locate your circuit breaker panel and identify which breaker corresponds to the area you’re repairing.
Once you’ve flipped the appropriate breaker off, test the area with a voltage tester. Testing ensures that no power is running to the wires, giving you the peace of mind to work safely.
Step-by-Step Guide to Fixing Frayed Wires
Frayed wires are not just unsightly—they’re dangerous too. Start by shutting off power to the affected circuit, and then use your wire strippers to remove the damaged section.
Cut a replacement wire to the necessary length and attach it using wire connectors. Cover the connections with electrical tape as an added layer of protection, and secure everything back in place before restoring power.
Testing Your Repairs
After completing any wiring repair, testing is a must. Turn the power back on at the breaker panel and inspect your work.
If the circuit functions as expected and there are no flickering lights or loose outlets, you’re good to go! However, if something still isn’t right, revisit the connections or consult a professional for help.
Tips for Preventing Future Wiring Problems
No one wants to deal with recurring electrical headaches. The best way to keep your wiring issues at bay is by maintaining your system on a routine basis.
- Inspect Frequently: Regularly check outlets, switches, and visible wiring for any signs of wear or damage.
- Avoid Overloading Circuits: Too many devices on a single outlet can strain your electrical system.
- Upgrade When Needed: Old wiring isn’t built to handle modern energy demands, so consider an update when necessary.
- Use Proper Extensions: Always choose surge protectors over basic power strips for added safety.
- Know the Limits: DIY repairs have their place, but leave major upgrades or problems to the professionals.
Why Trust Black Rhino Electric for Your Home Repairs?
At Black Rhino Electric, we’ve seen it all when it comes to electrical repairs. We pride ourselves on making your home safer and more efficient with clear communication and unparalleled expertise.
Our team is trained to handle any wiring issue, big or small. When you’re ready to take the stress out of electrical problems, Black Rhino Electric is here to roll up our sleeves and help.
Let’s Keep Your Home Safe Together
Still unsure about your wiring repair? Call us at 801-810-4292 or Request a Free Quote to let the experts handle it for you.


